Understanding Cura’s Overhang Angle Calculations
Estimated Reading Time: 5 minutes
Key Takeaways:
- Understanding overhang angles is crucial for successful 3D prints.
- Cura utilizes model geometry analysis and support structure recommendations to manage overhangs.
- Optimizing support settings and modifying thresholds can lead to improved print quality.
- Utilizing effective techniques such as bridging can minimize the need for supports.
Table of Contents:
- What is Overhang in 3D Printing?
- How Cura Calculates Overhang Angles
- Importance of Overhang Angle Calculations
- Optimizing Overhang Angles in Cura
- Practical Takeaways
- Conclusion
Understanding How Cura Handles Overhang Angle Calculations
When it comes to 3D printing, one of the critical factors that determine a successful print is how well a slicer manages the intricacies of overhang angles. Understanding how Cura handles overhang angle calculations can significantly improve your printing outcomes, especially when dealing with complex designs. In this blog post, we will delve into the mechanics behind Cura’s overhang calculations, how they impact your designs, and provide actionable tips to optimize your prints.
What is Overhang in 3D Printing?
Overhang refers to any section of a printed object that extends outwards with no prior support material underneath it. In simpler terms, it’s a part of the model that isn’t anchored to the material below. When the overhang angle is too steep, Cura—and any slicer software—will generally struggle to print that section without significant issues.
The standard threshold for overhang is typically cited at 45 degrees; however, this can vary based on the printer, material, and various Cura slicer settings. When the overhang angle exceeds this threshold, additional support structures may be necessary to ensure successful printing.
How Cura Calculates Overhang Angles
Ultimaker’s Cura interprets overhang angles based on a solid understanding of the geometry of your model as well as the capabilities of the 3D printer you are using. When slicing your model, Cura follows several key steps in calculating overhang angles:
- Model Geometry Analysis: Cura examines the geometry of the 3D model to identify areas with overhangs. It uses mathematical algorithms to determine the angle of each segment relative to the vertical axis.
- Rule of Thumb: Generally, if the angle exceeds 45 degrees from the vertical, Cura will identify it as an overhang that may require support. Depending on your printing settings, this calculation can vary.
- Support Structure Recommendation: In situations where the overhang angle exceeds the threshold, Cura can automatically generate support structures or suggest settings changes. Users can choose the type of support (e.g., grid, tree supports) based on the print requirements.
- Layer-by-Layer Analysis: As the print progresses, Cura continues to assess the layout layer by layer, ensuring that any adjustments needed during the printing process can be managed in real-time.
Importance of Overhang Angle Calculations
Understanding how Cura calculates overhang angles plays a vital role in optimizing your prints:
- Quality Boost: Properly supporting overhangs can lead to higher print quality, reducing issues like sagging or curling of the material.
- Material Usage: Accurately predicting and managing overhangs helps in minimizing material waste by ensuring only necessary supports are used.
- Time Efficiency: Efficient support structures based on accurate calculations can significantly reduce print time compared to overusing support materials.
Optimizing Overhang Angles in Cura
Here’s how you can utilize Cura’s capabilities to optimize your prints regarding overhang angles:
- Adjust Support Settings: Depending on your needs, you may want to adjust the support settings in Cura. Options include support density, support placement, and type of support. For example, tree supports can be more efficient for complex geometries.
- Modify the Overhang Angle Threshold: You can adjust the overhang angle threshold in your settings if you’re confident in your material’s capabilities. However, tread carefully, as underestimating this can lead to failed prints.
- Use Bridging Techniques: If your object has critical overhangs but is less than 5 cm, you can experiment with bridging techniques, bypassing the need for supports altogether.
- Layer Height Adjustment: A finer layer height allows for more detail in overhang portions, which can improve quality. For example, adjusting the layer height from 0.2mm to 0.1mm can provide better fidelity.
- Check Feature Connectivity: Ensure that features are connected well. Sometimes minor adjustments to a part’s design can remove harsh overhang angles without the need for extra support.
- Experiment with Angled Prints: Sometimes, rotating your model slightly can decrease overhang severity. Consider aligning features so that they maximize contact with existing structures.
Practical Takeaways
- Test different types of supports in smaller models to see what works best for your specific prints.
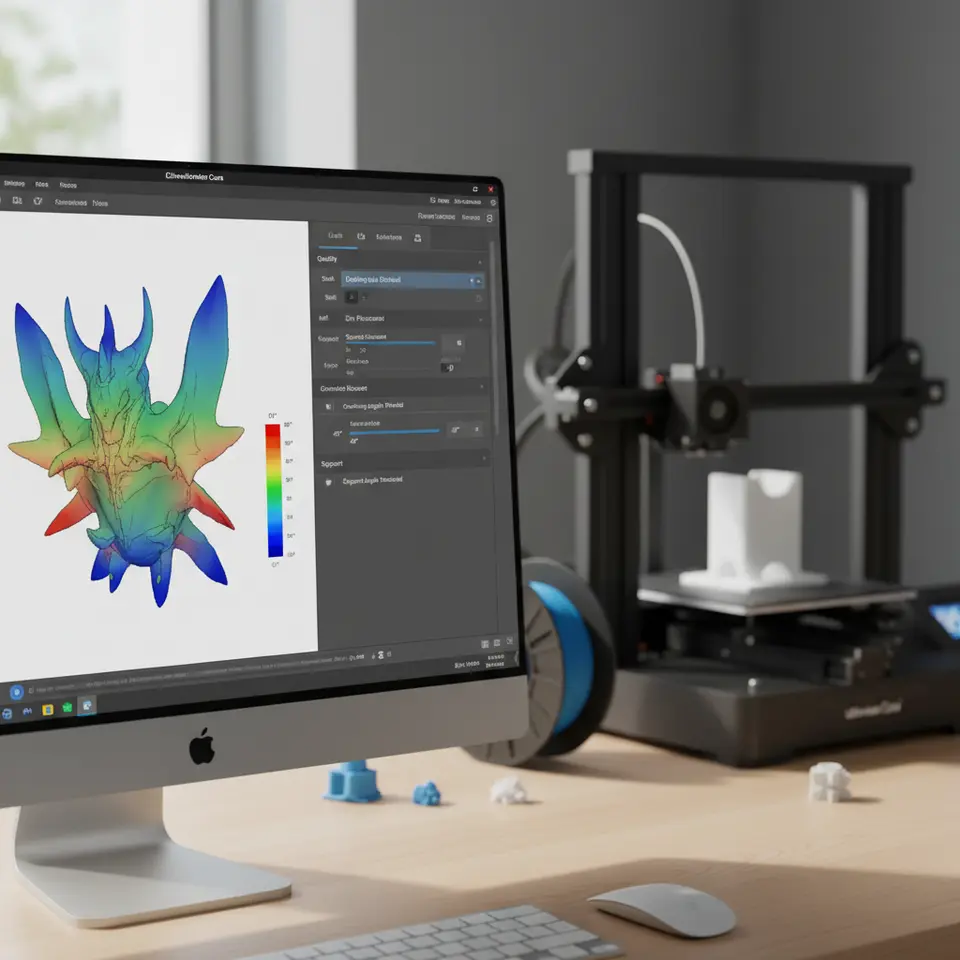
- Always check the layer view in Cura to visualize how the slicer interprets the overhangs before committing to a print.
- Use Cura’s experimental settings to take advantage of new features that can provide additional support customization options.
Conclusion
Cura’s sophisticated approach to handling overhang angle calculations allows users to create high-quality prints with greater confidence. By understanding the underlying mechanics and employing the right strategies, both beginners and seasoned professionals can enhance their 3D printing process and outcomes. Always ensure that you stay updated with Cura’s software changes, as newer versions may introduce improved functionalities that refine these calculations further.
For more in-depth tutorials, resources, and guides, be sure to visit our main page CuraSlicers.com.
And if you’re expanding your knowledge on 3D printing, don’t hesitate to explore Ultimaker’s official documentation on best practices and features. Happy printing!
FAQ Section
1. What is the maximum overhang angle Cura can print without supports?
The standard maximum overhang angle typically cited is 45 degrees, though this may vary depending on specific printer and material capabilities.
2. Can I adjust the support settings in Cura?
Yes, you can adjust the support density, placement, and type of support in Cura to optimize your print for overhangs.
3. What are some effective techniques for dealing with overhangs?
Techniques such as bridging, adjusting support settings, and carefully modifying model geometries can help manage overhangs effectively.