Safely Optimize 3D Prints with Cura
How to Use Cura’s Experimental Settings Safely to Improve Print Time
Estimated reading time: 5 minutes
- Start Small: Begin with a few chosen experimental settings instead of overhauling your entire process.
- Document Everything: Keep a log of experiments and settings for future reference.
- Seek External Resources: Leverage external knowledge bases and community feedback to refine your approach.
Table of Contents
- Understanding Cura’s Experimental Settings
- Safe A/B Testing Methodology for Experimental Settings
- Recommended Experimental Settings to Try First
- Rollback Procedures: When Things Go Wrong
- Practical Takeaways
- Conclusion
- FAQ
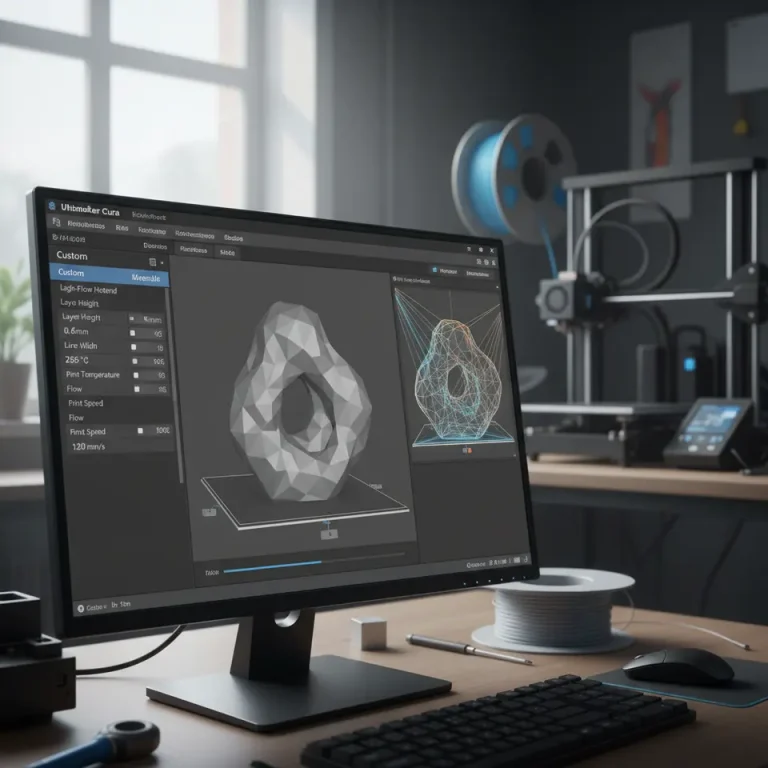
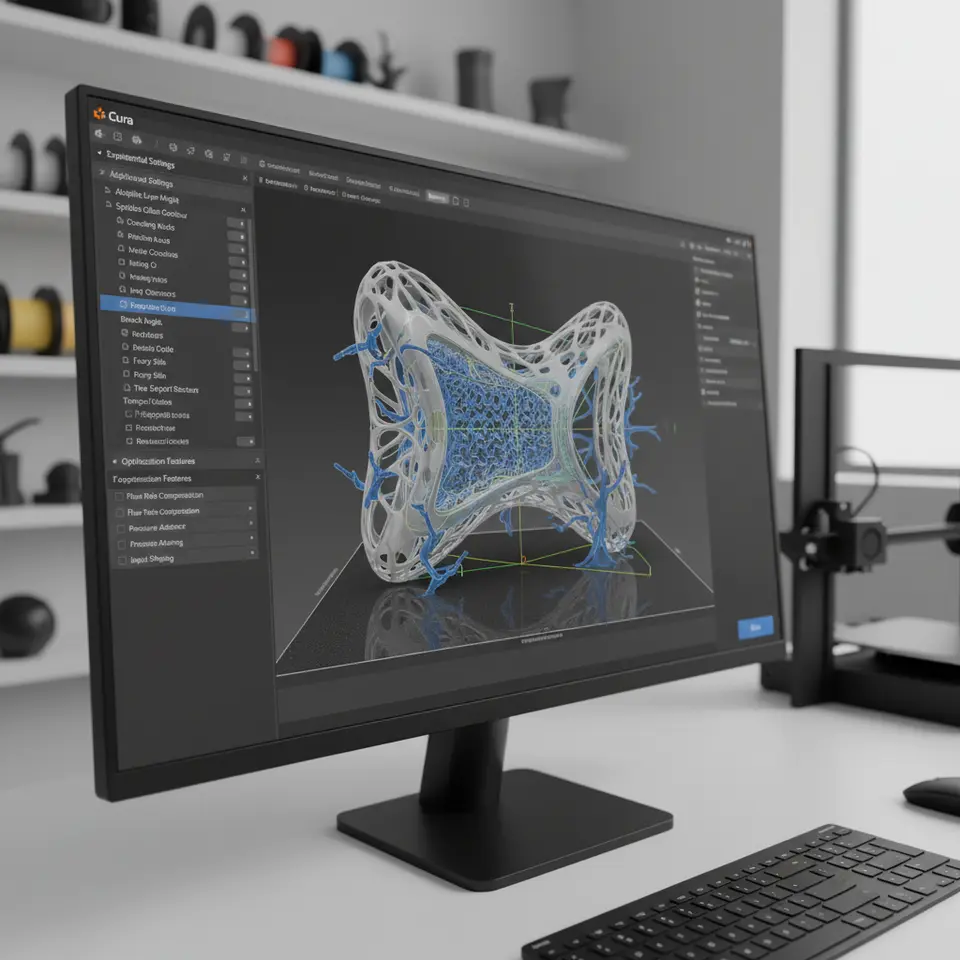
Understanding Cura’s Experimental Settings
In the ever-evolving world of 3D printing, Cura, the popular slicing software, offers various experimental settings designed to enhance print time, quality, and efficiency. However, venturing into these experimental features can seem daunting. Not only do these settings offer potential benefits, but they also come with inherent risks. In this blog post, we will guide you through how to use Cura’s experimental settings safely to improve your print time, detailing which settings to prioritize, a safe testing methodology, and rollback procedures in case things don’t go as planned.
Before diving into practical advice, let’s clarify what we mean by experimental settings in Ultimaker Cura. These features are not finalized and may not have been fully tested. While they can yield better print quality and efficiency, they might also introduce instability or print failures.
To access these settings, you typically navigate to the “Preferences” section in Cura and select “Configure User Profiles”. Here, you’ll find settings labeled as experimental or beta, which you can customize. However, it’s essential to remember that these settings may behave unpredictably.
Safe A/B Testing Methodology for Experimental Settings
For those considering diving into Cura’s experimental settings, testing is crucial. Here’s a straightforward methodology you can follow to ensure a safe A/B testing process:
- Set a Goal: Define what you’re trying to achieve with your print. Is it purely reducing print time, or do you want to balance speed with print quality?
- Select Experimental Features: Choose a few experimental settings that align with your goal. Refer to your current profile for guidance.
- Create Backups: Always back up your existing Cura profile before making any changes. This way, you can restore your previous settings if something goes wrong.
- Conduct Test Prints: Print two versions of the same model under the same conditions — one with your current settings (control) and one with the experimental settings (variable).
- Evaluate Results: After printing, assess both prints considering time, quality, and potential issues like stringing or layer adhesion.
- Incrementally Adjust: If the experimental settings yielded positive results, consider making incremental changes based on your findings rather than major overhauls.
Recommended Experimental Settings to Try First
While the exact impact of experimental settings can vary widely based on printer model and material, here are a few options generally regarded as safer, which can also help improve print time:
1. Adaptive Layers
Adaptive layers adjust layer thickness dynamically based on the model’s geometry. Thicker layers are used where fine detail isn’t necessary, leading to time savings while maintaining quality.
2. Speed/Quality Profiles
Cura’s experimental speed and quality profiles may allow you to fine-tune the balance between a quicker print and the desired detail. Test profiles can be modified to include higher print speeds while ensuring that quality thresholds are still met.
3. Reduce Travel Movements
This setting optimizes the toolpath, reducing unnecessary travel moves during printing. A reduced number of travel moves can lead to faster prints.
4. Support Settings Optimization
Utilize optimized support settings that minimize material usage and print time. This can include experimental support styles that require less post-processing.
Rollback Procedures: When Things Go Wrong
Despite careful experimentation, sometimes things might not work out as planned. Here’s how to implement rollback procedures effectively:
- Backup Restore: If you’ve backed up your original profile, simply upload it back into Cura.
- Document Changes: Keep detailed notes on what changes were made during testing. This aids in understanding failures and helps avoid repeating mistakes.
- Community Support: Don’t hesitate to tap into the 3D printing community, such as forums and groups centered around Cura and experimental settings. Sharing experiences can yield invaluable insights.
Practical Takeaways
– Start Small: Begin with a few chosen experimental settings instead of overhauling your entire process.
– Document Everything: Keep a log of experiments and settings for future reference.
– Seek External Resources: Leverage external knowledge bases and community feedback to refine your approach.
For further insights on improving print quality and optimizing Cura settings, check out our guides on the Perfect First Layer Settings in Cura and Cura Speed and Quality Profiles.
Conclusion
Using Cura’s experimental settings can lead to marked improvements in print time and quality, provided you’re methodical and cautious in your approach. By utilizing a safe A/B testing methodology, focusing on incremental changes, and leveraging community resources, you can successfully explore these features without compromising your project outcomes.
For more tips and tricks on maximizing your 3D printing efficiency, be sure to explore additional resources on CuraSlicers.com. Join our community on social media for updates, or subscribe to our blog for more in-depth guides on enhancing your 3D printing experience. Happy printing!
FAQ
Q: Are experimental settings safe to use?
A: Experimental settings can offer improvements but may also lead to instability or print failures. It’s crucial to use a controlled testing process.
Q: Can I revert changes if an experimental setting doesn’t work?
A: Yes, if you’ve backed up your original profile, you can easily restore it in Cura.
Q: How can I find more support for using these settings?
A: Community forums and groups focused on 3D printing and Cura can provide valuable insights and assistance.