Master Cura’s Layer View for Accurate Client Quotes
How to Use Cura’s Layer View and Print Time Estimation Accurately for Client Quotes
Estimated Reading Time: 5 minutes
- Customize printer settings for optimal accuracy.
- Regularly update your data on print times.
- Communicate clearly with clients using provided templates.
- Conduct test prints to refine time estimates.
Table of Contents
- Understanding Cura’s Layer View
- Using Print Time Estimation Effectively
- Example Calculation Using Layer View
- Client Quote Template and Guidelines
- Practical Takeaways
- Conclusion
- FAQ
Understanding Cura’s Layer View
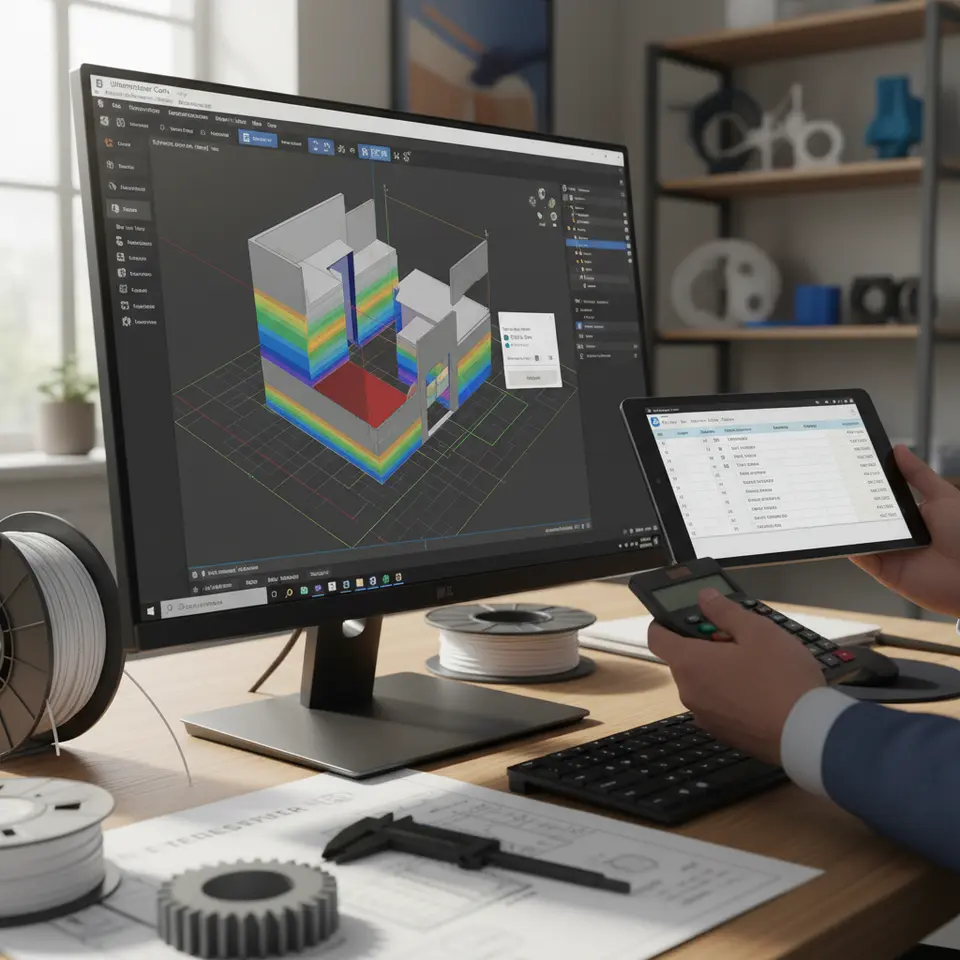
Cura’s layer view is one of the most powerful tools available for 3D printing. It not only provides insight into how your model will be sliced but also visualizes each layer as it is printed. This feature is particularly beneficial for determining print time estimates and understanding post-processing needs.
What is Layer View?
Layer view displays your 3D model as it would be constructed layer-by-layer. This not only helps in visualizing potential issues but also in planning the best approach to printing a model. Each layer in the view can be examined individually, allowing users to see where time-consuming elements are concentrated.
Accessing Layer View
To access layer view in Ultimaker Cura:
- Load your 3D model into the Cura software.
- Choose your desired settings (like layer height, infill percentage, etc.).
- Click on the ‘Preview’ mode to switch to layer view.
At this stage, the software will calculate the total print time and display the information alongside the layer-by-layer breakdown.

Using Print Time Estimation Effectively
With your model loaded and settings adjusted, you can leverage the print time estimation feature effectively. Remember that the estimated print time displayed in Cura helps you communicate more confidently with your clients.
Print Time Estimation Breakdown
- Initial Settings: Ensure that your printer settings reflect your actual machine capabilities. Different printers have various speeds and capabilities, impacting the time estimation accuracy.
- Default vs. Customized Profiles: Using default profiles can provide a rough estimate; however, customizing these profiles to reflect your machine will yield vastly improved accuracy. Refer to our guide on Cura’s ultimate profile settings for detailed customization tips.
- Material and Layer Height: Different materials and layer heights affect print time. Thicker layers print faster, but at the expense of detail. Conversely, finer layers produce better detail but increase print time significantly.
Correcting for Printer Differences
Every printer has its own quirks. Factors such as print speed, temperature settings, and even filament quality can affect the print time. Here’s how to adjust your estimates:
- Conduct Test Prints: Perform test prints on new models to gather data on actual print times. This information can be invaluable for future quotes.
- Adjust for Experience: If you notice that certain models take longer than estimated, adjust your future estimates based on this experience.
Example Calculation Using Layer View
To illustrate how to use layer view for accurate client quotes, let’s consider a simple example:
- Model Information: A simple vase designed for printing at 0.2mm layer height, with a total layer count of 50.
- Estimated Time per Layer: Let’s say Cura estimates around 2 minutes per layer on average.
- Total Print Time Calculation: Total print time = layers × time per layer = 50 layers × 2 minutes = 100 minutes.
- Client Quote: Given a standard hourly rate of $25, the quote would be approximately $25 / hour × (100 / 60) hours = $41.67.
Client Quote Template and Guidelines
To streamline your quoting process, here’s a simple template you can customize for your needs:
[Your Business Name]
Client Quote for 3D Printing Services

Client Name: _____________________
Date: _____________________________

Model Description: __________________________________________________

Material Used: ______________________________________________________

Estimated Total Print Time: ____________ minutes
Cost: $____________
Margin Rules: Always include a buffer in your quotes to account for unexpected complications or adjustments in the printing process.
Practical Takeaways
Leveraging Cura’s layer view and print time estimation features can enhance your ability to deliver accurate quotes. Follow these takeaways to ensure your process is smooth and effective:
- Customize Printer Settings: Tailor your Cura settings to your specific 3D printer for optimal accuracy.
- Regularly Update Your Data: Keep track of printing times across different models and materials.
- Communicate Clearly with Clients: Use the template provided to maintain professionalism in your dealings.
Conclusion
Learning how to use Cura’s layer view and print time estimation accurately for client quotes is invaluable for anyone involved in the 3D printing business. By effectively utilizing these tools, you can provide accurate and reliable quotes, ensuring a smooth workflow and satisfied clients.
For further insights and detailed guides, be sure to check out our other articles, such as Best Cura Settings for Ender 3 and Cura Speed vs. Quality Profiles.
Want more tips and tricks on 3D printing? Follow us on social media or subscribe to our newsletter for the latest updates from CuraSlicers.com!
For more insights into 3D printing and Cura settings, visit our homepage.
FAQ
- How can I improve the accuracy of my print time estimations? Regularly update your printer profiles and conduct test prints on new models.
- What settings should I adjust for better estimates? Focus on layer height, infill percentage, and ensure your printer’s capabilities are accurately reflected in Cura.
- Is it necessary to customize settings every time? While default settings provide a baseline, customization yields the most accurate results tailored to your specific printer.