
Mastering Cura Slicer for Magnet Embedding
Cura Slicer for Embedding Magnets and Hardware: Pause Routines and Fit Tolerances
Estimated Reading Time: 7 minutes
- Master the art of embedding magnets in your 3D prints.
- Learn how to set up effective pause routines in Ultimaker Cura.
- Understand fit tolerances to ensure magnets fit perfectly.
- Discover printable templates for designing magnet pockets.
- Safety tips for embedding magnets during printing.
Table of Contents
- Understanding the Mechanics of Embedding Magnets
- Setting Up Pause Routines in Cura Slicer
- Calculating Fit Tolerances for Magnet Embedding
- Embedding Procedure and Safety Tips
- Conclusion: Elevating Your 3D Printing with Embedded Magnets
- FAQ
Understanding the Mechanics of Embedding Magnets
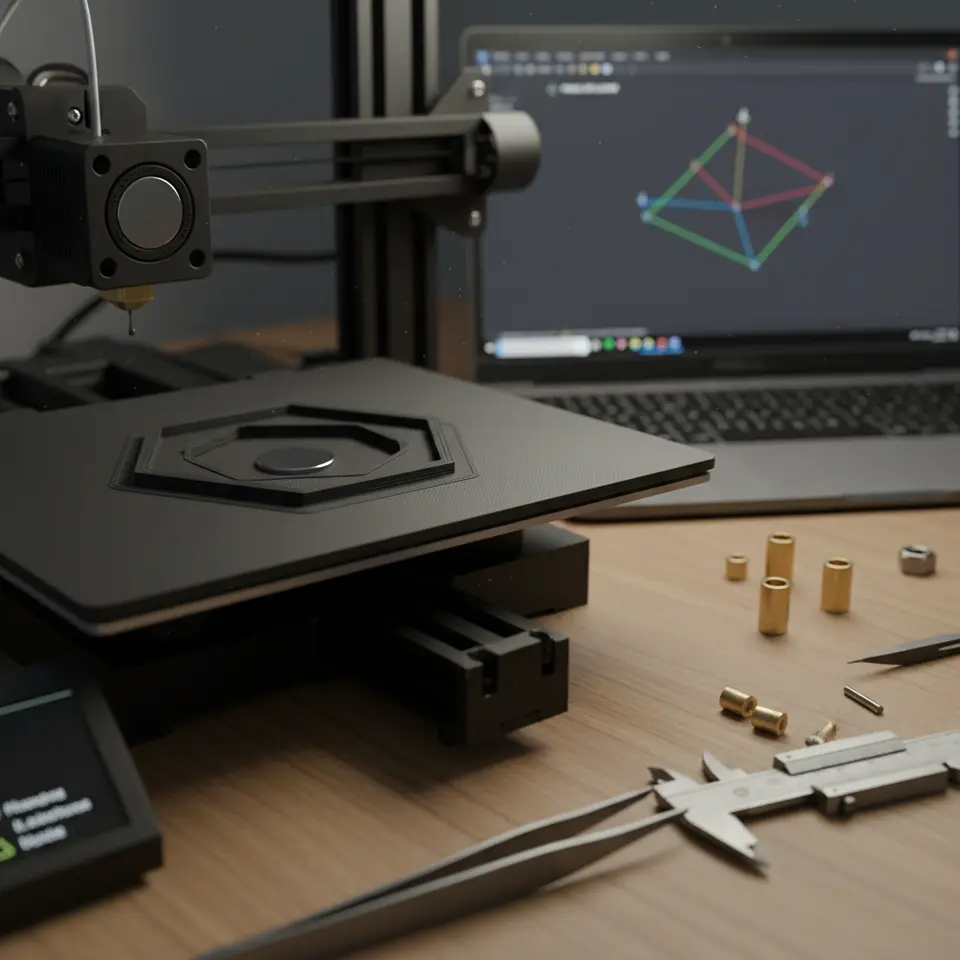
In the evolving world of 3D printing, embedding magnets and other hardware into your prints can elevate your projects to a whole new level. This process allows for the creation of functional, multi-part designs in a single print, significantly reducing the need for post-processing assembly. However, achieving successful embeds requires careful attention to pause routines and fit tolerances, which this blog will explore in detail.
At CuraSlicers.com, we strive to be your go-to resource for mastering the art and science of 3D printing. Today, we will provide practical guidance on how to implement effective pause routines using Ultimaker Cura, how to calculate fit tolerances, and we will share printable templates and tolerancing tables to ensure your magnets fit perfectly.
- Seamless Integration: Allows for smoother designs where parts interlock or connect with magnetic forces.
- Reduced Assembly Time: Cuts down on the need for external adhesives or fasteners.
- Improved Functionality: This method can create dynamic and interactive components, particularly in household items, toys, or prototyped projects.
Setting Up Pause Routines in Cura Slicer
What Is a Pause Routine?
A pause routine is a customization in your slicer settings that instructs the printer to stop at a specific layer so you can place your magnet or hardware before continuing the printing process. In Ultimaker Cura, this can be easily achieved through the following steps:
Steps to Create a Pause Routine
- Load Your Model: Import your 3D model into Cura.
- Determine Embedding Layer: Identify the layer at which you want the print to pause. You may want to visualize this within Cura using the layer view.
- Add a Pause Script:
- In the “Extensions” menu, navigate to “Post-Processing” and select “Modify G-Code.”
- Choose “Insert Pause” and define when the pause should occur (this should correspond to the layer height you’ve identified).
- Include additional commands if necessary, such as lowering the print head to avoid accidental interference.
- Test Print: Before embedding magnets in important projects, test this setup with less critical models to ensure the pause works as intended.
Practical Takeaways for Using Pause Routines
- Maximize Accuracy: Make sure your printer is at the correct temperature and settled before embedding.
- Keep Close Attention: Watch the printer during the pause period to assist and adjust the position of the magnets if necessary.
- Referencing Safe Pause Scripts: Using well-tested G-code scripts from recognized sources like Ultimaker’s documentation can provide insights into safe pause techniques.
Calculating Fit Tolerances for Magnet Embedding
After setting up your pause routine, the next critical factor is ensuring your magnets fit perfectly within the model. Fit tolerances are the allowances made when designing prints to accommodate variations in size between magnets and the pockets made for them.
How to Calculate Fit Tolerances
- Know Your Magnet’s Dimensions: Start with the exact dimensions of your magnets (diameter and thickness). Common magnet sizes include 10 mm, 20 mm, etc.
- Material Shrinkage Considerations: Different materials shrink at varying rates during cooling. It’s essential to review shrinkage rates specific to your filament (e.g., PLA, ABS).
- Use Tolerancing Tables: Create or refer to templates that detail how much extra space to leave around the magnets. For instance:
- Tight Fit: +/- 0.1 mm
- Snug Fit: +/- 0.2 mm
- Loose Fit: +/- 0.5 mm
These values ensure that your magnets do not sit too loosely (which can compromise functionality) or too tightly (which might hinder insertion).
Practical Example of Designing with Tolerances
Let’s consider a 10 mm diameter magnet embedded into a pocket:
- If the magnet has a diameter of 10 mm and you’re using PLA with a shrinkage rate of approximately 1%, your design should anticipate up to 0.1 mm of shrinkage.
- A pocket with a diameter of 10.1 mm will provide a snug yet manageable fit, making penetration smooth and ensuring magnets stay anchored during use.
Templates for Magnet Embedding
To facilitate your designs, you can create printable templates for proper pocket sizes, which will become an invaluable resource. Make these templates available in different designs according to standard magnet sizes, and don’t forget to include a visual cue, such as placeholders for magnets on the print itself.
Embedding Procedure and Safety Tips
When you’re ready to embed these magnets mid-print, here’s how you can ensure both efficiency and safety:
- Safety Equipment: Always wear gloves when handling magnets and adhesives to protect from injuries or chemical exposure.
- Choose the Right Adhesive: Depending on the application (e.g., outdoor use), select appropriate adhesives that can withstand environmental factors. Epoxies or superglues are common choices.
- Maintaining Alignment During Embedding: Use alignment tools or jig templates to ensure that the magnet is placed correctly before the print resumes.
Conclusion: Elevating Your 3D Printing with Embedded Magnets
Embedding magnets and hardware using Cura Slicer isn’t just an advanced technique; it’s a gateway to innovative creations that blend functionality with aesthetics. By mastering pause routines and honing fit tolerances, you’re poised to take your designs to the next level.
Call to Action
If you’re eager to explore more about optimally utilizing Cura Slicer for your 3D printing projects, we invite you to check out our guides on Custom Printer Profiles and Effective Support Settings to further enhance your printing experience!
Don’t forget to subscribe to CuraSlicers.com for more expert tips and updates, and follow us on social media for the latest news and community engagement. Happy printing!
For more detailed information and resources on 3D printing, visit our Homepage today!
FAQ
Q1: What are pause routines?
Pause routines are settings that allow a 3D printer to pause printing at a specific layer, enabling the insertion of magnets or other hardware.
Q2: How do I determine fit tolerances for magnets?
Fit tolerances depend on the size of the magnet and material shrinkage during printing; typically they range from +/- 0.1 mm to +/- 0.5 mm based on fit tightness.
Q3: What safety measures should I take when embedding magnets?
Always wear gloves, use appropriate adhesives based on the application, and ensure proper alignment during embedding to avoid issues.


