Cura Slicer for Accurate Medical Models
Estimated reading time: 7 minutes
Key Takeaways:
- Utilizing Cura Slicer enhances anatomical fidelity in 3D printed medical models.
- Effective model orientation and support strategies are crucial for quality prints.
- Post-processing techniques improve the texture and appearance of anatomical prints.
- Ethical considerations are vital to maintaining integrity in medical education.
- Case studies and print time estimates help optimize the printing process.
Table of Contents:
- Understanding the Importance of Anatomical Accuracy in Medical Education Models
- Slicing Strategies for Educational Anatomical Prints
- Surface Finishing for Realism
- Ethical Considerations in 3D Printing Medical Models
- Case Study Files and Print Time Estimates
- Practical Takeaways for Successful Printing
- Conclusion
Understanding the Importance of Anatomical Accuracy in Medical Education Models
The accuracy of anatomical models is paramount in medical education. Models that closely represent human anatomy can serve as precise study aids, offering students and healthcare professionals a valuable learning experience. High-quality prints allow for practical learning without the need for cadavers, making education more accessible.
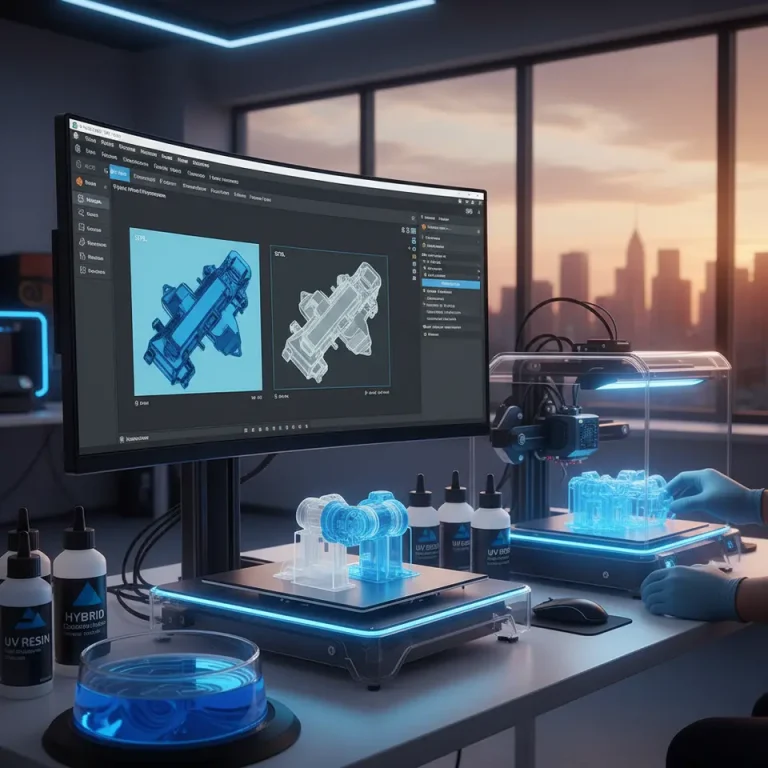
Why use 3D printing for anatomical models? Traditional models can be expensive and often lack the detail that can be achieved with digital designs. By utilizing Cura Slicer for printing, you can optimize setting for model fidelity, ensuring that anatomical structures are accurately reproduced in every print.
Slicing Strategies for Educational Anatomical Prints
1. Orientation for Anatomy Fidelity
Model orientation is a crucial factor when it comes to achieving anatomical fidelity. The right orientation minimizes support structures and ensures that structural details remain intact. Here are some tips:
- Flat Base: Place flat surfaces on the build plate to maximize adhesion and minimize the risk of warping. Utilizing a brim can enhance stability (see our article on Cura Brim Strategies for Tiny Parts).
- Vertical vs. Horizontal: For elongated structures (like bones), vertical placement often preserves detail along the entire length, whereas vital organs or surfaces with intricate textures should be oriented to capture as much detail as possible within the layer height limits.
2. Multi-Part Assembly
Many anatomical models consist of multiple parts. Cura Slicer provides essential tools to aid in efficiently printing these assemblies.
- Use of Supports: Features like tree supports can allow complex models to be printed without detracting from overall aesthetics or detail (explore our guide on Cura Tree vs. Normal Supports).
- Interlocking Mechanisms: When designing parts that need to fit together, consider creating interlocking features or using locating pins to facilitate assembly.
- Post-Processing Techniques: After printing, consider adjusting seams and joints during post-processing for a smoother assembly.
Surface Finishing for Realism
To enhance the texture and appearance of your printed models, post-processing is invaluable. Here are some effective methods to consider:
- Sanding: Sanding printed parts helps remove imperfections, achieving a smoother surface. Start with coarse grit sandpaper and work up to finer grits for a polished finish.
- Painting: Use appropriate paints that mimic biological tissue colors. Acrylic paints are commonly recommended due to their ease of use and availability. Clear coatings can also enhance realism by adding shine or even translucence where necessary.
- Texturing Techniques: Employ techniques such as dry brushing or airbrushing to highlight features like muscle striations or skin textures, creating more accurate representations.
Ethical Considerations in 3D Printing Medical Models
As exciting as 3D printing technology can be in the medical field, ethical considerations must not be overlooked. Using these models responsibly is crucial for maintaining academic integrity and public trust. A few important points to consider are:
- Accuracy: Ensure all models accurately represent anatomical structures to avoid misinformation based on flawed models.
- Use Disclaimers: Provide disclaimers when models may be used for educational purposes, clarifying that these prints should not replace professional medical training or real human anatomy.
- Patient Consent: If using real patient data for physical models, ensure proper consent and ethical guidelines are followed.
Case Study Files and Print Time Estimates
To maximize learning and effectively utilize the discussed strategies, we recommend leveraging case study files, which highlight how orientation, support, and finishing techniques can be applied in real-world applications. Below are links to example case study models that may assist in creating your anatomical education prints:
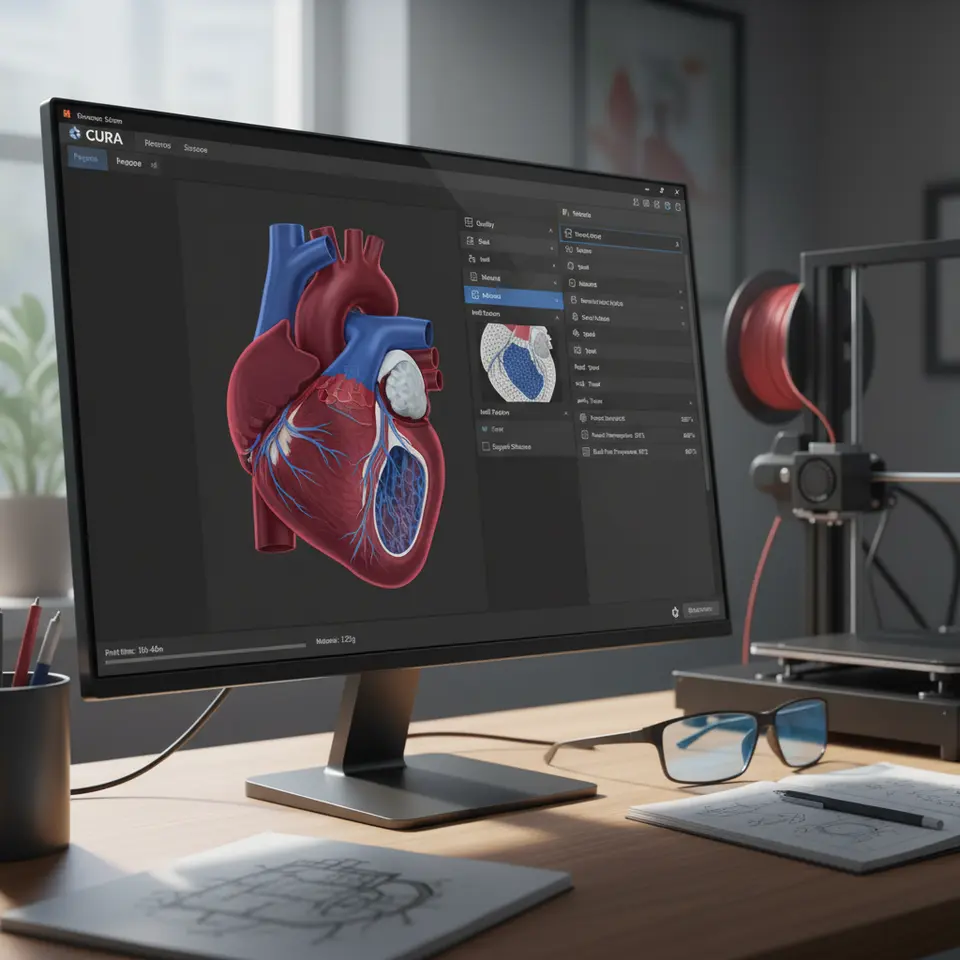
- Case Study Model 1: A detailed heart model showcasing precision in orientation and post-processing techniques.
- Case Study Model 2: A human femur with interlocking print sections demonstrating assembly principles.
In using Cura, you can manage the print time and settings efficiently. For example, a typical heart model may take approximately 8 hours for a standard 0.4mm nozzle, depending on the infill and layer height settings you select. Accurate estimations ensure better planning for educational use and assist in time management when preparing models for demonstrations.
Practical Takeaways for Successful Printing
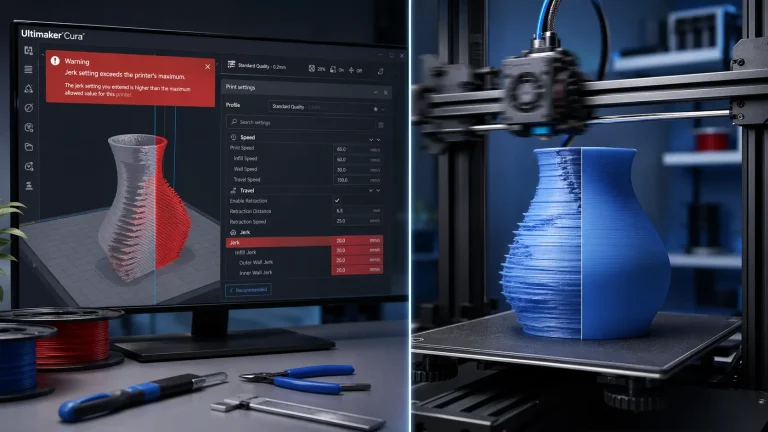
- Software Settings: Utilize Cura’s features to determine the optimal settings for your anatomy models by adjusting layer height, print speed, and infill settings based on the desired fidelity.
- Testing: Conduct test prints to fine-tune settings, analyze support needs, and understand how orientation affects results.
- Documentation: Keep detailed records of settings and finished models to aid in further projects and knowledge-sharing within educational institutions.
Conclusion
Utilizing the Cura Slicer for printing medical education models is a strategic way to produce high-quality anatomical parts with accurate fidelity and texture. By following the slicing strategies, multi-part assembly tips, and post-processing techniques outlined in this guide, you can elevate the educational potential of your models while maintaining adherence to ethical standards.
For additional insights and guides on achieving optimal 3D printing results, visit CuraSlicers.com. You might also find our guides on Cura Support Settings for Effective Overhangs and Cura Slicer Optimization Techniques helpful for future projects.
Stay tuned with us for more knowledge on 3D printing, and don’t forget to follow CuraSlicers on social media or subscribe to our newsletter for regular updates and new guides. Happy printing!
FAQ
What is Cura Slicer?
Cura Slicer is a widely used slicing software that converts 3D models into instructions for 3D printers, optimizing settings for quality prints.
How can I improve the anatomical accuracy of my prints?
Improving anatomical accuracy involves using precise model orientations, choosing appropriate supports, and applying effective post-processing techniques.
What ethical considerations should I keep in mind?
Ethical considerations include ensuring model accuracy, using disclaimers if necessary, and obtaining patient consent when applicable.
Can I use real patient data for 3D models?
Yes, but it is crucial to follow ethical guidelines and obtain proper consent before using any real patient data for model creation.