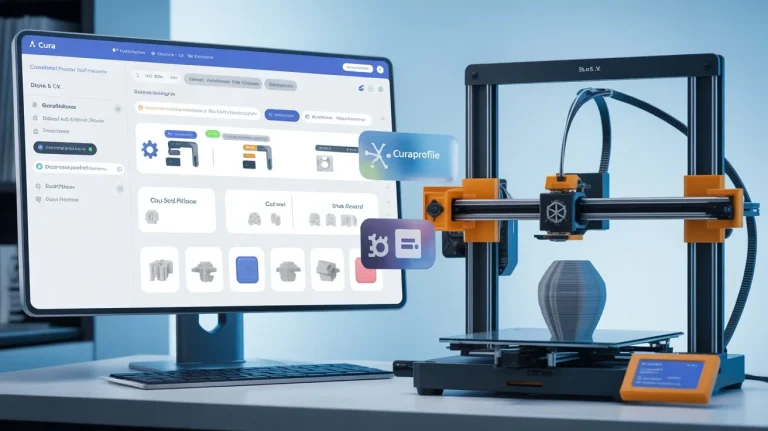
Optimize Cura Settings for Assembly Jigs and Fixtures
How to Slice for Printing Assembly Jigs and Fixtures Using Cura for Workshop Use
Estimated reading time: 6 minutes
- Learn the importance of material selection for jigs and fixtures.
- Understand key Cura slicing settings to enhance print quality.
- Discover practical examples and downloadable templates for quick implementation.
- Explore post-processing techniques to improve durability.
- Get tips on optimizing your jig designs for functional use.
Table of Contents
- Why 3D Printed Jigs and Fixtures?
- Understanding Your Design
- Key Cura Settings for Slicing
- Post-Processing Techniques
- Case Studies: Practical Examples
- Downloadable Jig Templates
- Conclusion
- Additional Resources
- FAQs
Why 3D Printed Jigs and Fixtures?
Assembly jigs and fixtures play a crucial role in manufacturing and assembly processes, enhancing precision while reducing time and effort. By utilizing 3D printing, you can customize these tools to fit specific needs and workflows, ultimately increasing productivity in your workshop. From drill guides to clamps, the potential for customized tools is virtually limitless.
In this article, we will explore the specific features in Cura that will help you optimize your slicing for jigs and fixtures while also providing practical case studies for your reference. Let’s dive in!
Understanding Your Design
1. Material Selection
The journey toward a successful jig or fixture starts with selecting the right material. Common choices include PLA, ABS, PETG, and nylon, each offering different strengths and flexibility. For workshop tools, materials that balance rigidity and toughness are preferred.
- PLA is easy to print and provides good strength, making it suitable for lightweight jigs.
- ABS offers higher durability and heat resistance, ideal for tools exposed to friction or stress.
- PETG combines strength and flexibility, ensuring it can withstand mechanical loads without cracking.
Choose your material based on the specific demands of the jig or fixture you’ll be working with.
2. Designing for Printability
The design of your jig directly influences how you will slice it. Aspects like infill density, wall thickness, and orientation affect the final print’s strength and utility.
- Infill density: A higher infill percentage, such as around 50-100%, can provide additional strength for high-load applications. For lighter-duty jigs, a density of 20-30% may suffice.
- Wall thickness: Increasing the wall line count can enhance durability. Using at least 3-4 walls can significantly improve the rigidness of your structure.
- Orientation: The orientation during printing can affect strength due to the layering process. Consider aligning the most stressful areas of the design with the print’s vertical axis for added strength.
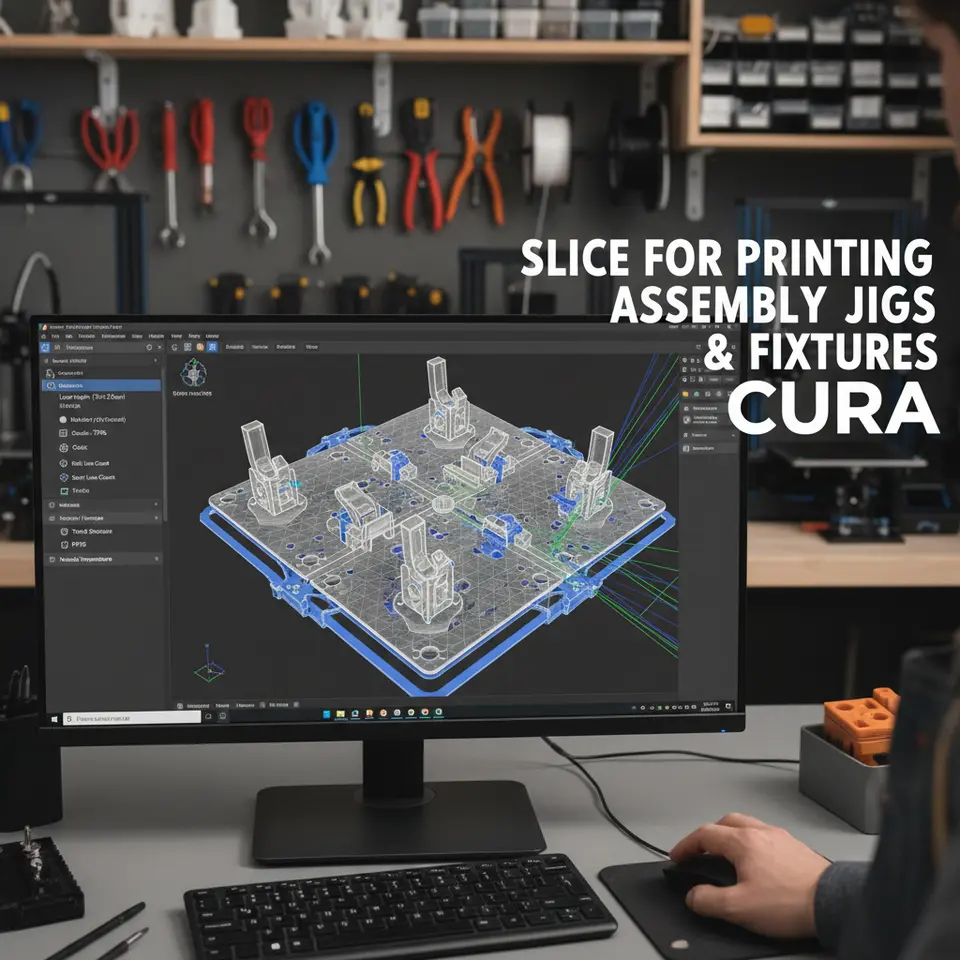
Key Cura Settings for Slicing
Essential Cura Settings for Assembly Jigs
Now that we have our designs ready, let’s focus on specific Cura settings that will help maximize strength and functionality for your jigs and fixtures.
1. Print Speed
Using slower print speeds (around 30-50 mm/s) can enhance adhesion between layers, resulting in a stronger final product. Although it takes longer to print, the extra time pays off in the quality of the piece.
2. Layer Height
A layer height of 0.1-0.2 mm is recommended for high-detail jigs, while a 0.3 mm height can be used for quicker prints with less fine detail. The finer the detail required, the smaller the layer height should be.
3. Use of Supports
Depending on the complexity of your design, you may require supports. Cura allows for support generation with various settings that can be tailored:
- Support Placement: You can choose between “Everywhere,” “Touching Buildplate,” or even custom supports.
- Support Density: A lower density (10-15%) can work well for supports that are easy to remove.
For further optimization of your support structures, you can check out our detailed guide on Cura Support Settings Effective.
4. Temperature Settings
Adjust the nozzle temperature based on the material you choose. For instance:
- PLA: 190-210°C
- ABS: 230-250°C
- PETG: 220-250°C
Monitoring temperature is critical, especially when working with ABS due to warping. Cooling settings also play a role, especially in PLA; a cooling fan can help set layers quickly.
Post-Processing Techniques
Post-processing can significantly enhance the durability and performance of your printed jigs.
- Sanding and Finishing: Once printed, sanding the surfaces can help create smoother edges, improving usability.
- Priming and Painting: If aesthetics matter, a primer suitable for plastic can be applied, followed by paints designed for high wear, particularly for tools exposed to friction.
- Reinforcement: For exceptionally high-stress applications, consider reinforcing critical areas with epoxy or additional material.
Case Studies: Practical Examples
Drill Guides
When creating drill guides, features like alignment holes and supports for drill bits should be optimized for printing orientation. A robust drill guide may use 100% infill and 5 walls to ensure maximum stability during use.
Clamps
Designing clamps requires careful consideration of both the squeeze and the jaws. Using PETG with an infill of 50% often provides the necessary strength without compromising function. Use layers to align stress areas horizontally for printing.
Downloadable Jig Templates
To speed up your creation process, we’re offering downloadable templates for common jigs including drill guides and clamps. These templates are designed with optimized slicer settings in mind and can help you get started quickly.
Conclusion
By harnessing the power of Ultimaker Cura and embracing thoughtful design principles, you can effectively create customized assembly jigs and fixtures that cater to your workshop’s needs. Remember to pay close attention to your Cura settings as well as the materials you select, as they significantly influence your final product’s quality and strength.
For more about optimizing your Cura settings, explore our articles on Cura Speed and Quality Profiles and learn how to Reduce Print Time with Cura.
Interested in following the latest trends or tips in 3D printing? Don’t forget to visit our main page CuraSlicers for the latest resources, guides, and community discussions.
If you found this article helpful, consider subscribing to our newsletter or following us on social media for more insights, tips, and downloadable resources about 3D printing and Cura slicing technology.
Additional Resources
For an in-depth understanding of 3D printing materials, check out Ultimaker’s official documentation.
FAQs
What materials are best for printing jigs and fixtures?
PLA, ABS, PETG, and nylon are commonly used materials, each with unique properties suited for different applications.
How can I improve the strength of my printed jigs?
Utilizing higher wall thickness, denser infill, and optimizing print speed are effective ways to enhance strength.
Do I need supports for all designs?
Not necessarily. Supports are needed primarily for overhangs or complex designs; simple shapes usually print without them.
What post-processing techniques can I use?
Sanding, priming, painting, and reinforcement with epoxy are all helps to enhance the functionality and aesthetic of your jigs.