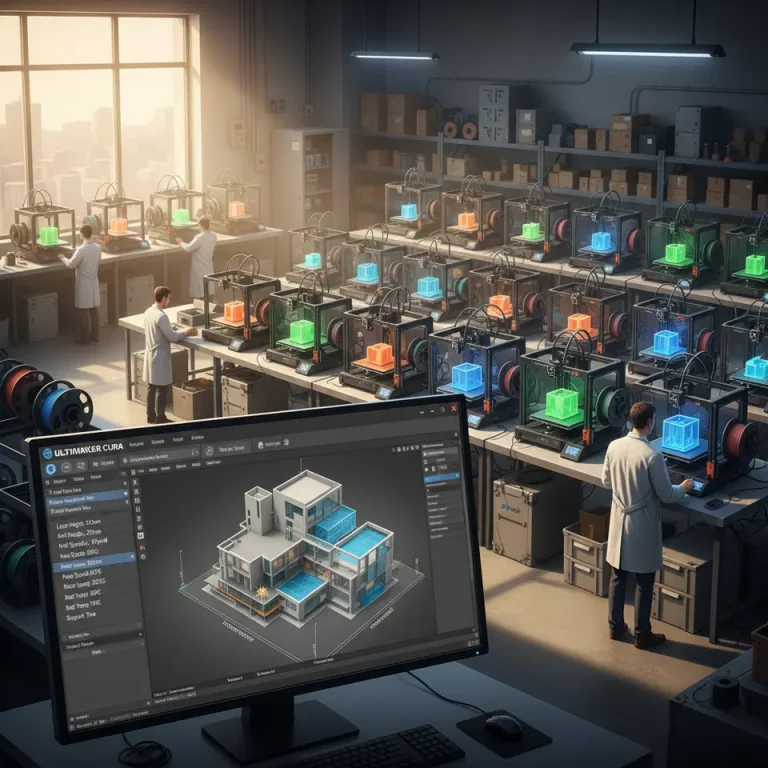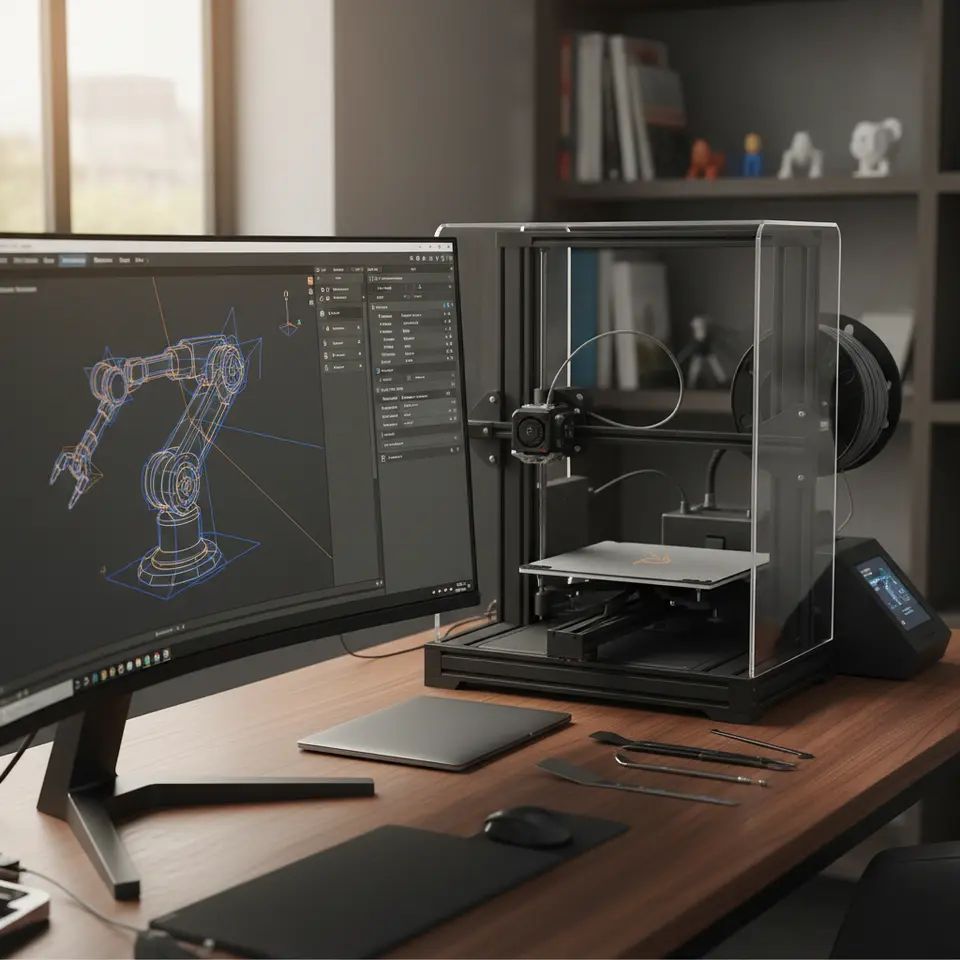
Cura Slicing vs CAD Tolerance Explained
Estimated Reading Time: 5 minutes
- CAD tolerance defines permissible variations in dimensions, essential for proper assembly.
- Cura slicing tolerance affects how accurately a CAD model is printed, influenced by settings like layer height and print speed.
- Dimensional accuracy can be lost during file conversion, slicing settings, printer capabilities, and due to material properties.
- Optimizing workflows includes designing with tolerance in mind and regularly calibrating printers.
Understanding CAD Tolerance
CAD tolerance refers to the permissible limits of variation in a physical dimension. In other words, it dictates how far a given dimension can deviate from its nominal value in a CAD model. Designers utilize CAD tolerances to ensure parts fit together as intended, particularly in assemblies. According to Mechanical Engineering, tolerances are essential for maintaining functionality, minimizing manufacturing costs, and ensuring that parts will assemble correctly.
In a practical sense, different types of tolerances can be established in CAD systems, such as:
- Dimensional tolerances: These focus on the specific measurements of individual features of the part.
- Geometric tolerances: These define variations in form, orientation, location, and run-out.
CAD tolerances are often decided based on the manufacturing process the part will undergo. For instance, in machining processes, tighter tolerances are achievable, whereas injection molding can accommodate wider tolerances.
Exploring Cura Slicing Tolerance
On the other hand, slicing tolerance is how your slicing software interprets your CAD model data for 3D printing. Ultimaker Cura, a commonly used slicing program, takes CAD files and translates them into instructions that a printer can understand. Cura slicing tolerance affects how accurately the model is replicated by the printer.
Parameters influencing slicing tolerance in Cura include:
- Layer Height: Affects the resolution of the print. Finer layers can capture detailed features but increase print time and material usage.
- Print Speed: Higher speeds may lead to diminished quality as there’s less time for filament to properly bond.
- Feature Resolution: This determines how detailed smaller features are processed by the slicer. Features too small can be lost entirely or misprinted.
So, what happens to dimensional accuracy during slicing? When a CAD file is processed in Cura, its interpretations can potentially introduce minor alterations. These could be due to settings within Cura that might not fully align with the tolerances set in the CAD model.
Where Dimensional Accuracy is Lost
- File Conversion: When exporting from CAD software to a slicer format, such as STL, minor inaccuracies may arise. The precision of models can be affected by the conversion process itself. For instance, if the meshing quality is poor in the STL conversion, it can lead to lost details that result in inaccuracies.
- Slicing Settings: As previously mentioned, settings such as layer height and print speed interact directly with Cura slicing tolerance. If these settings are not optimized based on your model’s requirements, the quality of the resulting print can suffer.
- Printer Capabilities: The actual 3D printer also plays a critical role in accuracy. Factors such as mechanical limits, extrusion consistency, and even temperature fluctuations can lead to discrepancies between intended dimensions (as per CAD) and resultant dimensions (after slicing and printing).
- Material Properties: Different materials shrink differently post-print. For example, materials like ABS can exhibit substantial shrinkage during cooling, which translates to dimensional inaccuracy. Depending on material choice, adjustments to CAD and slicing tolerances might be necessary to accommodate for expected shrinkage.
Optimizing Your Workflow
- Design with Tolerance in Mind: Understanding how your design will be implemented in 3D printing is critical. Always consider how features’ tolerances will affect assembly. For intricate parts or assemblies, designing with generous tolerances can sometimes be necessary.
- Review Slicing Settings in Cura: Take time to adjust your Cura slicing settings. Use the “layer height” appropriately; a common strategy is to set your layer height to a fraction (like 1/4) of the nozzle diameter. A layer height that’s too large can oversimplify details, while one that is too small can increase print time unnecessarily.
- Use Supports Where Necessary: When dealing with overhangs or intricate geometries, ensure that you’re utilizing Cura’s support features effectively. Not only can this preserve dimensions of delicate features, but it can also improve adhesion and surface quality.
- Test Prints: Create test prints of critical features, adjusting tolerances gradually until you achieve the desired accuracy. This iterative approach saves time and materials in the long run.
- Monitor Print Environment: Ensure that printer conditions are optimal. Fluctuations in temperature, humidity, and even airflow around the printer can influence the final print’s dimensional accuracy.
- Calibrate Your Printer: Regular calibration—especially of extrusion rates and temperature—will reduce discrepancies and enhance accuracy. Over time the printer can drift out of calibration, leading to less precise dimensions.
Actionable Advice
To align your CAD models with Cura’s capabilities effectively, consider the following specific tips and settings adjustments:
- Set your layer height around 0.1 to 0.2 mm for standard detail, but consider reducing it for higher detail.
- Use Cura’s “adaptive layers” feature where possible to maximize print quality while managing time and material effectively.
- Utilize the “tolerance” settings available under the “modify” section to correct for known discrepancies introduced during slicing.
Conclusion
In the battle of cura slicing tolerance vs CAD tolerance, both aspects are critical and must work in harmony to ensure printed parts are accurate and functional. Understanding where discrepancies arise can help you adjust both your CAD designs and your Cura slicing settings effectively, leading to better prints every time.
For further information on improving your 3D printing process, be sure to check out our posts on Cura Slicer Support Settings for Overhangs and Optimizing Cura for Small Cosmetic Prints.
For more insights, tutorials, and resources, visit our main page at CuraSlicers.com. We invite you to explore our vast collection of guides and subscribe for updates on the latest practices in 3D printing!
FAQ
Q: What is the main difference between CAD tolerance and slicing tolerance?
A: CAD tolerance determines the permissible variations in dimensions of your design, while slicing tolerance dictates how accurately that design is interpreted and printed by the slicing software.
Q: How can I improve the dimensional accuracy of my 3D prints?
A: You can improve dimensional accuracy by optimizing your design based on tolerances, adjusting your slicing settings in Cura, ensuring proper printer calibration, and considering the properties of the materials you use.
Q: Does the type of printer affect the slicing tolerance?
A: Yes, different printers have varying capabilities and mechanical limitations, which can affect the accuracy of prints derived from slicing without proper calibration and adjustment.
Q: Is it necessary to create test prints?
A: Yes, creating test prints is essential for adjusting tolerances and ensuring that your settings yield the desired accuracy, which ultimately saves time and material.