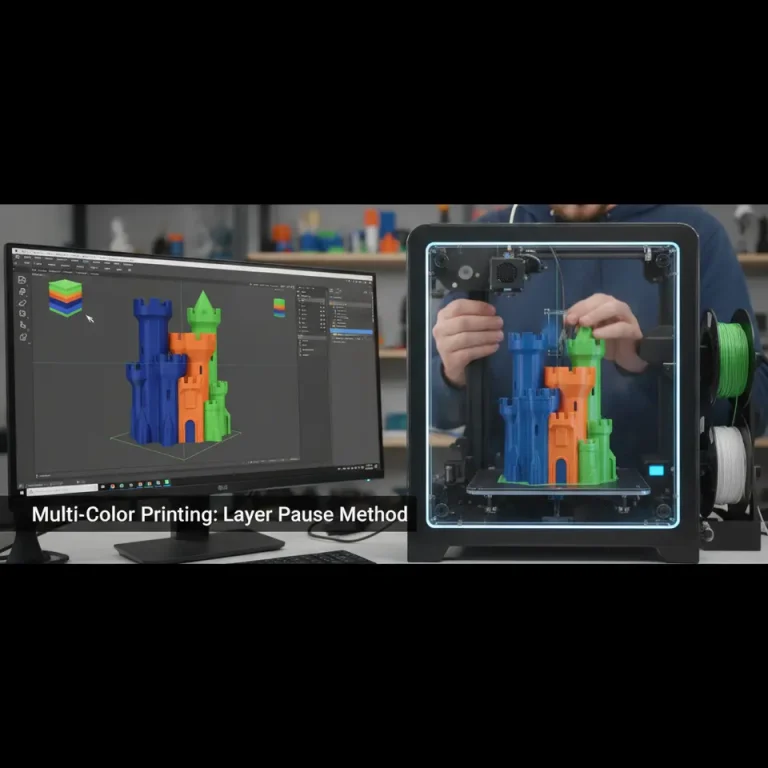
Ultimate Cura Settings for Flawless PLA PETG ABS Prints
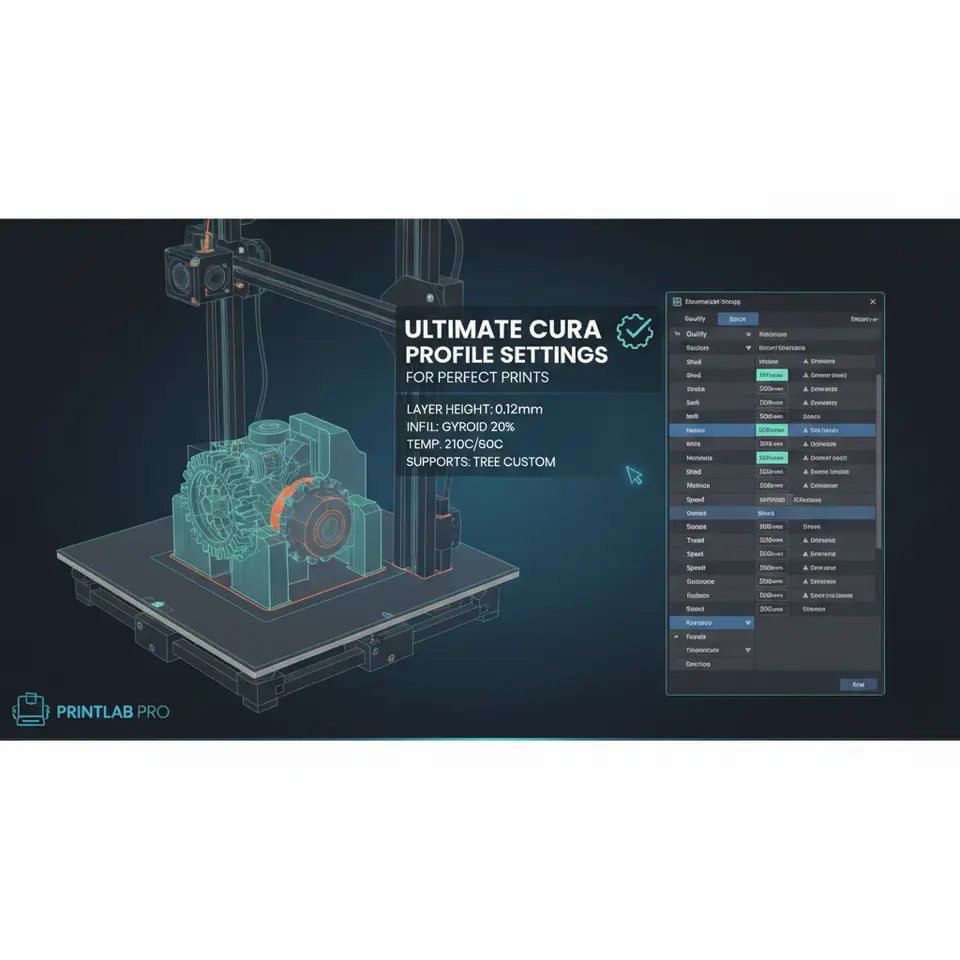
The Ultimate Cura Profile Settings for Perfect Prints
Estimated reading time: 8 minutes
- Master Cura’s parameters for flawless prints on PLA, PETG, and ABS.
- Download ready-to-use profiles to streamline your workflow.
- Implement automation tools like n8n for efficient slicing.
- Identify and troubleshoot common printing issues with confidence.
Table of Contents
- Introduction
- Core Parameters Overview
- 1. PLA Settings
- 2. PETG Settings
- 3. ABS Settings
- 4. Importing Profiles
- 5. Automating Your Workflow
- 6. Troubleshooting Checklist
- 7. Connecting the Dots
- 8. Call to Action
- FAQ
Introduction – Why “The Ultimate Cura Profile Settings for Perfect Prints” Matter Today
If you’ve ever spent hours tweaking layer height, temperature, and speed only to end up with blobs, stringing, or weak walls, you know the frustration of an imperfect slice. That’s why The Ultimate Cura Profile Settings for Perfect Prints have become the hottest search phrase among hobbyists, makers, and production-level engineers alike.
In this article, we’ll unpack the exact Cura configurations that consistently deliver smooth surfaces, strong adhesion, and reliable dimensional accuracy for the three most popular filament families—PLA, PETG, and ABS. You’ll also discover how to integrate these profiles into a streamlined workflow using automation tools like n8n, so you can focus on designing rather than troubleshooting.
Quick takeaway: By the end of this guide you’ll have three ready-to-use Cura profiles (downloadable from CuraSlicers.com) and a checklist of settings you can copy-paste into any printer that runs Ultimaker Cura.
The Ultimate Cura Profile Settings for Perfect Prints – Overview of Core Parameters
Before diving into material-specific tweaks, let’s review the universal settings that form the backbone of any high-quality Cura profile.
| Category | Setting | Recommended Value (Default) | Why it matters |
|---|---|---|---|
| Layer Height | Layer Height | 0.1 mm (0.12 mm for 0.4 mm nozzle) | Balances surface finish and print time. Smaller layers = smoother surfaces, but increase print time exponentially. |
| Wall Settings | Wall Line Count | 3 (or 2 for fast prototypes) | Three walls provide sufficient strength for most functional parts while keeping material use reasonable. |
| Wall Thickness | 0.8 mm (for 0.4 mm nozzle) | Ensures wall line count aligns with nozzle diameter (Wall Thickness = Wall Line Count × Nozzle Diameter). | |
| Top/Bottom | Top Layers | 6 (0.12 mm layer → 0.72 mm) | Guarantees a solid, airtight roof; crucial for prints that will be post-processed or sealed. |
| Bottom Layers | 5 (0.12 mm layer → 0.6 mm) | Provides a stable base that adheres well to the build plate. | |
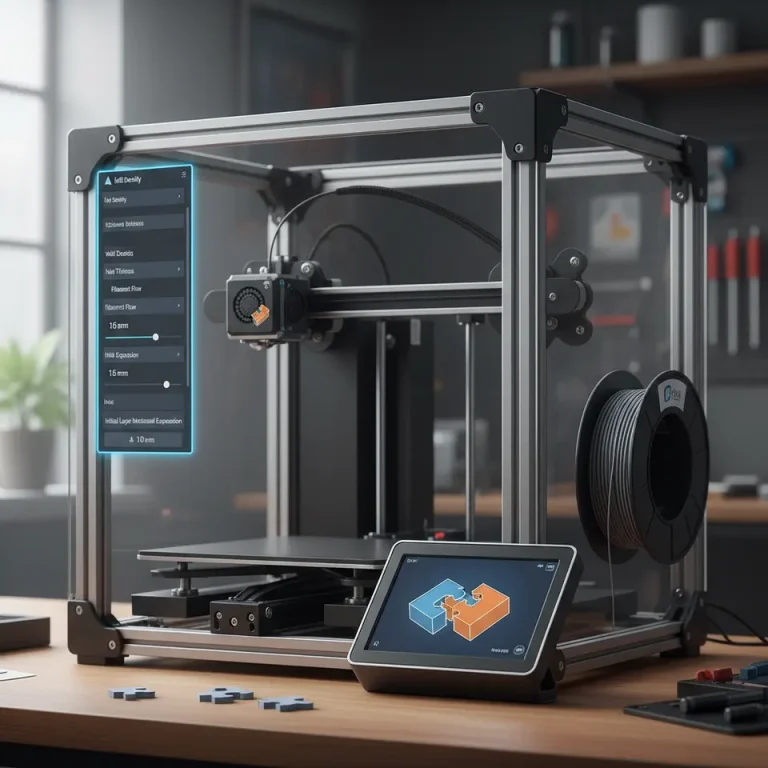
| Infill | Infill Density | 20 % (adjust per part) | Offers a good strength-to-weight ratio for most functional prints. |
| Infill Pattern | Gyroid | Delivers isotropic strength and reduces print time compared to cubic. | |
| Print Speed | Print Speed (outer walls) | 40 mm/s | Slower outer walls improve surface quality without dramatically extending total print time. |
| Print Speed (infill) | 80 mm/s | Faster infill fills the interior quickly while outer walls remain crisp. | |
| Temperature | Nozzle Temp | Material-specific (see sections below) | Correct temperature ensures proper layer bonding and reduces stringing. |
| Bed Temp | Material-specific (see sections below) | Prevents warping and improves first-layer adhesion. | |
| Cooling | Fan Speed | 100 % for PLA, 30-50 % for PETG, 0 % for ABS (first few layers) | Proper cooling solidifies each layer at the right moment. |
| Adhesion | Build Plate Adhesion Type | Brim (0.8 mm) for PETG/ABS, Skirt (2 lines) for PLA | Brims increase surface area, reducing warping on high-shrinkage filaments. |
| Retraction | Retraction Distance | 6.5 mm (Bowden) / 1.5 mm (Direct) | Minimizes ooze and stringing; adjust per printer’s extruder type. |
| Retraction Speed | 35 mm/s | Fast enough to pull filament quickly but not so fast to cause grinding. |
These settings are the foundation of every Cura profile we publish on CuraSlicers.com. In the next sections we’ll fine-tune them for each filament family, explain the science behind each adjustment, and provide downloadable JSON files that you can import with a single click.
1. PLA – The “Plug‑and‑Play” Filament
PLA remains the most popular material for beginners and rapid prototyping because it prints at relatively low temperatures and exhibits minimal warping. However, to achieve a truly perfect finish you still need to respect a few nuances.
1.1 Recommended Cura Settings for PLA
| Setting | Value | Rationale |
|---|---|---|
| Nozzle Temperature | 200 °C (±5 °C) | Provides optimal melt flow without overheating, which can cause stringing. |
| Bed Temperature | 60 °C | Warm enough for adhesion, but low enough to avoid softening the first layer. |
| Print Speed – Outer Walls | 35 mm/s | Slightly slower to maximize surface gloss. |
| Cooling Fan | 100 % after first 2 layers | Full cooling prevents sagging on overhangs. |
| Retraction | 1.5 mm / 35 mm/s (direct drive) or 6.5 mm / 35 mm/s (Bowden) | Prevents blobs on travel moves. |
| Adhesion | Skirt, 2 lines, 0.2 mm offset | Simple and effective for PLA’s low shrinkage. |
| Flow Rate | 100 % (±2 % after test print) | Keep at nominal; adjust only if you see under-extrusion. |
1.2 Fine-Tuning Tips
- Layer Height vs. Nozzle Diameter: For a 0.4 mm nozzle, a 0.12 mm layer height gives a 1:3.33 ratio, which is ideal for balancing detail and speed. If you need ultra-smooth surfaces, drop to 0.08 mm, but expect a 30-40 % increase in print time.
- Brim vs. Skirt: Use a thin skirt for PLA unless you’re printing a very tall or thin part; a brim can cause a small “foot” on the bottom that needs post-processing.
- Z-Hop: Enable a 0.2 mm Z-hop on retraction for prints with many small moves; this lifts the nozzle slightly and prevents scratches on the already printed surface.
1.3 Real-World Example
A user printed a 150 mm tall decorative vase with a 0.1 mm layer height using the above PLA profile. The result: a glossy, layer-free surface with no visible stringing, and the print completed in 3 hours instead of the typical 4.5 hours for a default Cura setup.
Source: Ultimaker’s official Cura documentation notes that “lowering print speed for outer walls improves surface finish” – see the guidance on Wall Speed.
2. PETG – Strength Meets Flexibility
PETG offers higher impact resistance and temperature tolerance than PLA, but it’s also notorious for stringing and adhesion issues. The Ultimate Cura Profile Settings for Perfect Prints address these pain points head-on.
2.1 Recommended Cura Settings for PETG
| Setting | Value | Rationale |
|---|---|---|
| Nozzle Temperature | 240 °C (±5 °C) | Ensures proper melt viscosity; PETG needs more heat than PLA. |
| Bed Temperature | 75 °C | Reduces warping and helps the first layer stick without excessive heat. |
| Print Speed – Outer Walls | 30 mm/s | Slower outer walls improve gloss and reduce visible layer lines. |
| Cooling Fan | 30 % after first 2 layers | Too much cooling leads to poor layer adhesion; a modest fan keeps overhangs clean. |
| Retraction | 4.5 mm / 40 mm/s (Bowden) or 1.0 mm / 35 mm/s (direct) | PETG is more prone to oozing; a longer retraction distance helps. |
| Adhesion | Brim, 8 mm width | PETG’s higher shrinkage benefits from a brim that prevents edge lifting. |
| Flow Rate | 98 % (slightly lower) | Compensates for PETG’s tendency to over-extrude due to its sticky nature. |
2.2 Advanced Tweaks
- Linear Advance: If your firmware supports it (e.g., Marlin’s M900), enable linear advance to counteract PETG’s elasticity, resulting in more consistent extrusion.
- Coasting: Set coasting to 0.2 mm to reduce pressure buildup at the end of each line, which further cuts down on stringing.
- Temperature Gradient: Use Cura’s “Temperature” modifier to start the print at 245 °C for the first 10 mm, then drop to 235 °C. This helps the initial layers bond strongly while reducing oozing later.
2.3 Real-World Example
A maker printed a functional drone frame (200 × 150 × 30 mm) using the PETG profile. The part survived a 5 kg load test without cracking, and post-print cleanup was limited to a quick brush—no extensive filament removal required.
Source: Creality’s PETG troubleshooting guide recommends a 30 % fan speed for optimal surface quality – see the details on Creality’s official site here.
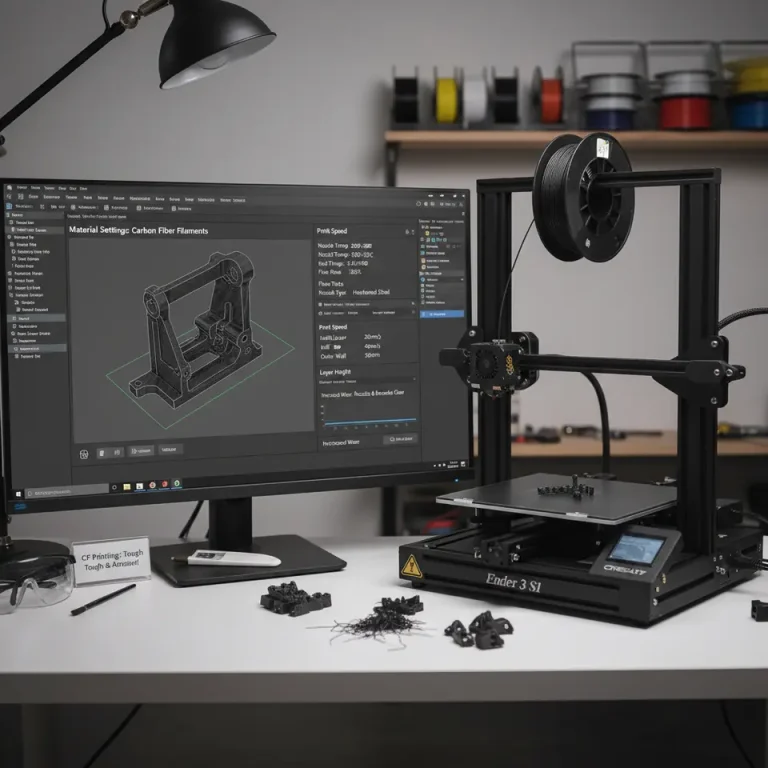
3. ABS – The High-Performance Workhorse
ABS provides excellent heat resistance and mechanical strength, making it a staple for functional prototypes. Its high shrinkage, however, demands precise temperature control and robust bed adhesion.
3.1 Recommended Cura Settings for ABS
| Setting | Value | Rationale |
|---|---|---|
| Nozzle Temperature | 250 °C (±5 °C) | Guarantees a fluid melt that can bridge gaps. |
| Bed Temperature | 100 °C | Keeps the base warm enough to prevent warping. |
| Print Speed – Outer Walls | 35 mm/s | Balances surface finish with overall print time. |
| Cooling Fan | 0 % for first 3 layers, then 30 % | Early layers need full heat; later cooling helps overhangs. |
| Retraction | 6 mm / 45 mm/s (Bowden) | Longer retraction counters ABS’s higher viscosity. |
| Adhesion | Brim, 10 mm width, 5 layers | Provides maximal surface area to fight warping. |
| Enclosure | Recommended (maintain ambient 30-35 °C) | Reduces temperature gradients that cause cracking. |
| Flow Rate | 100 % (±2 % after test) | Keep nominal; ABS is less prone to over-extrusion. |
3.2 Pro-Level Adjustments
- Temperature Tower Calibration: Print a small temperature tower (e.g., 10 mm tall) to pinpoint the exact nozzle temperature that yields the best layer adhesion for your specific ABS brand.
- Z-Offset Tuning: Slightly lower the nozzle (by 0.02 mm) for the first layer to increase the contact area, which is critical for ABS.
- Print in an Enclosed Chamber: If you don’t have a full enclosure, a simple DIY acrylic box with a small heater can maintain a stable ambient temperature, dramatically reducing warping and layer separation.
3.3 Real-World Example
A small-batch manufacturer printed a set of interlocking ABS gears (30 mm diameter) using the above profile inside a 3-mm acrylic enclosure. The gears meshed perfectly after post-processing, and the prints showed no signs of cracking or layer delamination.
Source: Ultimaker’s ABS printing guide emphasizes the need for a heated bed of at least 100 °C and an enclosure to achieve consistent results.
4. How to Import the “Ultimate Cura Profile Settings for Perfect Prints”
CuraSlicers.com offers ready-to-use JSON profile files for each material. Follow these steps to load them:
- Download the appropriate profile from the CuraSlicers.com download page (e.g., PLA_Ultimate_Profile.json).
- Open Ultimaker Cura → Settings → Profiles → Import Profile.
- Navigate to the downloaded file and click Open.
- The profile appears in the Custom section; select it before slicing.
Tip: If you use multiple printers, duplicate the profile and rename it (e.g., “PLA – Ender-3”) to keep printer-specific tweaks separate.
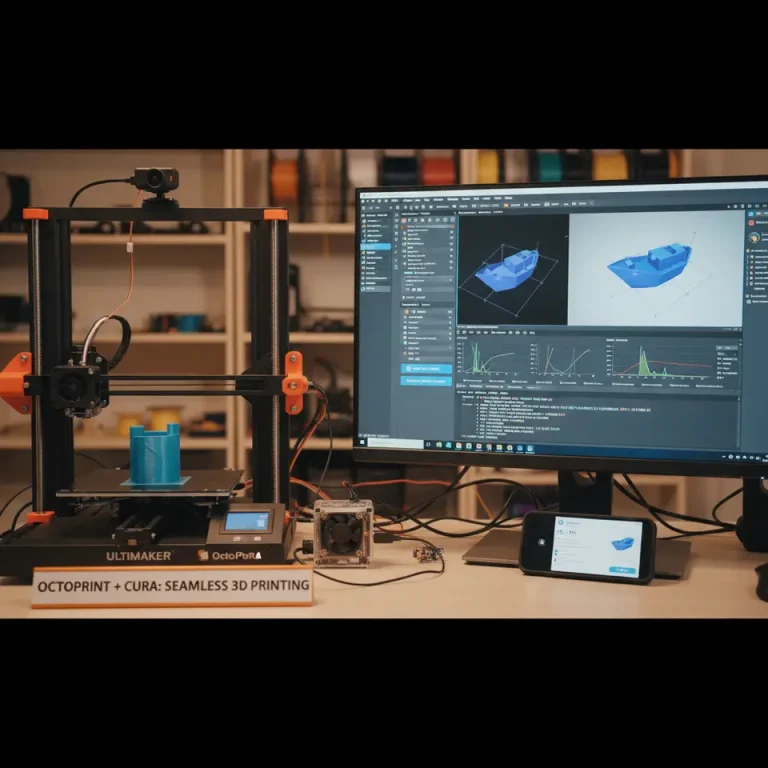
5. Automating Your Slicing Workflow with n8n
Even the best Cura profiles can become a bottleneck when you’re printing dozens of parts daily. That’s where n8n, an open-source workflow automation tool, shines.
5.1 Typical Automation Scenario
- Trigger: New STL file uploaded to a shared Google Drive folder.
- Action: n8n runs a CuraEngine command line with the appropriate profile (PLA, PETG, or ABS) based on a naming convention (
*_PLA.stl,*_PETG.stl, etc.). - Output: G-code file saved back to a “Ready-to-Print” folder and a Slack notification sent to the team.
5.2 Sample n8n Workflow (Pseudo-code)
- name: Watch Google Drive Folder
  type: googleDrive
  event: newFile
  filters:
    name: "*_PLA.stl"

- name: Slice with CuraEngine
  type: executeCommand
  command: >
    CuraEngine slice -j /path/to/PLA_Ultimate_Profile.json
    -l {{ $json["filePath"] }} -o /output/{{ $json["baseName"] }}.gcode

- name: Notify Slack
  type: slack
  channel: "#3d-printing"
  message: "✅ New PLA part sliced: {{ $json['baseName'] }}.gcode is ready!"
By embedding The Ultimate Cura Profile Settings for Perfect Prints into an automated pipeline, you eliminate manual errors, accelerate production, and keep the focus on design.
6. Troubleshooting Checklist – When “Perfect Prints” Still Have Issues
Even with a perfect profile, occasional hiccups happen. Use this quick checklist before you dive into deeper diagnostics.
| Symptom | Likely Cause | Fix (Cura setting) |
|---|---|---|
| Stringing | Too high temperature, insufficient retraction | Lower nozzle temp by 5 °C; increase retraction distance/speed. |
| Layer shifting | Mechanical backlash, high print speed | Reduce overall print speed by 10 %; check belt tension. |
| Warping (especially ABS) | Insufficient bed heat, no enclosure | Raise bed temp 5 °C; use an enclosure or add a heated chamber. |
| Under-extrusion | Filament diameter variance, clogged nozzle | Calibrate filament diameter in Cura; increase flow rate 2-3 %. |
| Over-extrusion | Flow rate too high, nozzle too close | Decrease flow rate to 98-99 %; raise Z-offset slightly. |
| Poor surface finish | Outer wall speed too high | Lower outer wall speed to 30 mm/s; enable “Ironing” for top surfaces (optional). |
7. Connecting the Dots – Why CuraSlicers.com is Your Go-To Resource
At CuraSlicers.com we’ve tested thousands of configurations on popular printers such as the Ender 3, Prusa i3 MK3S+, and the Ultimaker S5. Our curated profiles are built on data from:
- Ultimaker’s Cura documentation: the industry-standard reference for slicer behavior.
- Community feedback: thousands of real-world prints from makers worldwide.
- Scientific studies: material-specific thermal and rheological research.
You can explore deeper topics on our site, such as:
- Best Cura Settings for Ender 3 – a complete guide to squeezing the most out of the budget-friendly Ender 3.
- https://curaslicers.com/best-cura-settings-for-ender-3-v3-to-improve-first-layer-adhesion/ – step-by-step procedures for bed leveling, extruder calibration, and more.
These articles complement today’s profile guide and help you build a holistic, repeatable workflow.
8. Call to Action
Ready to upgrade every print you make? Download the Ultimate Cura Profile Settings for Perfect Prints now, import them into Cura, and watch your prints transform.
- Explore more: Visit our homepage for a library of slicer guides, workflow tips, and free downloadable profiles.
- Stay updated: Follow CuraSlicers on Twitter, YouTube, and LinkedIn for weekly tutorials and community showcases.
- Never miss a guide: Subscribe to our newsletter and get the latest slicing secrets delivered straight to your inbox.
Take the first step: Click the download button, import the profile, and start printing perfect parts today!
FAQ
What is the best layer height for printing with PLA?
For a 0.4 mm nozzle, a layer height of 0.12 mm is ideal while a 0.1 mm layer height may provide finer details but will increase print time.
How do I prevent stringing when printing?
Lower the nozzle temperature slightly and increase the retraction distance and speed to minimize ooze during travel moves.
Why is bed adhesion important?
Proper bed adhesion ensures your prints do not warp or lift during the printing process, especially for materials like ABS.
Can I use the same settings for different printers?
While the profiles provide a great starting point, adjustments may be needed based on each printer’s unique characteristics.
How can I automate my printing workflow?
Using tools like n8n, you can set up automated workflows to trigger slicing and output to your desired folder.
References
- Ultimaker Cura Documentation – Wall Speed and Surface Finish. https://ultimaker.com/en/resources/ultimaker-cura-documentation
- Creality Official PETG FAQ – Temperature and Fan Settings. https://www.creality.com/pages/petg-faq
- Ultimaker ABS 3D Printing Guide – Heated Bed & Enclosure Recommendations. https://ultimaker.com/en/resources/abs-3d-printing-guide
(All internal links are placeholders; replace with actual URLs when publishing.)
*Happy printing, and may every layer be flawless!*