Build Your Cura Slicer Troubleshooting Cheat Sheet
- Understanding common print failures can significantly reduce frustration.
- Documenting issues and solutions helps in troubleshooting.
- Test prints are essential for diagnosing problems effectively.
- Community knowledge sharing enhances everyone’s 3D printing experience.
Understanding the Need for a Troubleshooting Cheat Sheet
This cheat sheet will help you make note of frequent issues and their solutions, alongside test prints that can help identify specific problems in your prints. Moreover, we will be offering downloadable and printable versions, allowing easy access in your workshop.
Frequent Print Failures and Their Quick Fixes
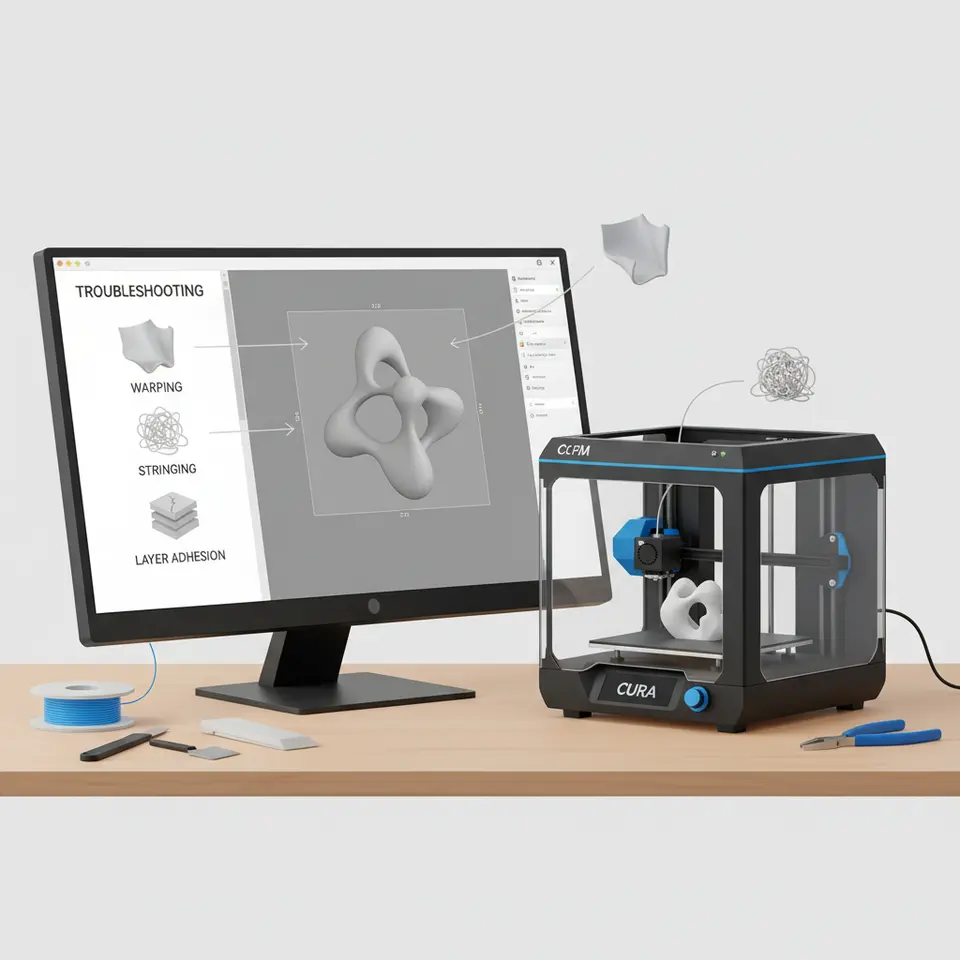
1. Warping
Problem: The corners of the print lift off the build plate, leading to distortion.
Quick Fixes:
- Check Bed Leveling: Ensure the print bed is level to avoid poor adhesion.
- Increase Bed Temperature: Try raising the bed temperature to improve adhesion of the first layer.
- Use Adhesive Aids: Apply glue stick, tape, or specialized adhesives on the bed for enhanced stickiness.
Find more about optimizing bed adhesion in our article on Cura Large Format Adhesion.
2. Stringing
Problem: Thin strands of filament appear between parts of the print.
Quick Fixes:
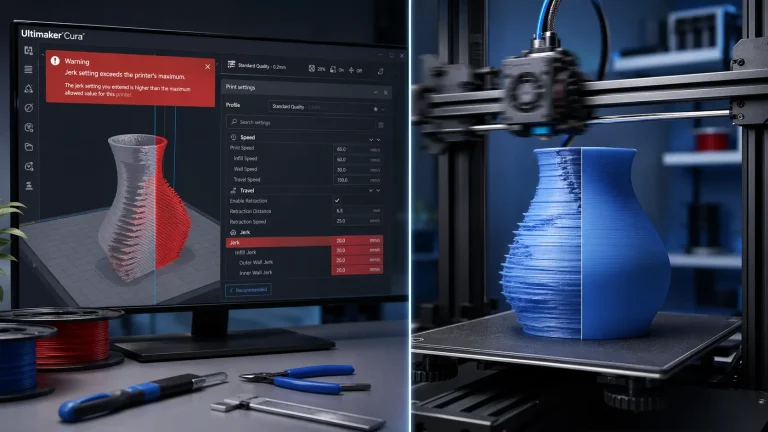
- Adjust Retraction Settings: Increase the retraction distance or speed.
- Lower Printing Temperature: If you’re printing at a high temperature, try lowering it slightly.
- Enable Coasting: This allows some filament to stop flowing before the nozzle moves.
Our Cura Retraction Settings Guide provides additional insight into fine-tuning these settings for ideal results.
3. Layer Adhesion Issues
Problem: Layers of the print do not stick well to each other, resulting in structural weaknesses.
Quick Fixes:
- Increase Extrusion Temperature: Experiment with increasing the nozzle temperature for better bonding.
- Adjust Print Speed: Slowing down the print speed allows for better layer fusion.
- Consider Material Type: Ensure you are using a filament compatible with your printer settings.
For more detailed troubleshooting, check our guide on Cura Slicer Printing Errors.
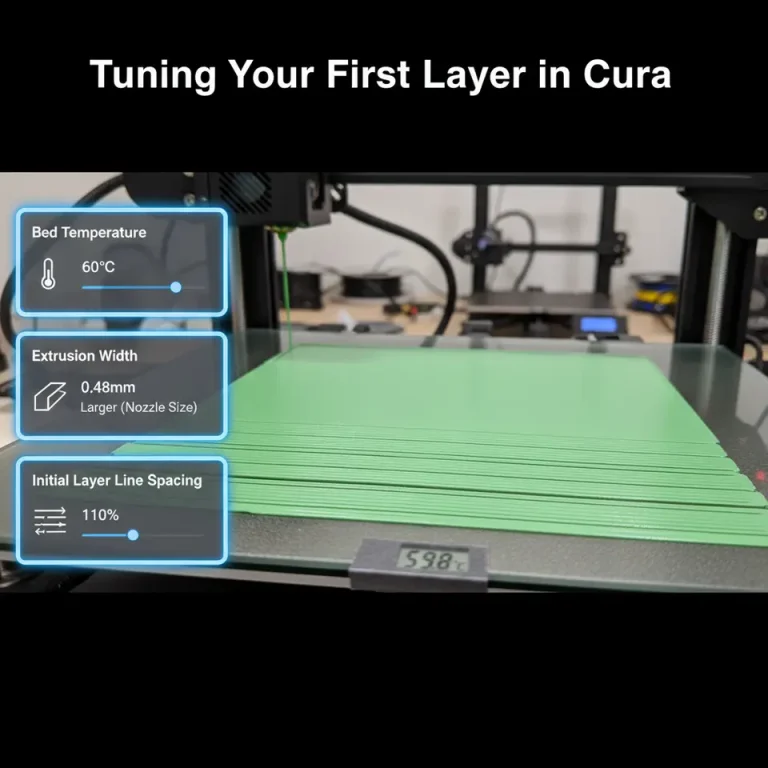
4. Poor First Layer Adhesion
Problem: The first layer does not adhere well, causing a failed print.
Quick Fixes:
- Clean the Bed Surface: Dust or grease can affect adhesion, so ensure your print surface is clean.
- Adjust Z-Axis Offset: Tweaking the initial nozzle height can often rectify issues related to the first layer.
- Use a Brim or Raft: A brim can help keep the edges down and provide extra adhesion.
Refer to our post on the Perfect First Layer in Cura for a more thorough exploration of this topic.
Recommended Settings to Try First
- Layer Height: Start with 0.2 mm for standard quality. This balances speed with detail.
- Print Speed: A range of 50-60 mm/s usually suffices for most materials and ensures quality.
- Nozzle Temperature: For PLA, around 200°C is standard; for ABS, adjust to 230°C.
- Bed Temperature: For most PLA, set this to 60°C. For ABS, consider around 100°C.
Depending on the filaments being used, these settings may need further personal adjustments.
Test Prints to Run
- Calibration Cube: Use a small calibration cube to check dimensional accuracy.
- Temperature Tower: Print a temperature tower to find the optimal temperature for your material.
- Retraction Test Model: A model specifically designed to test and adjust retraction settings can be immensely useful.
These sample prints will help you understand how your printer interacts with your settings and materials.
Community Submissions
Download Your Printable Cheat Sheet
In Conclusion
Don’t forget to visit CuraSlicers.com for more guides and resources to enhance your 3D printing skills. For further exploration, you may enjoy our post on optimizing Cura for small cosmetic prints or our detailed guide on embedding electronics in your 3D prints.