Beginner’s Guide to Installing Ultimaker Cura
How to Install and Configure Ultimaker Cura for Beginners: A Step-by-Step Guide
Estimated reading time: 7 minutes
- Understand the purpose of Ultimaker Cura
- Follow a step-by-step installation process
- Learn how to configure settings for optimal print quality
- Troubleshoot common installation issues
- Explore advanced features and community resources
What is Ultimaker Cura?
Why Choose Ultimaker Cura?
Step-by-Step Installation and Configuration of Ultimaker Cura
FAQ
What is Ultimaker Cura?
Ultimaker Cura is an open-source slicing software developed by Ultimaker, a leading manufacturer of 3D printers. This powerful tool converts 3D models into instructions for 3D printers, enabling efficient and creative fabrication. Cura is widely celebrated for its intuitive interface, extensive material compatibility, and customization options, making it an ideal choice for both hobbyists and professional users.
Why Choose Ultimaker Cura?
Selecting the right slicing software can significantly impact your productivity and the quality of your prints. Ultimaker Cura offers a user-friendly experience, comprehensive support for various 3D printer brands, and extensive resources through their community forums and tutorials. With its constant updates and improvements, it stands as a testament to the commitment to innovation in the 3D printing industry.
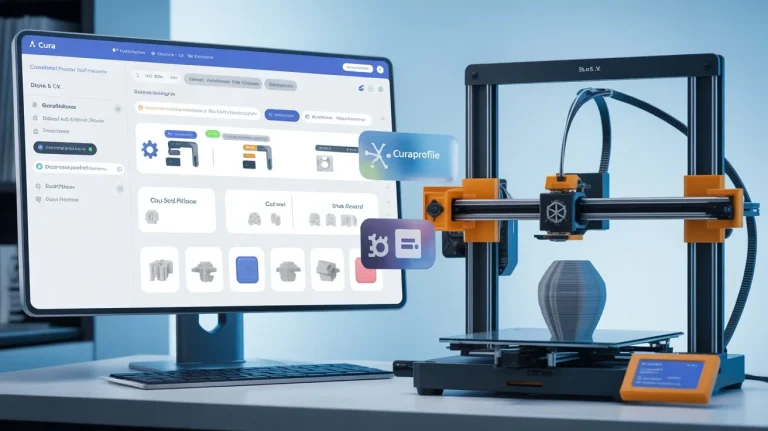
Step-by-Step Installation and Configuration of Ultimaker Cura
Step 1: Download Ultimaker Cura
The first step in using Ultimaker Cura is downloading the software. Here’s how to do it:
- Visit the Ultimaker website.
- Click on the “Download” button corresponding to your operating system (Windows, macOS, or Linux).
- Once the download is complete, locate the installer file on your computer.
Step 2: Install Ultimaker Cura
Installing Ultimaker Cura is straightforward, but it varies slightly by operating system.
- For Windows:
- Double-click on the downloaded `.exe` file.
- Follow the on-screen instructions to complete the installation.
- Check the boxes for any additional components you wish to install (recommended for beginners).
- For macOS:
- Open the downloaded `.dmg` file.
- Drag the Ultimaker Cura icon into the Applications folder.
- Eject the disk image after the transfer completes.
- For Linux:
- Extract the downloaded `.tar.gz` file.
- Navigating to the extracted directory and run the installation script via terminal.
Step 3: Initial Configuration
Once Ultimaker Cura is installed, it’s time to configure it for first-time use.
- Launch Ultimaker Cura: Open the application from your applications folder or desktop shortcut.
- Select Printer: Upon first launch, you’ll be prompted to select your 3D printer. Choose your specific model from the dropdown list. If your printer is not listed, you can add it manually.
- Configure Settings:
- Default Profile: Beginners can start with the “Recommended” profile, which contains all the essential settings.
- Material Setup: Choose the type of filament you intend to use (e.g., PLA, ABS) from the provided option to ensure optimal print quality.
Step 4: First Test Print Setup
To ensure everything is set up correctly, it’s crucial to run a test print. Follow these steps:
- Import a Model:
- Click on the “Open File” button to load a 3D model (STL or OBJ format).
- Use websites like Thingiverse or MyMiniFactory to find beginner-friendly models.
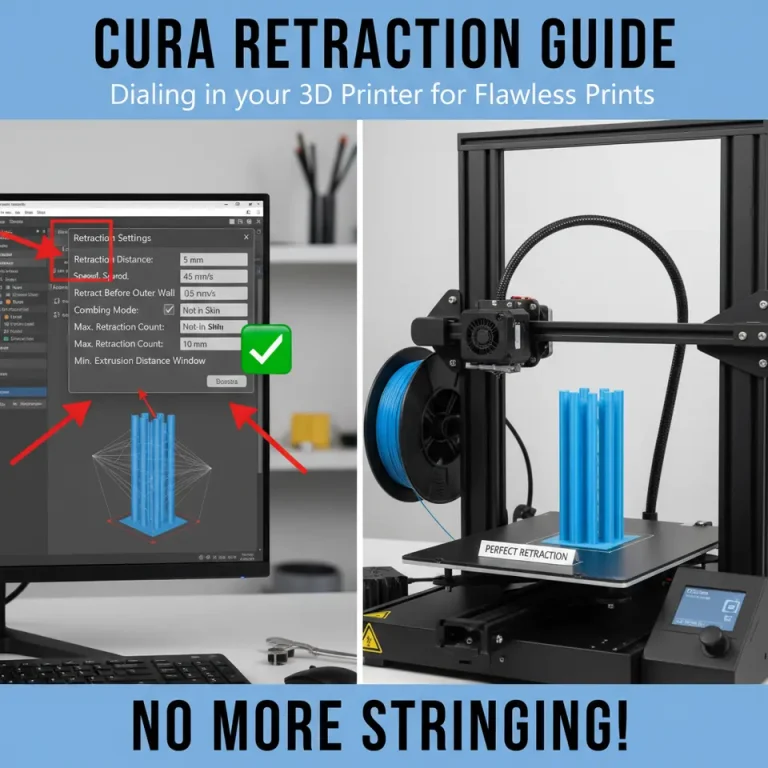
- Check and Adjust Settings:
- Layer Height: Set to 0.2mm for a good quality vs. speed balance.
- Infill: A value of around 20% is ideal for most beginner prints.
- Supports: If your model overhangs, enable supports.
- Slicing the Model:
- Click the “Slice” button to generate G-code for your printer.
- Save the G-code file to an SD card or send it directly to your 3D printer if it has network capability.
Step 5: Troubleshooting Common Installation Issues
Even with straightforward installation processes, some beginners might face challenges. Here’s how to address common errors:
- Installation Error Messages: Ensure your system meets the minimum requirements stated on the Ultimaker website. Re-boot your computer if necessary.
- Printer Not Detected: Make sure your printer is plugged in and correctly connected to your computer. Check the printer’s manual for troubleshooting tips related to connectivity.
- Unexpected Behavior: Reinstall Ultimaker Cura if it crashes or behaves unexpectedly. Sometimes, starting fresh can resolve underlying issues.
Step 6: Explore and Experiment
Congratulations on successfully installing and configuring Ultimaker Cura! Now it’s time to explore:
- Experiment with different materials and profile settings.
- Utilize the software’s visualization tools to prepare your models for print.
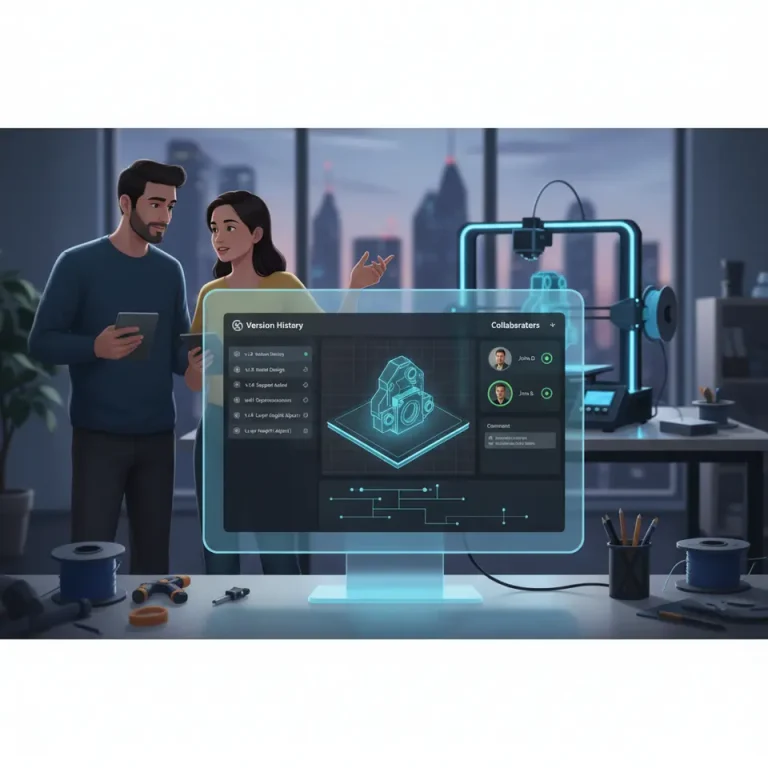
- Join the Ultimaker community for additional resources, tips, and model files.
You can also check out this short video on slicing your first model with Ultimaker Cura insert video link. This visual guide can help clarify the steps and provide extra confidence as you start your 3D printing journey.
Practical Takeaways for Recruiters and HR Professionals
As leaders in business growth and operational efficiency, understanding tools like Ultimaker Cura can aid in integrating advanced manufacturing technologies into your strategies. Here are several actionable takeaways:
- Stay Informed: Keeping up with advancements in technology enhances decision-making.
- Encourage Training: Facilitate training sessions on new technologies for your teams.
- Implement Automation: Leverage software like Ultimaker Cura to optimize production workflows, reduce lead times, and manage costs effectively.
- Foster Innovation: Encourage an environment where employees can experiment with new tools to enhance creativity and efficiency.
Conclusion
Your journey with Ultimaker Cura begins now! By following our detailed guide, you’ve successfully installed and configured this powerful slicing software, setting the foundation for countless creative projects ahead. Embrace the learning curve, experiment boldly, and watch as your capabilities grow alongside your business.
If you’re interested in how DELEGG can help your organization save time, reduce costs, and improve operational efficiency through expert guidance on software solutions and task delegation, feel free to contact us for more information.
Explore the world of 3D printing with Ultimaker Cura and unleash your full potential today!
FAQ
What operating systems does Ultimaker Cura support?
Ultimaker Cura supports Windows, macOS, and Linux operating systems.
Is Ultimaker Cura free?
Yes, Ultimaker Cura is an open-source software and is free to download and use.
Can I use Ultimaker Cura with any 3D printer?
Ultimaker Cura is compatible with a range of 3D printers, including many third-party brands.
Where can I find tutorials for Ultimaker Cura?
You can find extensive tutorials on the Ultimaker website and community forums.
How do I troubleshoot issues with Ultimaker Cura?
Refer to the troubleshooting section in this guide, or consult the community forums for assistance.