Create and Import Custom Printer Profiles in Cura 5.x
How to Create and Import Custom Printer Profiles into Cura 5.x
Estimated reading time: 5 minutes
- Understand the key components: Machine settings, print settings, and material profiles are crucial for quality prints.
- Steps to create profiles: Access settings, define machine specs, configure print parameters, and save profiles.
- Export and import capabilities: Easily share profiles with .curaprofile files.
- Common mistakes: Avoid misconfiguration by validating your settings and understanding filament properties.
- Practical takeaways: Experimentation and baseline profiles can enhance results.
Table of Contents
- Understanding Cura 5.x Printer Profiles
- Creating a Custom Printer Profile in Cura 5.x
- Exporting Your Custom Printer Profile
- Importing a Custom Printer Profile
- Common Mistakes to Avoid
- Practical Takeaways for Improved Printing
- Conclusion
- FAQ
Understanding Cura 5.x Printer Profiles
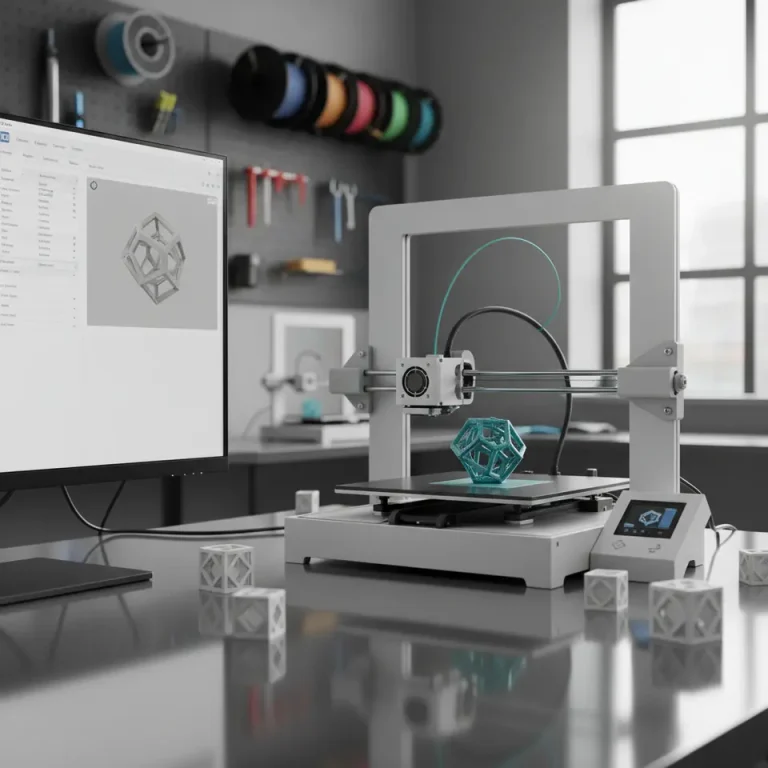
Before delving into the creation and management of custom printer profiles, it’s vital to understand the structure of these profiles in Ultimaker Cura:
- Machine Settings: These settings define the specifications of your 3D printer, such as the build volume, nozzle diameter, and stepper motor settings. Machine settings are pivotal as they dictate how the slicer interacts with the physical printer.
- Print Settings: These consist of the actual parameters that control how each individual print is executed, including layer height, print speed, infill density, and support structure. Fine-tuning these settings can significantly enhance print quality.
- Material Profiles: This includes settings specific to the type of filament you are using, such as temperature and cooling settings. Different materials require different approaches, so having the right material profile is crucial for successful prints.
Creating a Custom Printer Profile in Cura 5.x
Creating a custom printer profile in Cura involves several important steps. Below is a step-by-step guide to help you navigate this process.
Step 1: Access the Printer Settings
- Open Ultimaker Cura on your computer.
- Click on the “Preferences” Menu at the top of the window, and select “Printers.”
- Choose “Add a printer,” then select “Custom” and click “Next.”
Step 2: Define Machine Settings
Fill in the relevant information regarding your printer:
- Printer Name: Give your printer a unique name for easy identification.
- Build Volume: Specify the dimensions of your print bed (width, depth, and height).
- Nozzle Diameter: Select the size of the nozzle (standard is usually 0.4mm).
Step 3: Configure Print Settings
Click on “Settings” after adding the printer. Here you can customize parameters such as:
- Layer Height: Determine the thickness of each layer (typically between 0.1mm and 0.3mm).
- Print Speed: Set the speed at which your printer operates (a slower speed often yields better detail).
- Infill Density: Define the amount of material used within the print (typically between 10%-50% for most prints).
Step 4: Set Up Material Profiles
- Navigate to the “Material” section.
- Define parameters such as extrusion temperature, bed temperature, and cooling settings based on the filament you plan to use.
Step 5: Save Your Profile
Once you have completed steps 1-4, save your profile by clicking “Finish.” Your custom printer profile will now appear in the printers list.
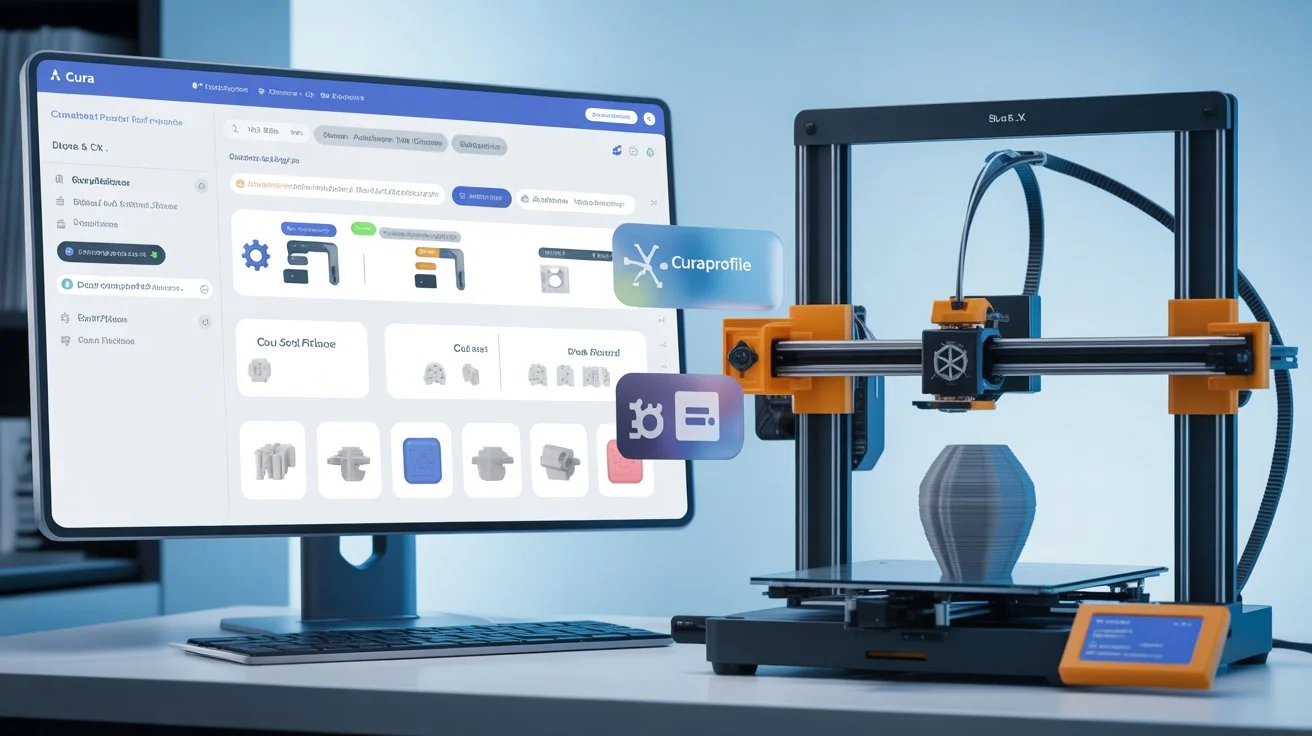
Exporting Your Custom Printer Profile
To share or back up your custom printer profiles:
- Navigate to the “Preferences” menu.
- Select “Printers,” then click on your printer’s name.
- Click “Export” to save your profile as a .curaprofile file.
Importing a Custom Printer Profile
To import a custom profile that you’ve received or downloaded:
- Go to the “Preferences” menu and select “Printers.”
- Click “Add,” then choose “Import” and select the .curaprofile file from your storage.
- The imported profile will now be available in your printer list.
Common Mistakes to Avoid
While creating and managing custom printer profiles, it’s easy to make errors that could lead to print failures. Here are some common pitfalls and how to avoid them:
- Incorrect Build Volume: Ensure your machine settings reflect the actual capacity of your printer. Overestimating dimensions can lead to poor slicing outcomes.
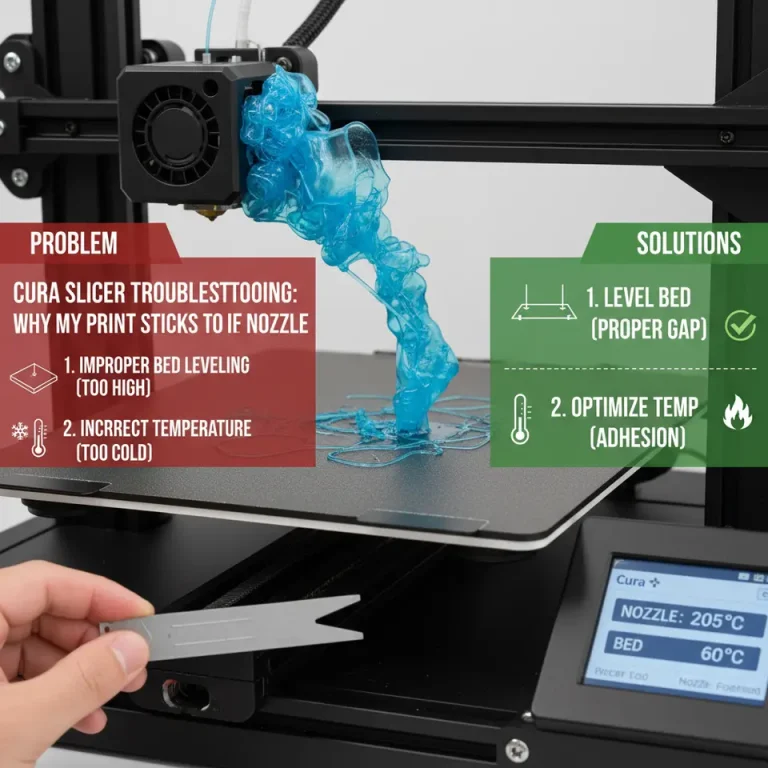
- Misconfigured Print Settings: Failing to adjust settings according to the specific project or material can result in quality degradation. Always match your settings to the filament you’re using.
- Ignoring Material Properties: Each filament has ideal temperatures and cooling requirements. Always consult the manufacturer’s recommendations for the best results.
- Neglecting to Validate Profiles: Before launching a complex print, run a simulation in Cura to check for potential issues.
Practical Takeaways for Improved Printing
- Use a known good profile from a reliable source as a base for customization.
- Regularly back up your profiles, especially after making changes.
- Experiment with one setting at a time to identify which adjustments impact quality the most.
- Consider creating a downloadable template for others to use, streamlining the process for beginners.
Conclusion
Creating and importing custom printer profiles in Cura 5.x is a streamlined way to optimize your 3D printing experience. By understanding the structure of these profiles and learning to navigate the software effectively, you can significantly improve your print quality and workflow efficiency.
For further insights into 3D printing, Cura slicer settings, and workflow optimization, explore our other posts, such as Best Cura Settings for Ender 3 and Cura 5.x: The Complete Guide.
Additionally, for more technical details, refer to Ultimaker’s official documentation on Cura settings.
Need help or have questions? Follow CuraSlicers on social media for regular updates, tips, and tricks, or subscribe to our newsletter for the latest 3D printing guides!
Visit our main page for more 3D printing tips: CuraSlicers.com. Happy printing!
FAQ
- What are printer profiles in Cura?
- Printer profiles in Cura define the settings and parameters for a specific 3D printer to ensure optimal print quality.
- How do I export a printer profile?
- You can export a printer profile by going to the Preferences menu, selecting Printers, clicking on your printer’s name, and choosing Export.
- Can I import profiles from other users?
- Yes, you can import printer profiles that other users share, provided they are in the .curaprofile format.
- What settings should I focus on when creating a profile?
- Focus on machine settings, print settings, and material profiles to ensure successful prints.
- Is it necessary to validate printer profiles?
- Yes, validating printer profiles through simulation can help identify potential issues before printing.