Speed Up 3D Prints in Cura Without Losing Quality
How to Reduce Print Time Without Losing Quality – The Ultimate Cura Guide
Estimated Reading Time: 8 minutes
- Learn how to balance speed and quality in 3D printing.
- Understand key Cura settings to optimize print time.
- Explore advanced techniques for faster and better prints.
- Get material-specific tips for optimal results.
- Automate your workflow using tools like n8n.
Table of Contents
- Understanding the Speed‑Quality Trade‑off
- Core Cura Settings that Impact Print Time
- Advanced Techniques for Faster Prints
- Material‑Specific Tips (PLA, PETG, TPU, Nylon)
- Hardware Optimizations that Complement Cura Settings
- Workflow Automation with n8n – Speed Up the Pre‑Print Process
- Practical Takeaways – Quick‑Start Settings Sheet
- Common Pitfalls & How to Fix Them
- Next Steps & Further Reading
Understanding the Speed‑Quality Trade‑off
Before we tweak any numbers, it’s essential to grasp why speed and quality often clash:
| Parameter | Faster Setting | Effect on Quality |
|---|---|---|
| Layer Height | Larger (e.g., 0.3 mm) | Coarser surface, visible “steps” |
| Print Speed | Higher (e.g., 80 mm/s) | Possible ringing, reduced detail |
| Infill Density | Lower (e.g., 10 %) | Weaker interior, may affect strength |
| Wall Count | Fewer walls (e.g., 2) | Reduced surface strength, may cause gaps |
The goal is to shift the balance toward speed where it matters least, and keep quality where it matters most. This is where Cura’s granular controls shine.
Pro tip: The “sweet spot” differs by printer, filament, and part geometry. Use the checklist in section 7 to iterate safely.
Core Cura Settings that Impact Print Time
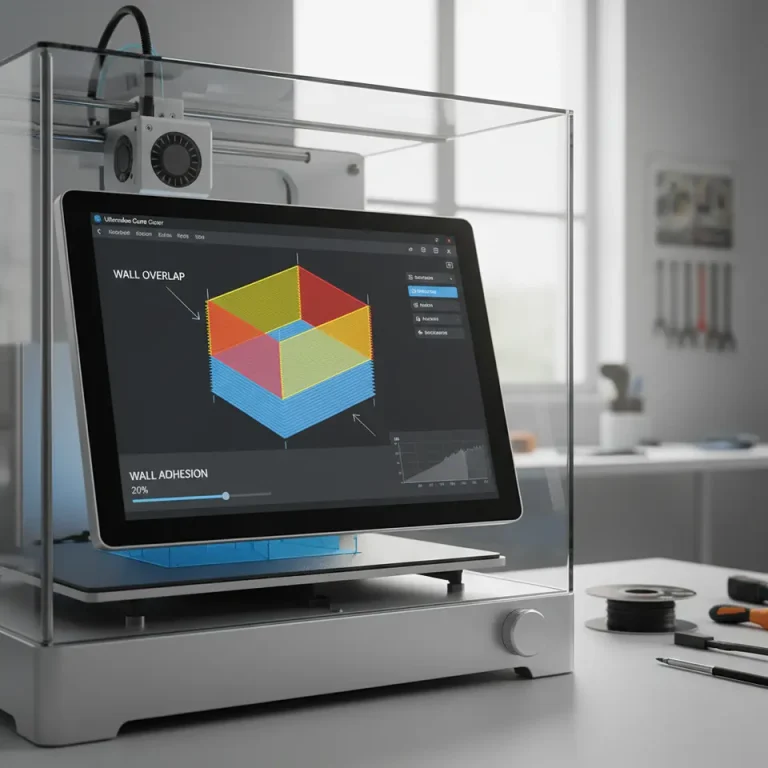
1. Line Width & Wall Thickness
What it does: Line width defines the extrusion width of each printed line. A wider line deposits more material per pass, reducing the number of passes needed for walls and infill.
How to use it:
- Standard practice: Set line width to 110 %–120 % of your nozzle diameter (e.g., 0.42 mm for a 0.4 mm nozzle). Cura will automatically calculate the optimal extrusion flow.
- When to push further: For non‑critical outer walls, you can go up to 130 % without noticeable surface degradation.
Why it saves time: Fewer passes = fewer travel moves and less heating/cooling cycles.
Reference: Ultimaker’s documentation notes that “increasing line width can reduce print time while maintaining strength” – see the official Cura guide for Line Width.
2. Wall Count & Top/Bottom Layers
What it does: Walls (or perimeters) provide the outer shell. Top and bottom layers seal the part.
Optimization strategy:
| Setting | Recommended Value | Reason |
|---|---|---|
| Wall Count | 2–3 (instead of 4) | For most hobby‑grade prints, 2 solid walls plus a dense infill give sufficient strength. |
| Top Layers | 4–5 (instead of 6–8) | Reduces time while still hiding infill patterns. |
| Bottom Layers | 3–4 (instead of 5–6) | Same logic; the build plate already offers support. |
Caveat: If your part will undergo mechanical stress, keep at least 3 walls and 6 top layers.
Source: All3DP’s “How Wall Count Affects Print Strength” study shows diminishing returns after three walls for PLA and PETG (https://all3dp.com/2/3d-printing-wall-count/).
3. Infill Density & Pattern
Infill density is a classic lever for speed. However, pattern choice can be equally influential.
- Low‑density options (10 %–15 %): Use Lines or Grid for quick prints; they require fewer extrusion paths.
- Medium density (20 %–30 %): Cubic or Gyroid give superior isotropic strength without a huge time penalty.
- High density (>40 %): Reserve for functional parts; consider Octet for maximum strength‑to‑time ratio.
Speed tip: Enable “Infill before Walls” (Cura > Settings > Infill) so the slicer prints infill first, reducing travel moves for walls later.
4. Print Speed & Acceleration
Cura’s Print Speed slider controls the overall movement speed, but you can fine‑tune per‑feature speeds:
| Feature | Recommended Speed |
|---|---|
| Outer Walls | 30–45 mm/s (keep it slower for surface quality) |
| Inner Walls | 60–80 mm/s |
| Infill | 80–100 mm/s |
| Travel | 150–200 mm/s (if your printer supports it) |
| Initial Layer | 20 mm/s (for adhesion) |
Acceleration (found under Custom → Speed → Acceleration) can be increased safely on sturdy frames (e.g., CoreXY) but may cause ringing on lighter machines. Test with a 3‑minute “acceleration cube” to find the sweet spot.
Advanced Techniques for Faster Prints
Adaptive Layer Heights
Cura’s Adaptive Layer Height (found under Experimental → Adaptive Layers) automatically varies layer thickness based on model geometry. Steeper slopes get thinner layers for detail, while flat surfaces receive thicker layers for speed.
- Setup: Enable Enable Adaptive Layers, set Maximum Layer Height (e.g., 0.3 mm) and Minimum Layer Height (e.g., 0.1 mm).
- Result: 20‑30 % reduction in print time on parts with large flat areas (e.g., enclosures, brackets).
Variable Layer Height (V‑Layer)
If you need precise control, manually insert Variable Layer Height markers in your slicer (Cura 5.0+). This lets you dictate exactly where thicker layers start, ideal for “quick‑print” prototypes where only the functional surfaces need detail.
Coasting, Combing, and Z‑Hop
- Coasting: Reduces oozing by stopping extrusion a few mm before the end of a line. Set Coasting Volume to 0.2 mm³ for PLA; adjust for more viscous filaments.
- Combing: (set to “Within Infill”) keeps the nozzle inside the printed area during travel, minimizing retractions and saving time.
- Z‑Hop: can be disabled when printing fast on a well‑leveled bed; each Z‑hop adds ~0.2 s per travel move.
Reference: Ultimaker’s “Advanced Print Settings” explains how these features impact speed and quality (https://ultimaker.com/software/ultimaker-cura#advanced-settings).
Material‑Specific Tips (PLA, PETG, TPU, Nylon)
| Material | Speed Boost Strategies | Quality Safeguards |
|---|---|---|
| PLA | – Increase line width to 120 % – Use 0.3 mm layer height for non‑visible surfaces | Keep outer walls at ≤45 mm/s to avoid ghosting |
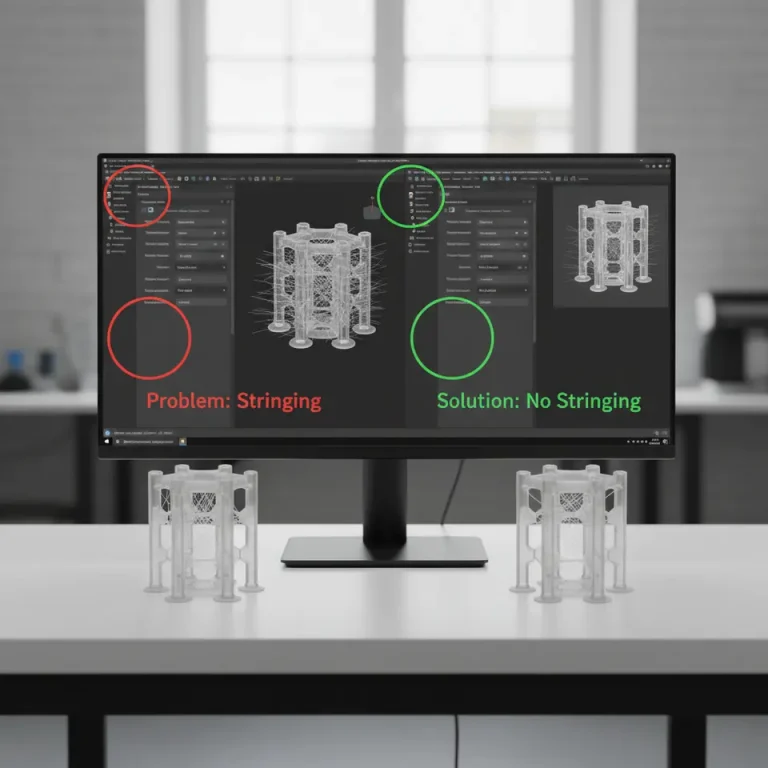
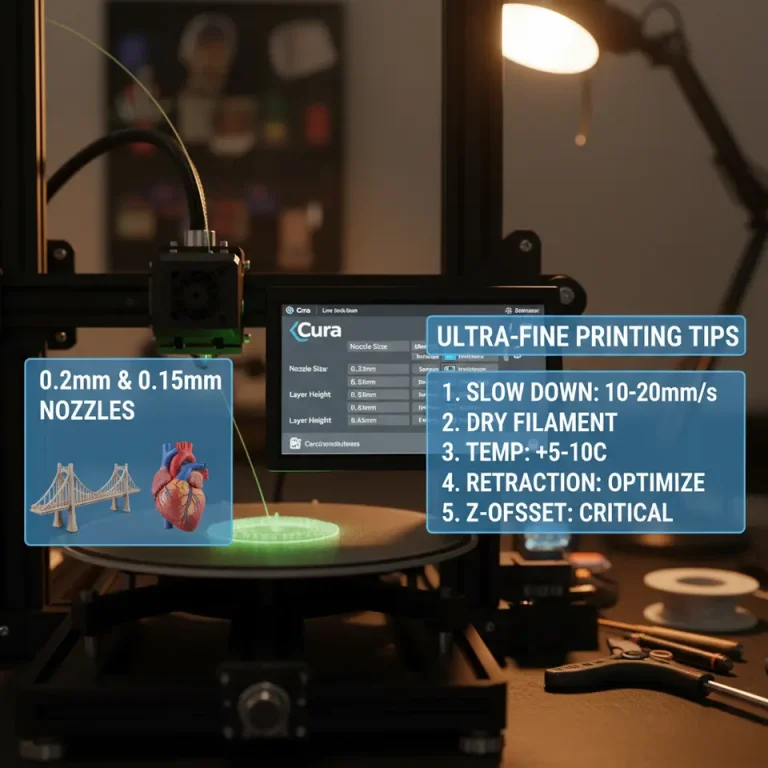
| PETG | – Raise printing temperature 5 °C to improve flow at higher speeds – Use Gyroid infill at 20 % | Reduce retraction distance to avoid stringing |
| TPU | – Lower acceleration (max 500 mm/s²) to prevent skipped steps – Use Lines infill for fast fill | Keep print speed ≤30 mm/s for outer walls |
| Nylon | – Enable Flow >100 % (101‑103 %) to compensate for shrinkage – Use Cubic infill at 25 % | Keep cooling fan off or at 20 % to avoid warping |
Hardware Optimizations that Complement Cura Settings
- Upgrade to a Larger Nozzle: 0.6 mm or 0.8 mm nozzles can cut print time by up to 40 % for large, low‑detail parts. Adjust Line Width accordingly.
- Stiffen the Frame: Vibrations limit acceleration. Adding braces or switching to an aluminum extrusion frame lets you safely raise acceleration values.
- Improve Cooling: Efficient part cooling allows higher speeds without sagging. Consider a dual‑fan setup for larger prints.
- Use a Direct‑Drive Extruder: Better filament control enables higher speeds, especially for flexible materials.
Workflow Automation with n8n – Speed Up the Pre‑Print Process
Printing faster isn’t just about the slicer; it’s also about how quickly you can prepare a job. n8n, an open‑source workflow automation tool, can link your CAD, Cura, and printer management software into a seamless pipeline.
Example Workflow: “One‑Click Slice & Print”
- Trigger: New STL uploaded to a shared Dropbox folder.
- Action: n8n calls CuraEngine via CLI with a pre‑saved profile (the “Fast‑Quality” profile we’ll create).
- Action: Generated G‑code is automatically uploaded to OctoPrint via its REST API.
- Notification: Slack message with a preview image and estimated print time.
Result: From file drop to printer start in under 30 seconds—perfect for batch production environments.
How to set it up: Check our step‑by‑step tutorial on Automating Cura with n8n (internal link) for a downloadable workflow template.
Practical Takeaways – Quick‑Start Settings Sheet
| Setting | Value (Fast‑Quality Profile) | Comment |
|---|---|---|
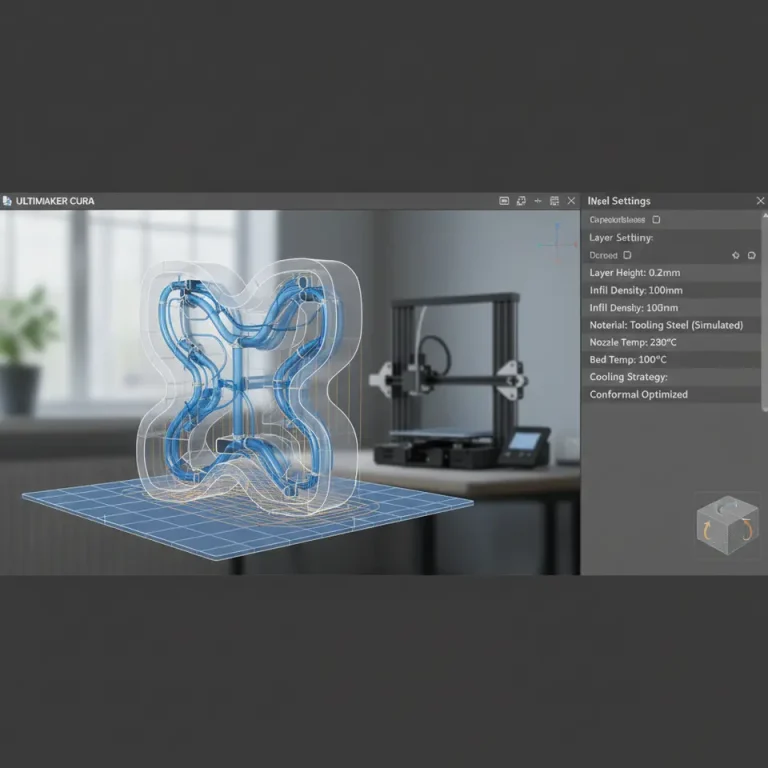
| Layer Height | 0.2 mm (standard) / 0.3 mm (large flat surfaces) | Use Adaptive Layers for mixed geometry |
| Line Width | 120 % of nozzle diameter | Reduces perimeter passes |
| Wall Count | 2 (inner) + 1 (outer) | Keep outer wall slower for finish |
| Top/Bottom Layers | 4 each | Adequate sealing |
| Infill | 15 % Lines (quick) or 20 % Gyroid (strength) | Adjust per part |
| Print Speed | 80 mm/s (infill) / 45 mm/s (outer walls) / 60 mm/s (inner walls) | Tailor to printer rigidity |
| Travel Speed | 180 mm/s | Reduce oozing |
| Acceleration | 1500 mm/s² (X/Y) / 1000 mm/s² (Z) | Test for ringing |
| Coasting | 0.2 mm³ | Prevent blobs |
| Combing | “Within Infill” | Minimize retractions |
| Z‑Hop | Disabled (if bed is level) | Saves time |
| Cooling Fan | 100 % for PLA, 30 % for PETG/Nylon | Prevent warping |
Implementation tip: Save this as a Cura profile named “Fast‑Quality” and switch it on per project. Over time you’ll develop a library of profiles for different material‑speed combos.
Common Pitfalls & How to Fix Them
| Symptom | Likely Cause | Fix |
|---|---|---|
| Ghosting / ringing | Too high acceleration or jerk | Lower acceleration, enable “Jerk Control” in firmware |
| Layer separation | Low wall count + high infill gap | Increase wall count to 3 or add a Support Interface |
| Stringing | High travel speed with insufficient retraction | Enable “Retraction” (6 mm, 40 mm/s) or lower travel speed |
| Over‑extrusion | Line width >130 % on small nozzle | Reset line width to 115 % |
| Weak parts | Infill <10 % on load‑bearing geometry | Raise infill to 20 % and select Gyroid pattern |
Testing with a “Speed Cube” (20 mm cube, 0.2 mm layer height) is a quick way to validate new settings before committing to larger prints.
Next Steps & Further Reading
Ready to put these techniques into practice? Here are a few CuraSlicers.com resources to deepen your expertise:
- Best Cura Settings for Ender 3 – Tailored profiles for the popular budget printer.
- Optimizing Infill Patterns in Cura – A deep dive into when to choose Lines, Gyroid, or Cubic.
Visit our homepage for more tutorials, printable models, and community forums where you can share your own speed‑quality wins.
Call to Action
Did this guide help you shave minutes off your next build? Subscribe to our newsletter for monthly “Fast‑Print” tips, follow us on Twitter @CuraSlicers, and join the conversation on Discord.
Start printing smarter today—your next high‑quality, fast print is just a Cura profile away!