Cura vs PrusaSlicer for Detailed Miniatures
Cura vs PrusaSlicer for Detailed Miniatures: Which Slicer Prints Smaller Features Better?
Estimated reading time: 5 minutes
- Comparison of slicing software for 3D printing detailed miniatures.
- Cura offers speed and user-friendly features, while PrusaSlicer excels in detail retention.
- Key settings including retraction, coasting, line width, and flow impact print quality.
- Understand trade-offs between print time and quality.
- Recommendations for beginners and advanced users.
Table of Contents
- Understanding the Importance of Slicing Software
- Key Settings Impacting Fine Details
- Time vs. Quality Trade-Offs
- Recommendations for Miniature Hobbyists
- Conclusion: Making the Right Slicing Choice
- FAQ
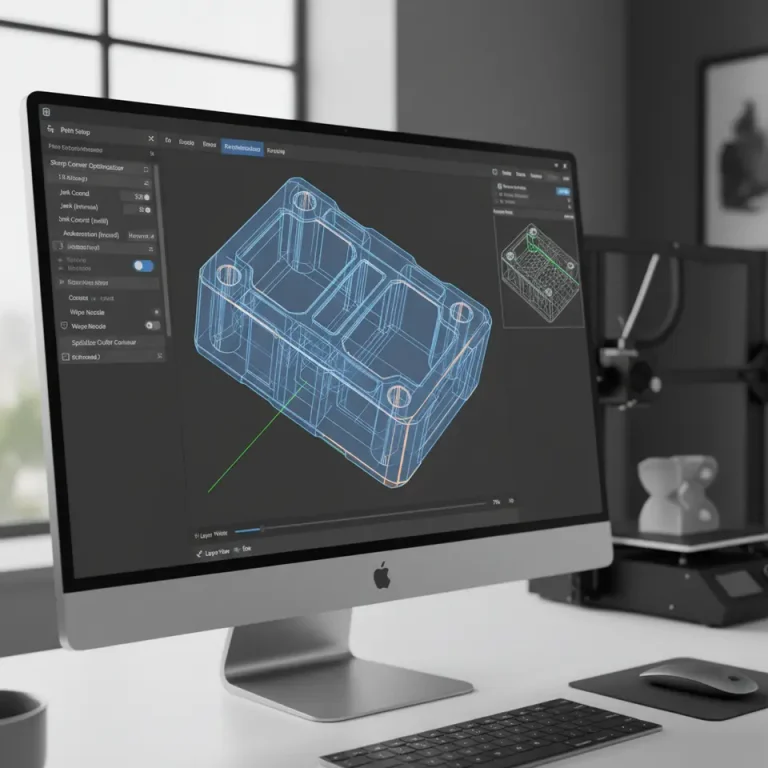
Understanding the Importance of Slicing Software
The slicing software used in 3D printing plays a pivotal role in determining how accurately a model is translated into a finely crafted object. Each software solution has its strengths and weaknesses, especially when it pertains to reproducing sophisticated designs without compromising detail.
A strong understanding of these characteristics can greatly enhance your printing outcomes, especially if you are a miniature hobbyist or involved in professional 3D modeling. Properly utilizing these advancements can save time, reduce costs, and boost your operational efficiency. Thus, when it comes to effective task delegation in your 3D printing workflow, choosing the right slicer is essential to ensure that you’re getting the results you desire.
Key Settings Impacting Fine Details
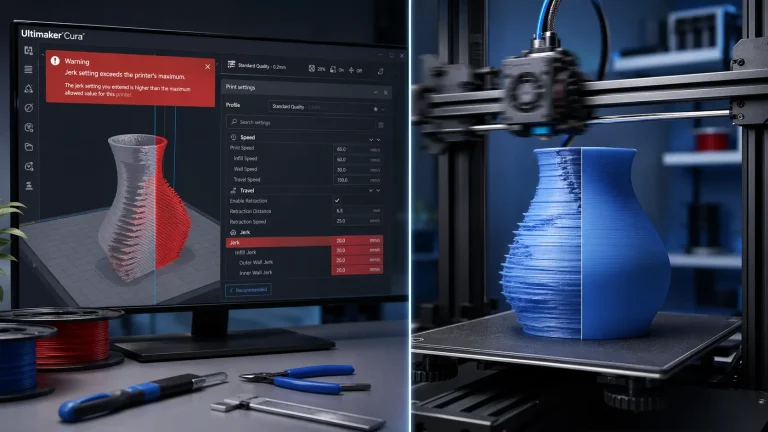
1. Retraction Settings
Retraction refers to the process where the printer pulls back the filament before moving to a new location, preventing blobs and stringing. The efficacy of this setting is key for printing detailed miniatures.
- Cura: Offers a variety of customizable retraction settings including distance and speed. Higher speed without adequate retraction may lead to stringing and loss of detail, while excessive retraction speed may result in delayed filament flow.
- PrusaSlicer: Similar to Cura, it allows for advanced retraction settings such as extra retraction distance and speed adjustments. Users have reported that PrusaSlicer typically manages to maintain tighter control, which helps avoid extraneous material and retain detail.
Practical Tip: Start with a retraction distance of 1-2 mm for both slicers, then adjust based on your model’s complexity and filament type.
2. Coasting Settings
Coasting can be particularly advantageous for preserving detail in miniatures by stopping extrusion slightly before the end of a travel move. This eliminates oozing and can enhance edge sharpness.
- Cura: Provides a coasting option but requires some experimentation with the settings. The ideal distance varies based on your print speed and filament type.
- PrusaSlicer: Often praised for its user-friendly coasting settings, many users find it easier to achieve cleaner edges with it, which is essential for detailed miniatures.
Practical Tip: Set coasting to approximately 0.2 mm for both slicers, then assess the aesthetic quality post-print.
3. Line Width and Flow Rate
Fine details in 3D printing are heavily influenced by both line width and flow rate settings.
- Cura: Allows users to set a variable line width; standard practice recommends setting it slightly above the nozzle diameter for higher detail work.
- PrusaSlicer: Offers flexibility in line width and flow adjustment directly through its interface, allowing for quick revisions without re-slicing the entire model.
Practical Tip: Utilize a line width between 0.1 mm to 0.3 mm when working with detailed miniatures, and calibrate flow rate through test prints.
Time vs. Quality Trade-Offs
Print quality is often measured against time, and different slicers provide varying balances between these two factors. Cura may offer faster print times due to streamlined algorithms, but PrusaSlicer’s optimizations can result in enhanced detail at the cost of extended printing durations.
Performance Metrics
To provide a clearer comparison, we performed several prints of the same miniature model using both Cura and PrusaSlicer. Below are some key performance metrics observed:
| Metric | Cura – Setting A | PrusaSlicer – Setting A |
|---|---|---|
| Print Time | 3 hours | 3 hours 30 minutes |
| Detail Level | Good | Excellent |
| Bottom Layer | Smooth | Slightly More Textured |
| Strength | Strong | Very Strong |
From these metrics, while Cura may offer quicker prints, PrusaSlicer consistently yielded higher quality results, especially in the levels of detail observed.
Recommendations for Miniature Hobbyists
Based on the analysis between Cura and PrusaSlicer, here’s what we recommend for miniature hobbyists:
- For Beginners: Start with Cura due to its user-friendly interface and widespread community support. It’s quicker to learn and offers a variety of settings to experiment with.
- For Advanced Users Seeking Detail: Choose PrusaSlicer. If your focus is on high-detail miniatures, its advanced settings allow for much greater customization to maximize quality.
- Hybrid Approach: Consider using both slicers for different projects. Utilize Cura for simple prints and faster turnaround, but switch to PrusaSlicer when precision is paramount.
Conclusion: Making the Right Slicing Choice
In the debate of Cura vs PrusaSlicer for detailed miniatures, the decision ultimately hinges on the specific needs of the user. While Cura demonstrates a speedy and intuitive experience, PrusaSlicer shines with its superior detail retention capabilities, making it the preferred choice for those dedicated to high-quality miniatures.
If you’re ready to elevate your miniature printing endeavors and need assistance with workflow optimization or task delegation, consider exploring DELEGG’s virtual assistant services. We specialize in helping businesses streamline processes, ensuring you can focus on what you do best—creating with precision.
FAQ
- What is the main difference between Cura and PrusaSlicer?
- Can I use both slicers?
- What are key settings for printing detailed miniatures?
Cura is known for its user-friendly interface and faster print times, while PrusaSlicer excels at retaining fine details and providing advanced customization options.
Yes! Many users benefit from utilizing both slicers depending on the complexity of the print and the desired level of detail.
Key settings include retraction distance, coasting distance, and line width. Adjusting these settings can greatly improve the quality of your miniatures.
Call to Action
Ready to take your 3D printing journey to the next level? Contact us today at DELEGG to learn how our virtual assistant services can help optimize your operations and enhance your creative output. Save time, reduce costs, and watch your business grow efficiently with our expert support!