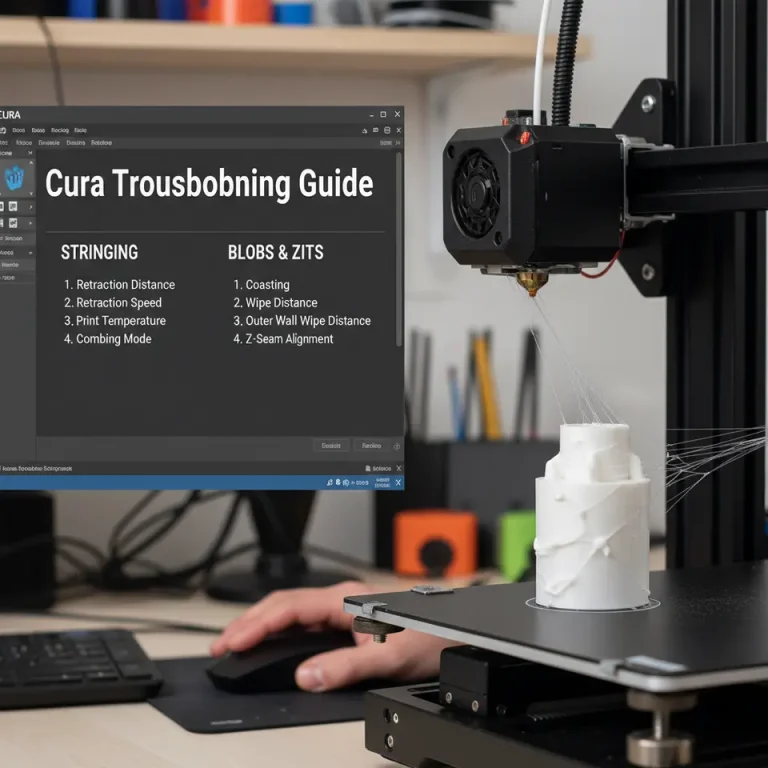
Slice for Better Overhangs with Cura’s Support Techniques
How to Slice for Improved Overhangs on Organic Shapes Using Cura’s Support Settings
- Understand overhangs in 3D printing and their challenges.
- Utilize support density gradients for organic shapes.
- Explore placement strategies to optimize support structures.
- Adjust settings based on different filament types.
- Experiment with Cura’s preview feature for best results.
Table of Contents
- Understanding Overhangs in 3D Printing
- The Role of Support Structures
- Key Support Settings in Cura
- Practical Settings for Various Filaments
- Demonstrating Minimized Support Scarring
- Experimentation Is Key
- Conclusion
- References
Understanding Overhangs in 3D Printing
Overhangs occur when a layer of the 3D print protrudes outwards without any material directly underneath it to support it. For traditional shapes, overhangs may be minimal, but with organic forms, which often feature many curvatures and complex geometries, they can become substantial. Proper support settings in Cura can help alleviate common challenges associated with overhangs, such as sagging and scarring.
The Role of Support Structures
Support structures are additional material that is printed to hold up overhanging parts during the printing process. The goal is to provide stability during printing while being easy to remove afterwards, causing minimal impact on the final print surface. Cura offers various settings to customize these supports, and understanding them is essential to achieving high-quality prints of organic shapes.
Key Support Settings in Cura
To effectively slice for improved overhangs on organic shapes, let’s delve into some specific Cura settings:
1. Support Density Gradients
Support density allows you to adjust how much material is used in the supports. Higher density means stronger supports but also more material and a more tedious removal process. For organic shapes, using a gradual density approach can be beneficial.
- Recommended Setting: Start with a base support density of around 15-20% for simpler overhangs, increasing to 30-50% closer to intricate features that need additional support. This gradient helps minimize support scarring on surfaces while providing strong support where needed.
2. Support Placement Strategies
Cura offers three main placement strategies for supports:
- Everywhere: Supports are placed underneath every overhang.
- Touching Build Plate: Supports only touch the build plate and not the model itself.
- Support Z Distance: This setting defines the distance between your support structure and the model. For organic shapes, a slight Z distance (e.g., 0.1 mm) can aid in easier removal.
A combined strategy often works best. For instance, use “Everywhere” for more complex contours and “Touching Build Plate” for flatter sections.
3. Where to Place Supports
Choosing where to place supports is crucial, especially for complex models. Cura allows for the use of a Support Blocker or Support Enforcer which you can use to selectively apply or block supports on specific areas. Here’s how to effectively use them:
- Use a Support Blocker to prevent supports on detailed areas that may incur scarring.
- Use a Support Enforcer for flat sections where you need extra support while leaving more decorative parts free from supports.
These tools offer precision and can significantly reduce post-processing time and effort.
Practical Settings for Various Filaments
Different filaments react differently during printing; thus, your support settings might need adjustments based on your material choice. Below are some recommendations:
- PLA: Ideal for beginners due to its ease of use. Recommended settings include 20% support density with a 0.2 mm layer height.
- PETG: Slightly more flexible; use a support density of 15% but increase Z distance to 0.2-0.3 mm to accommodate its stringing tendencies.
- ABS: Use 25% density, with “Everywhere” placement, and ensure the supports are robust enough to cope with ABS’s warping nature. A heated bed is essential here to prevent issues.
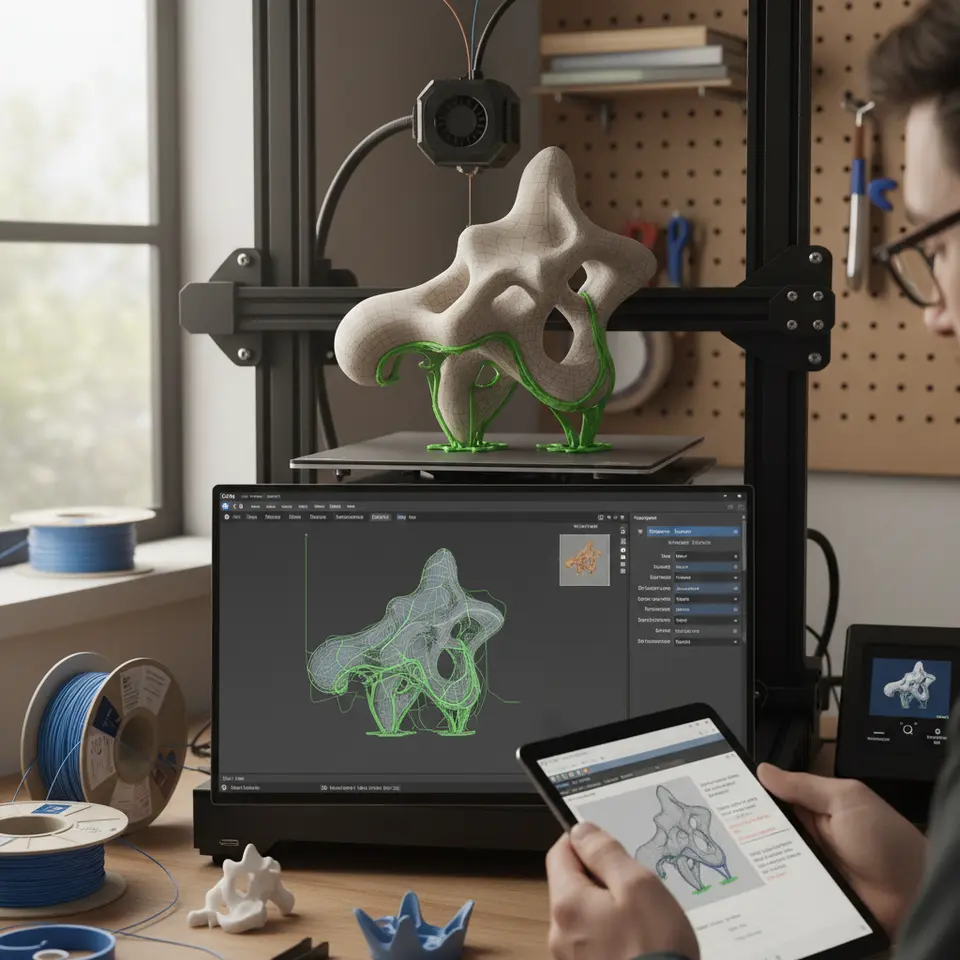
Demonstrating Minimized Support Scarring
Using the right support settings can drastically reduce the visual impacts on your print. For example, models featuring elaborate details like faces or nature scenes can benefit significantly from a well-planned support strategy.
Example: A bust sculpture printed using a combination of 20% support density and precise placement tools resulted in less surface scarring compared to the same model printed with uniform supports across all areas. By tapering supports for flatter areas and applying them only where necessary, the final output was much cleaner.
Experimentation Is Key
Successful 3D printing, especially with organic shapes, often comes down to trial and error. Don’t hesitate to adjust your slicer settings based on your specific model. Utilizing the preview mode in Cura is incredibly helpful to visualize how supports will be placed and to make adjustments before printing.
Conclusion
Slicing for improved overhangs on organic shapes using Cura’s support settings can enhance print quality significantly. By understanding and applying support density gradients, placement strategies, and filament-specific settings, you can minimize scarring and achieve optimal results. Remember that each printing project may require a unique approach, and experimentation remains key to mastering these techniques.
For further insights into enhancing your 3D printing workflow, be sure to explore our articles on Cura Support Settings: Effective Tips and Cura’s Strength Tips.
If you’re interested in diving deeper into the world of 3D printing, follow us on social media for the latest updates, or visit our homepage at CuraSlicers.com for more 3D printing tips. Happy printing!
References
For further reading on support structures and overhangs, visit Ultimaker’s official documentation, which provides additional insights and technical details.
This article offers an essential guide for hobbyists and professionals alike, ensuring that you can achieve incredible results with your 3D prints by mastering Cura’s settings.