Measure 3D Print Accuracy in Cura
Estimated reading time: 7 minutes
Key Takeaways
- Understanding dimensional accuracy is crucial for functional and aesthetic 3D prints.
- Calibration and settings play a significant role in achieving accurate prints.
- Iterative measurement and adjustment enhance print quality over time.
- Use digital calipers for precise measurement to ensure conformity to specifications.
- Regularly repeat the measurement process to optimize your 3D printing workflow.
Table of Contents
Understanding Dimensional Accuracy in 3D Printing
Measuring the real-world dimensional accuracy of 3D prints is crucial for ensuring that your printed objects meet precise specifications, whether you’re a hobbyist creating custom parts or a professional producing functional prototypes. In this guide, we will explore effective methodologies to benchmark and assess the dimensional accuracy of your prints using Ultimaker Cura. Understanding how to interpret these measurements can dramatically improve your 3D printing workflow and enhance the quality of your projects.
Why Dimensional Accuracy Matters
- Functional Parts: For parts that serve a mechanical purpose, even the slightest error can lead to fit issues, function failures, or performance degradation.
- Prototyping: When prototyping, an accurate representation of the intended design is imperative for effective testing and iteration.
- Aesthetic Qualities: For cosmetic prints, dimensional accuracy can affect the final appearance and quality perception of the print.
Factors Affecting Dimensional Accuracy
Several factors can influence the dimensional accuracy of your prints from Ultimaker Cura:
- Printer Calibration: The printer’s mechanical components must be well-calibrated, including the extrusion multiplier and linear advance settings.
- Slicing Settings: Cura provides numerous settings, such as layer height, print speed, and material choice, which can impact accuracy.
- Material Properties: Different materials shrink or expand at different rates, affecting the final dimensions.
- Environmental Conditions: Temperature fluctuations and humidity levels can also change the behavior of the filament.
Methodology to Measure Dimensional Accuracy
To measure real-world dimensional accuracy effectively, follow these steps:
Step 1: Design and Print a Calibration Object
Start with a calibration object designed to enable easy measurement of dimensions. This shape should include a variety of features to measure different dimensions, such as cubes, cylinders, or more complex geometries. Free calibration models are available from sites like Thingiverse or you can design custom shapes in CAD software.
Step 2: Prepare Your Print Settings in Cura
Using Ultimaker Cura, configure your print settings. Here are some key considerations:
- Layer Height: A smaller layer height typically aids in more accurate prints, but may increase print time.
- Print Speed: Slower speeds generally improve accuracy by allowing the material to settle and cool before the next layer is applied.
- Wall Line Count: Increasing the wall line count can provide more material around edges, which may improve the overall print dimensions.
- Temperature Settings: Check the recommended temperature settings for your filament type to avoid issues related to under-extrusion or over-extrusion.
You can read more about optimizing settings for better results in our blog post on optimizing small cosmetic prints.
Step 3: Measurement Techniques
Once you have printed the calibration object, the next step is to measure the dimensions accurately:
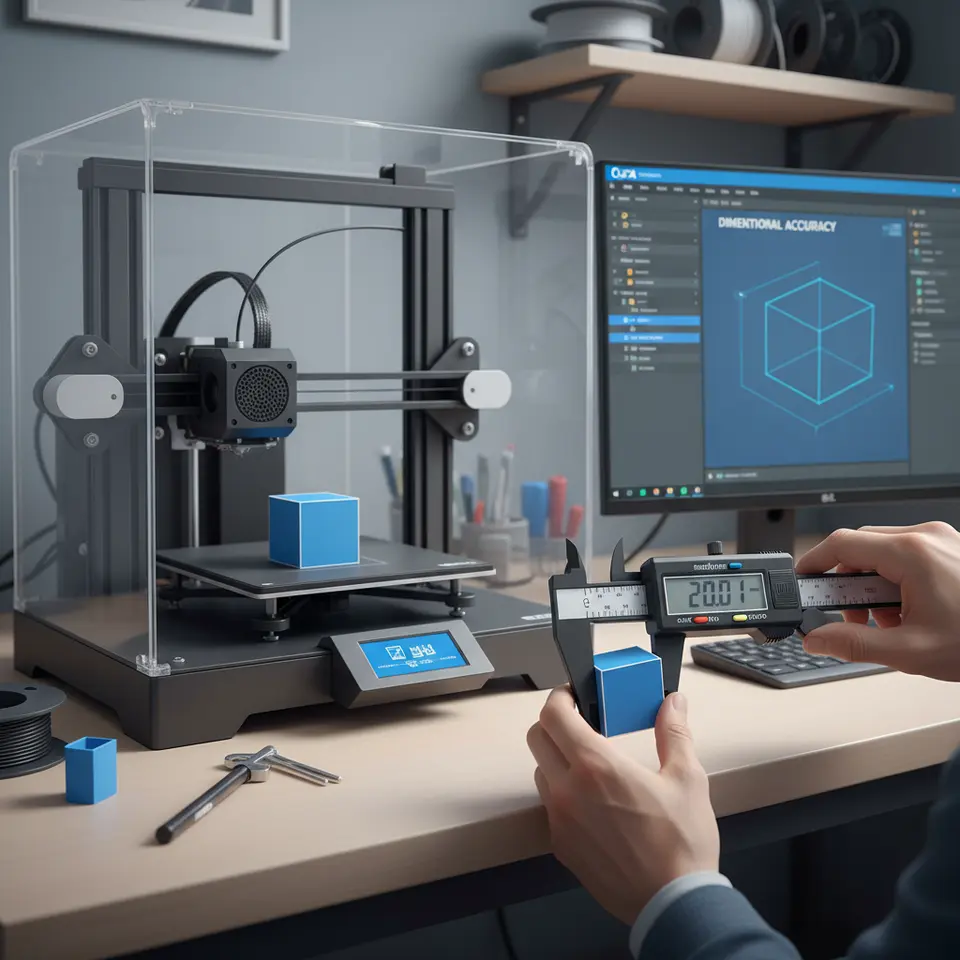
- Tools: Use a digital caliper for precise measurements, as accuracy matters in this phase.
- Reference Points: Measure critical dimensions based on the design specifications. Ensure to measure at least three points along each dimension to account for any inaccuracies.
- Record and Analyze: Keep a log of your measurements, noting discrepancies between the measured values and the designed values.
Step 4: Determine the Tolerance
To evaluate how well your prints adhere to the intended dimensions, you’ll need to establish a tolerance boundary. Tolerances define acceptable limits of deviation from specifications. A common practice is to define tolerances based on the intended application:
- Functional Parts: Tighter tolerances (±0.1mm) are usually necessary.
- Aesthetic Parts: Looser tolerances (±0.2mm) may be acceptable.
Step 5: Adjust and Optimize
If your measurements indicate discrepancies, it’s important to make adjustments:
- Extruder Calibration: Ensure your extruder is calibrated correctly by measuring the actual filament being extruded and comparing it with what your slicer estimates.
- Print Settings: Adjust settings in Cura as necessary, such as the flow rate or layer height, and run further tests to assess improvements.
An excellent resource for troubleshooting printing errors is our guide on slicing errors fixes.
Step 6: Repeat the Process
3D printing is often an iterative process. After making adjustments, recalibrate your print settings, re-run your tests, and measure again. Building a strong understanding of how your specific printer and materials behave takes time and practice.
Practical Takeaways for Measurement Workflows
- Design custom calibration objects for your specific needs.
- Utilize digital calipers for accurate measurements.
- Document results and adjust Cura settings based on findings.
- Understand your materials and printer capabilities to define appropriate tolerances.
- Regularly repeat the measurement process to continually optimize your workflow.
Conclusion
Measuring the real-world dimensional accuracy of your Cura 3D prints is a remarkable way to ensure that your projects meet specifications and function as intended. By following the methodology outlined in this guide, you can develop a mastery over your prints that will significantly enhance your 3D printing workflow.
For more in-depth guides on Cura settings and optimization techniques, visit our homepage, and enhance your 3D printing skills. Don’t miss our article on Cura slicer fit tolerance, which provides further insights into achieving precise fits in your designs.
Additionally, consider subscribing to our newsletter or following us on social media for the latest updates and tips in the world of 3D printing. Accurately measure your prints, improve your skills, and push your 3D printing projects to new heights!
For external guidelines on measuring dimensional accuracy, check out this resource on Ultimaker’s Cura documentation.
FAQ
What is dimensional accuracy?
Dimensional accuracy refers to the degree to which the dimensions of a 3D printed object conform to the intended design specifications.
Why is dimensional accuracy important in 3D printing?
High dimensional accuracy is crucial for quality assurance, fitting mechanical parts, and ensuring the aesthetic properties of printed objects meet expectations.
How can I improve dimensional accuracy in my prints?
Improvement can be achieved through adequate printer calibration, optimal slicing settings, utilizing appropriate materials, and repeating measurements to refine your process.