Cura Slicer Fit and Tolerance Guide
Cura Slicer Fit and Tolerance Guide for Bearings and Press Fits
Estimated Reading Time: 5 minutes
- Understanding fit and tolerance is essential for 3D printed components.
- Adjust Cura slicer settings for optimal performance.
- Printable test kits help gauge tolerances effectively.
- Post-print finishing techniques ensure perfect fits.
- Experimentation is key to achieving the right tolerances.
Table of Contents
- Understanding Fit and Tolerance in 3D Printing
- Recommended Tolerances for 3D Printing Bearings and Press Fits
- Printable Test Kits and Measurement Templates
- Post-Print Finishing Advice for Press Fits
- Conclusion: Achieving Perfect Fits with Cura Slicer
Understanding Fit and Tolerance in 3D Printing
What Are Tolerances?
Tolerances describe the permissible limits of variation in a physical dimension of a part. In 3D printing, especially for mechanical parts like bearings and press-fit components, tolerances are crucial because even slight deviations can lead to significant functional issues. Generally, tolerances are defined in engineering drawings and can be categorized into:
- Positive Tolerance: The part can be larger than specified.
- Negative Tolerance: The part can be smaller than specified.
In 3D printing, maintaining the right tolerances can prevent issues such as stiffness, failure to assemble, or wobbling of moving parts.
Why Fit Matters
Fit is the relationship between two mating parts. There are three types of fits:
- Clearance Fit: Allowing for free movement, suitable for rotating assemblies.
- Interference Fit: Tight fit requiring force for assembly, ideal for press-fit components.
- Transition Fit: Between clearance and interference, allowing for a level of play but still snug.
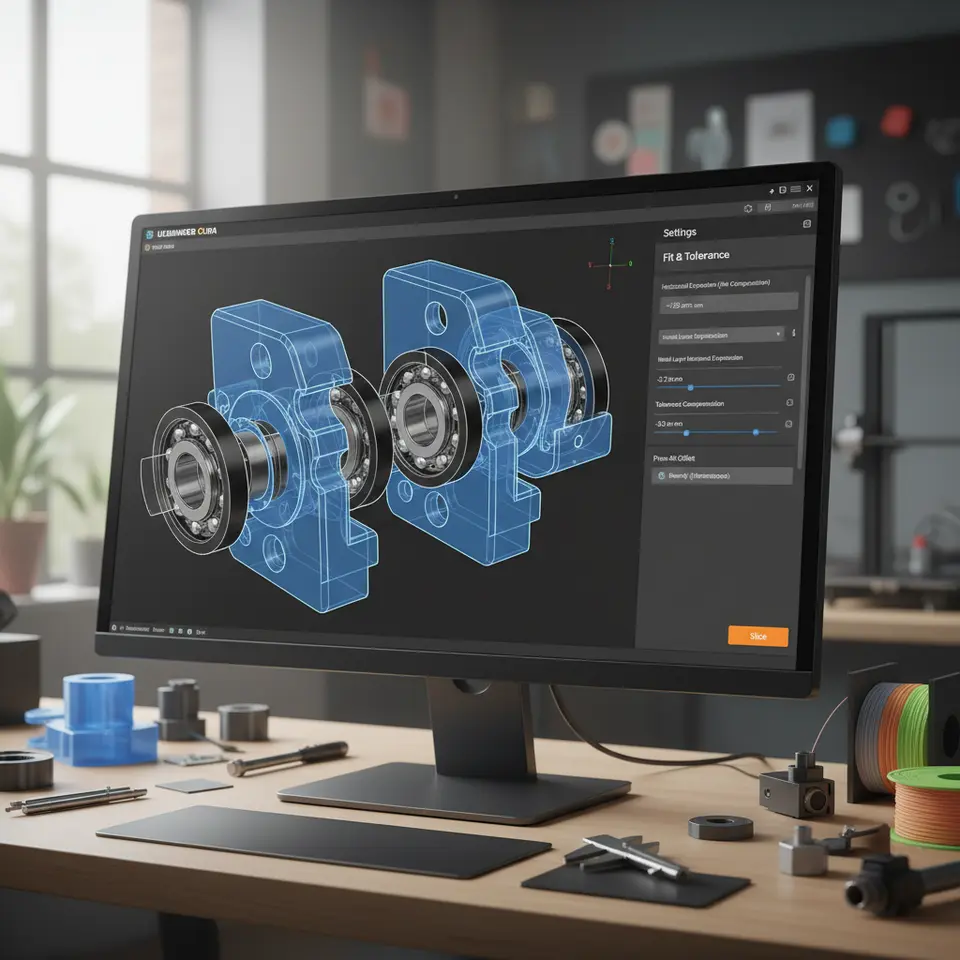
Importance of the Cura Slicer in Achieving Fit and Tolerance
Cura slicer settings play a critical role in defining how parts fit together. By understanding these settings, you can fine-tune your prints for optimal performance.
Recommended Tolerances for 3D Printing Bearings and Press Fits
General Tolerances
Here are general tolerance guidelines that you can follow for common 3D printing materials like PLA, ABS, PETG, and TPU:
- For Bearings:
- Clearance fit: +0.2 mm to +0.5 mm over the nominal diameter.
- Interference fit: -0.1 mm to -0.3 mm under the nominal diameter.
- For Bushings and Press-Fit Components:
- For 3D printed shaft diameters: A common tolerance is -0.1 mm for interference fits, while clearance fits can be +0.2 mm to +0.3 mm.
These tolerances vary with material and print conditions, so it’s essential to run tests.
Printable Test Kits and Measurement Templates
To gauge the tolerances effectively, you can create a test kit consisting of various print designs representing different fitted components. You can design these kits in any CAD software; however, templates might already be available on platforms like Thingiverse or MyMiniFactory.
Creating Your Test Kit
- Design Practical Samples: Make samples of various sizes that fit together differently — from a loose fit to a snug fit.
- Print with Configured Cura Settings: Utilize specific Cura slicer settings to ensure each sample reflects the intended tolerance.
- Measure Post-Print: Using calipers or micrometers, measure the fits to check their accuracy against your design specifications.
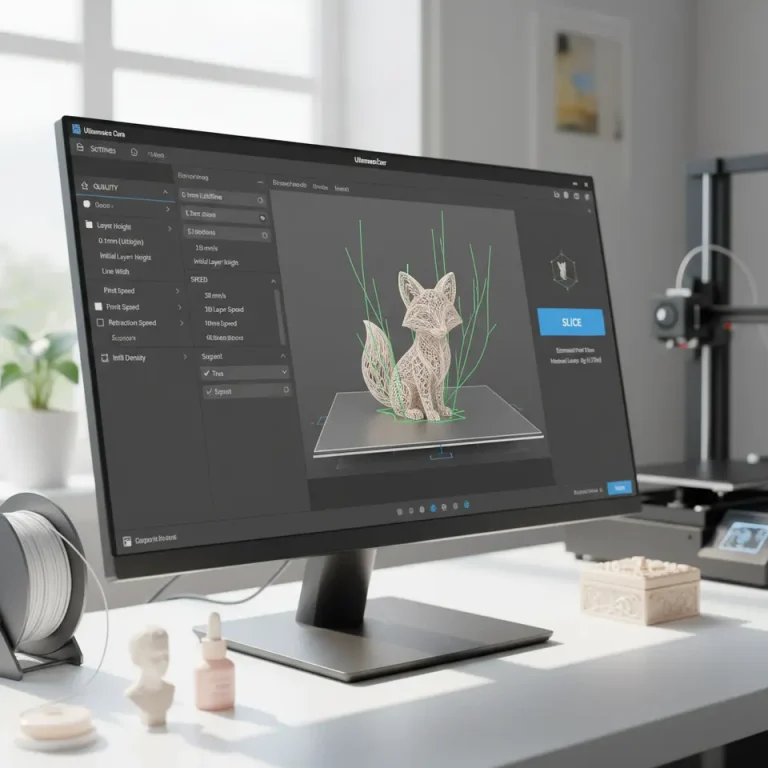
Recommended Print Settings for Optimal Fit
To optimize for fit and tolerances in Cura, consider the following settings:
- Layer Height: A smaller layer height (e.g., 0.1 mm) increases detail but can prolong print times.
- Nozzle Diameter: Try using a smaller nozzle for finer details when printing tight-fitting components.
- Flow Rate: Configure your flow rate based on material; for example, a flow rate of 100-102% is often ideal for precision.
- Temperature: Each material has its optimal printing temperature. Ensure you’re within recommended ranges to avoid warping or inaccuracy.
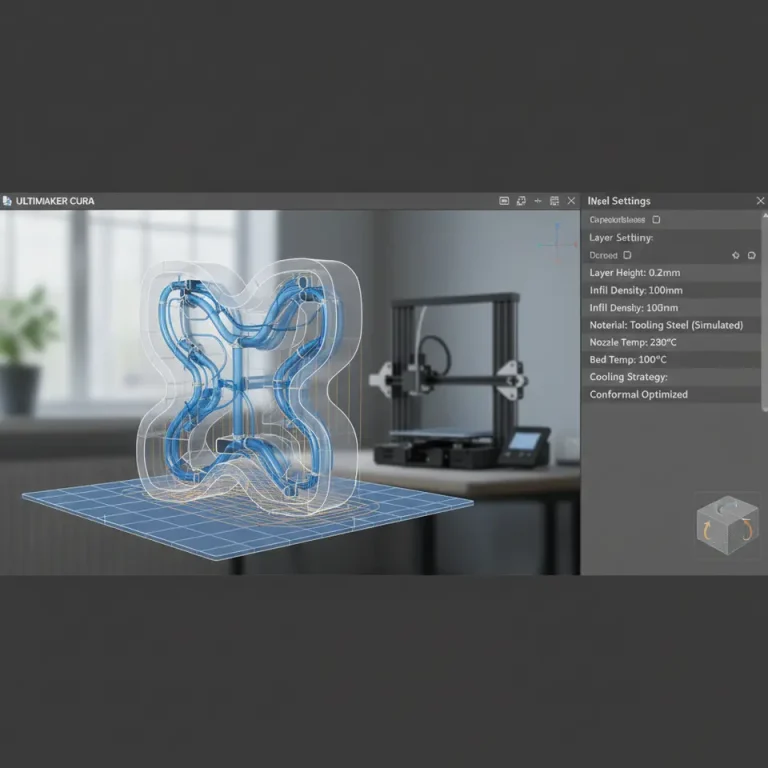
Utilizing Advanced Features in Cura
Take advantage of some advanced settings in Ultimaker Cura like:
- Adaptive Layers: Consider using Adaptive Layer Height Optimization to adjust layer heights based on geometry. This setting is invaluable for precise fitting parts.
- Ironing Feature: Implement Cura Ironing on top surfaces for smoother finishes—ideal for aesthetics when parts are visible.
For a deep dive into adaptive layers, check out our guide on Cura Adaptive Layers Optimization.
Post-Print Finishing Advice for Press Fits
Achieving a perfect press fit isn’t just about printing; post-processing is equally essential. Here are some effective techniques:
Sanding and Filing
Use sandpaper or files to refine edges and surfaces for better fit. Ensure to remove any burrs that could impede fitting.
Applying Lubricants
For press-fit components, using a lubricant during assembly can help ease the insertion without damaging parts.
Heat Fitting
For thermoplastic materials, you can use heat to make the piece more pliable. Gently heating the fitting part can enhance its ability to resist fracture during assembly.
Conclusion: Achieving Perfect Fits with Cura Slicer
Navigating the world of tolerances and fits in 3D printing can be challenging, but with the right strategies and settings in Cura, you can create perfectly fitting components like bearings and press-fit parts. Make sure to experiment with various tolerances and test your designs thoroughly.
For further information on optimizing your prints, you can explore our resources on Cura Slicer Printer Setup and Cura Flow Rate and Line Width.
Are you ready to elevate your 3D printing skills? Don’t forget to subscribe to our blog for more tips and tricks, and follow us on social media as we continue to explore the ever-expanding universe of 3D printing.
For more 3D printing insights and detailed guides, visit CuraSlicers.com.
To further enhance your understanding of tolerances, visit Ultimaker’s Documentation on Slicing for in-depth information.
Happy printing!
FAQ
What are the common tolerances for 3D printing?
Common tolerances for 3D printed components typically vary from +0.2 mm to +0.5 mm for clearance fits, and -0.1 mm to -0.3 mm for interference fits.
How can I test fits in 3D printing?
You can create a test kit with various sample parts using your Cura settings, then measure them against your design specifications using calipers or micrometers.
What are the best print settings for optimal fits?
Best print settings for optimal fits include smaller layer heights, appropriate nozzle diameters, correctly configured flow rates, and ensuring proper material temperatures during printing.