Accurate Quoting of 3D Prints with Cura
Estimated Reading Time: 5 minutes
Key Takeaways:
- Understand key metrics in Cura to enhance quoting accuracy.
- Analyze print time and material usage for cost calculations.
- Factor in overhead and potential risks for comprehensive quotes.
- Avoid common pitfalls like underestimating print times and ignoring material waste.
- Utilize custom profiles and scripts in Cura to streamline quoting.
Table of Contents
Understanding Cura Data for Accurate Quoting
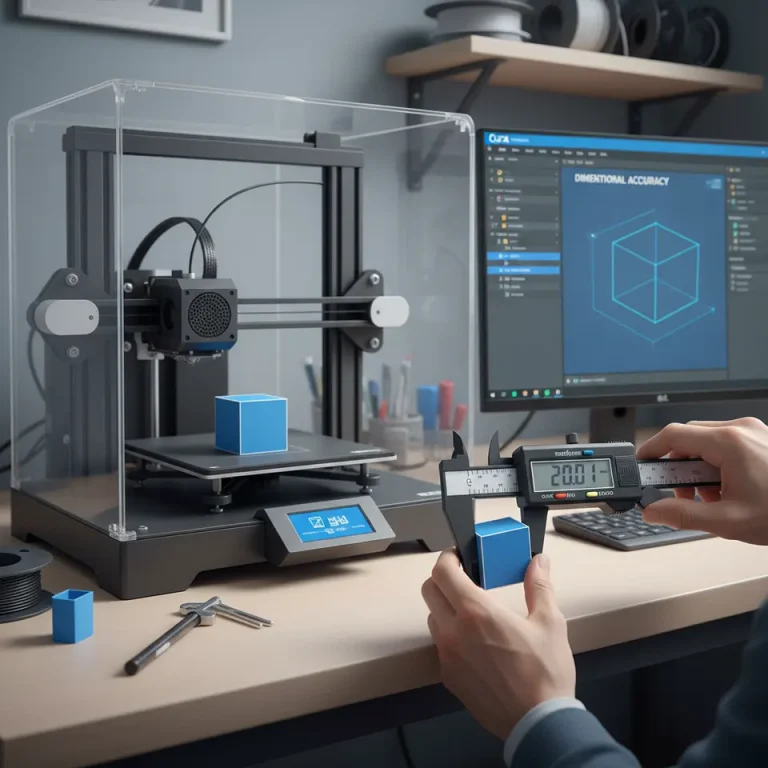
Ultimaker Cura is one of the most popular slicing software tools in the 3D printing community. It not only helps in preparing 3D models for printing but also provides valuable data that can be used for quoting print jobs accurately.
Key Metrics in Cura for Pricing 3D Prints
Before diving into the methodology of quoting, let’s break down some essential metrics available in Cura:
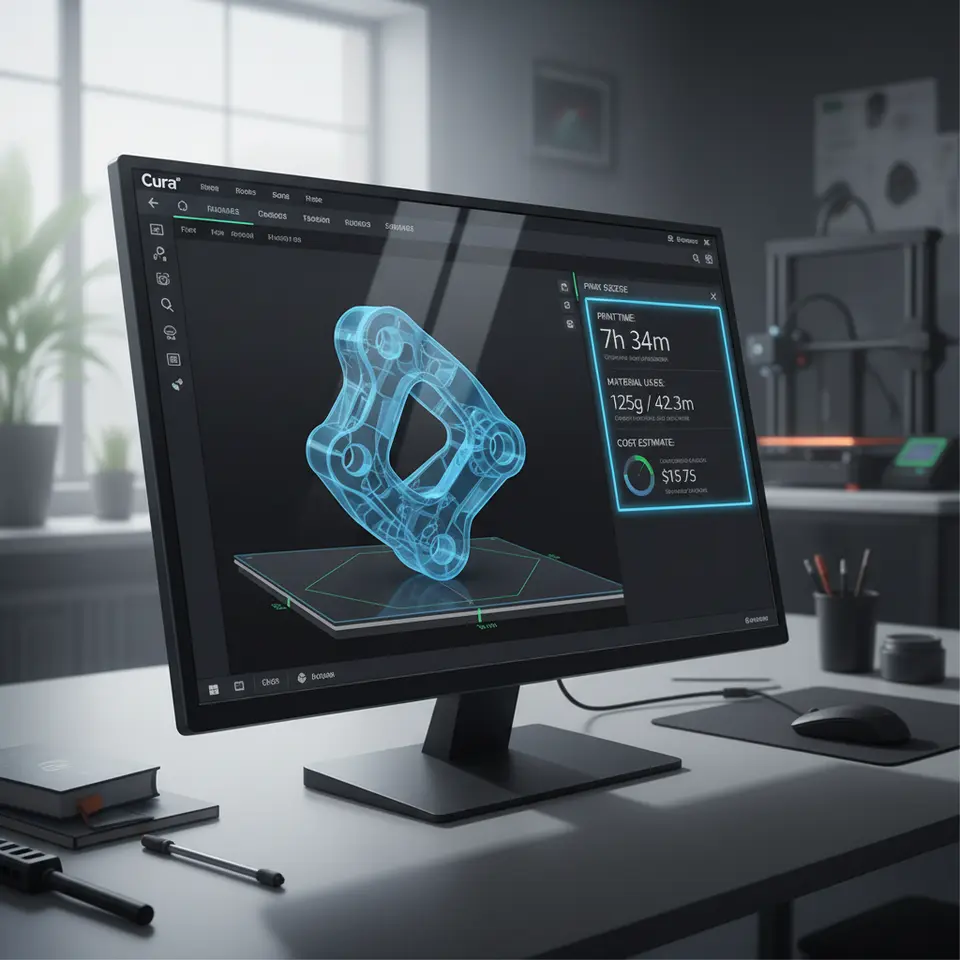
- Print Time: This represents the estimated time it will take to complete the printing process for a specific model. Knowing this helps in understanding how much time to factor into your pricing.
- Material Usage: Cura provides a detailed estimate of how much material will be consumed during the print. This includes filament length and weight, which are crucial for calculating material costs.
- Layer Count: More layers typically mean longer print times and increased material use, often leading to a higher quote. Understanding the relationship between layer count and these factors is essential.
- Support Structures: If the print requires support, this can add complexity and cost to your quotes. Cura can show how much extra material is used for supports, which should be reflected in your pricing.
- Print Quality Settings: Higher quality prints take longer and use more material. Settings like layer height, infill density, and wall lines all affect these metrics.
How to Use Cura Data for Quoting
With a better grasp of these metrics, follow this structured approach to quoting your 3D prints:
- Gather Model Data: Begin by importing your 3D model into Cura. Make sure the settings reflect the quality and speed you intend to use for printing.
-
Analyze Cura Metrics: After slicing the model, review the estimated print time, material usage, and any other relevant metrics provided by Cura. Here are some actionable takeaways:
- Compare the print time with your operational rates to determine labor costs.
- Assess the amount of filament used and calculate costs based on current market prices.
-
Calculate Total Costs:
-
Material Cost: Calculate the total cost using the formula:
Material Cost = (Filament Weight in kg) x (Cost per kg of filament) -
Labor Cost: Multiply the estimated print time by your hourly rate to determine labor costs.
Labor Cost = (Print Time in hours) x (Hourly Rate) - Overhead: Include a percentage for overheads (equipment wear and tear, electricity, etc.) to ensure profitability.
-
Material Cost: Calculate the total cost using the formula:
- Final Quotation: Once you have all your costs calculated, sum them up to arrive at your final quote. Ensure you consider any unique factors related to the specific print, such as complexities or risks that could lead to failures or reprints.
Common Pitfalls in Quoting 3D Prints
Even experienced users can make mistakes when it comes to quoting their 3D prints. Here are some potential pitfalls to avoid:
- Underestimating Print Time: Always round up on print time estimates to account for potential delays.
- Neglecting Support Structures: If your print requires supports, ensure you account for the extra material and time that will be used.
- Ignoring Material Waste: It’s essential to factor in some percentage of material waste for failed prints and clean-up.
Tips for Using Cura Effectively in Your Quoting Process
– Set Up Custom Profiles: Create profiles in Cura for different types of prints you frequently quote. This setting ensures you always have a starting point for common tasks.
– Utilize Custom Scripts: Explore the potential of Cura’s custom script options to automate the process of gathering data for quotes. This can save valuable time.
– Monitor Printing Performance: Over time, keep track of how accurately your quotes align with actual costs and printing times. Adjust your models and processes based on this data for better accuracy.
Conclusion
By understanding how to quote 3D prints accurately using Cura data, you position yourself not just as a hobbyist but as a professional in the 3D printing field. Integrating detailed metrics from Cura into your pricing strategy enables better communication of value to your clients and ensures that your business remains profitable.
Looking to dive deeper into maximizing your 3D printing experience? Be sure to check out our guide on Cura Slicer Fit Tolerance and explore ways to optimize Cura for small cosmetic prints.
For more in-depth tutorials and expert tips on 3D printing, visit our main page CuraSlicers.com and subscribe to stay updated. Explore the potential of Cura and elevate your printing game!
To further improve your quoting accuracy, consider referring to Ultimaker’s official documentation for additional insights on optimizing your 3D printing process, which can also help in refining your quotations.
Happy printing!
FAQ
Q: What is the best way to estimate print time?
A: Always round up your estimates to provide a buffer for unexpected delays.
A: Always round up your estimates to provide a buffer for unexpected delays.
Q: How do I calculate material costs?
A: Use the filament weight in kg multiplied by the cost per kg of filament.
A: Use the filament weight in kg multiplied by the cost per kg of filament.
Q: What should I include in overhead costs?
A: Include a percentage for equipment wear and tear, electricity, and other related expenses.
A: Include a percentage for equipment wear and tear, electricity, and other related expenses.