Achieve Quieter 3D Prints with Jerk and Acceleration Settings
How to Make Silencing Mods and Configure Jerk/Acceleration Settings for Quieter Prints in Cura
Estimated Reading Time: 7 minutes
Key Takeaways:
- Understanding jerk and acceleration settings can significantly reduce printer noise.
- Practical mods such as dampers and frame insulation can enhance quietness.
- Balancing speed and quality is crucial when adjusting settings.
- Documenting noise levels before and after modifications is essential for measuring success.
- Explore related resources for deeper insights on optimizing your print settings.
Table of Contents:
Understanding Jerk and Acceleration Settings in 3D Printing
Jerk and acceleration are important variables that influence the motion of your printer’s axes. Understanding and configuring these settings can significantly mitigate noise levels during printing.
- Jerk: This setting determines how quickly the printer can start and stop moving when making rapid direction changes. A high jerk setting can lead to sudden movements, which increases vibration and noise.
- Acceleration: This controls how quickly the printer reaches its maximum speed. High acceleration settings can lead to high-frequency vibrations, which contribute to noise pollution.
By fine-tuning jerk and acceleration settings, you can achieve smoother motions that minimize vibrations while maintaining print efficiency.
Why Quieter Prints Matter
Creating quieter prints is not just about the peace and quiet; it can also improve your printer’s mechanical longevity and reduce wear and tear. Moreover, if you’re using your printer in a shared space or during night hours, quieter operations become essential.
Practical Steps for Quieter Prints
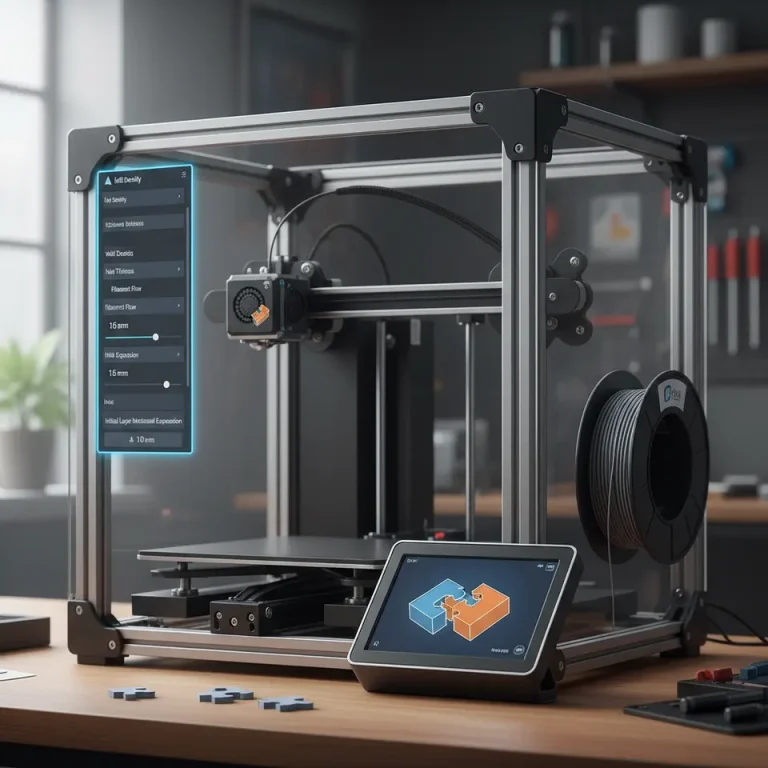
1. Adjusting Jerk and Acceleration Settings in Cura
To make adjustments to jerk and acceleration settings in Ultimaker Cura, follow these steps:
- Open your project in Ultimaker Cura.
- Navigate to the Preferences section and select Configure taken settings.
- Here you should see options for Max Acceleration and Jerk values under the “Speed” settings.
For quieter prints, consider starting with these recommended settings:
- Jerk: 5 mm/s
- Acceleration: 800 mm/s²
These settings will produce smoother movements, thereby reducing vibrations. However, keep in mind that these parameters need to be tuned according to your specific printer model and setup.
2. Test for Optimal Setting Adjustments
After setting your jerk and acceleration values, you’ll want to test different configurations to evaluate their effectiveness. Run a series of test prints and document the noise levels and print quality.
3. Implement Silencing Mods
In addition to adjusting your software settings, physical modifications to your printer can further reduce noise. Here are a few effective silencing mods:
- Dampers: Installing rubber dampers on your printer’s stepper motors can significantly reduce vibrations transmitted to the frame. Many hobbyists have reported a noticeable decrease in noise levels with this simple fix.
- Frame Insulation: Sound-dampening materials can be added to the printer frame. Acoustic foam or soundproofing mats are excellent options.
- Upgrading Fans: Stock fans can be quite noisy. Replacing them with quieter, more efficient models (e.g., Noctua fans) can lead to a quieter operation.
Case Study: Before and After Noise Measurements
It’s a good idea to measure your printer’s noise levels before and after making these changes. You can use a smartphone app or a sound level meter for accurate readings.
For example, if your printer outputted noise levels of around 70 dB prior to implementing these mods, after adjustments and mods, you might observe a change to about 50 dB! This demonstrates not only the effectiveness of silencing mods but also your ability to optimize print settings.
4. Reviewing Trade-Offs Involved
It’s crucial to recognize the trade-off between noise reduction and print speed. For instance, lowering acceleration and jerk settings may result in extended print times. Conversely, print quality may suffer if speeds are increased without adequate tuning. Always balance these settings based on the specific needs of each print project and your tolerance for sound.
Additional Resources for Optimal Slicing and Workflow
To further enhance your 3D printing experience, check out our detailed guides on related topics:
Exploring these guides will offer you deeper insights into optimizing your slicer settings and improving overall print quality.
Conclusion
Creating quieter prints through effective jerk and acceleration settings, alongside thoughtful physical modifications, is not only achievable but can significantly enhance your 3D printing experience. By carefully measuring the results of your adjustments and exploring modes of modification, you can forge a printing environment that remains peaceful without compromising on quality.
Are you ready to implement these techniques in your own 3D printing workflow? Share your success stories with us on social media or subscribe for more expert guides and tips from CuraSlicers.com!
For more in-depth on Cura Slicer and its vast capabilities, refer to Ultimaker’s official documentation to unlock all its features and optimize your printing experience.
FAQ
Q: What is a good jerk setting for quieter prints?
A: A good starting point for jerk settings is 5 mm/s, but you may need to adjust it based on your printer model.
A: A good starting point for jerk settings is 5 mm/s, but you may need to adjust it based on your printer model.
Q: How can I reduce noise without sacrificing print quality?
A: You can reduce noise by adjusting jerk and acceleration settings, using dampers, and soundproofing your printer’s frame.
A: You can reduce noise by adjusting jerk and acceleration settings, using dampers, and soundproofing your printer’s frame.
Q: Are there specific fans to recommend for quieter operation?
A: Yes, Noctua fans are commonly recommended for their quiet and efficient operation.
A: Yes, Noctua fans are commonly recommended for their quiet and efficient operation.