Calibrate Extrusion Multiplier for Accurate 3D Prints
How to Calibrate Extrusion Multiplier and Flow in Cura for Precise Dimensional Accuracy
Estimated reading time: 5 minutes
- Understand the Extrusion Multiplier and Flow Rate for better print quality.
- Follow a step-by-step calibration process to achieve accurate dimensions.
- Recalibrate regularly for optimal performance with different filament batches.
- Utilize quality tools for precise measurement during the calibration process.
- Explore additional tips to enhance overall 3D printing experience.
Table of Contents
- Understanding Extrusion Multiplier and Flow Rate
- Step-by-Step Calibration Process
- Additional Tips for Precision in 3D Printing
- Conclusion: Mastering Your Prints with Calibration
- FAQ
Understanding Extrusion Multiplier and Flow Rate
Before diving into the calibration process, it’s crucial to understand what the extrusion multiplier and flow rate mean in the context of 3D printing.
Extrusion Multiplier
The extrusion multiplier is a scaling factor that adjusts the amount of plastic extruded by your 3D printer. A value of 1.0 means the printer will extrude the amount of filament defined by the slicer without any modifications. Increasing the multiplier (e.g., to 1.05) means more filament will be extruded, while a lower value (e.g., 0.95) will decrease the amount.
Flow Rate
Similarly, the flow rate refers to the speed at which the filament is fed into the nozzle. This setting, often linked with the extrusion width, directly affects how much material is deposited during printing.
Calibrating both of these parameters ensures that your printed models achieve precise dimensions and maintain structural integrity.
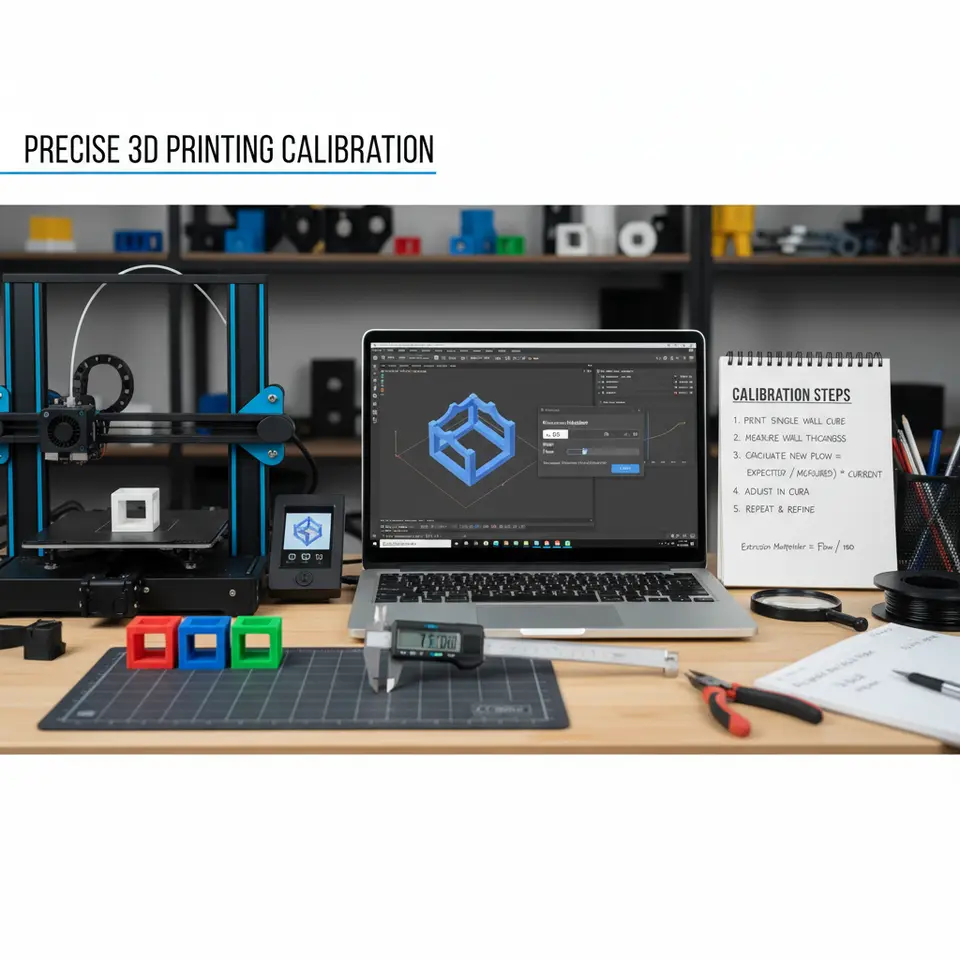
Step-by-Step Calibration Process
Step 1: Prepare Your Printer
- Warm-Up: Start your 3D printer and preheat the nozzle to the temperature suitable for the filament you will use.
- Load Filament: Ensure that you have enough filament loaded and that it is of good quality. Low-quality filament can affect calibration results.
Step 2: Print Calibration Models
Creating single-wall calibration prints helps in determining the correct extrusion multiplier.
- Design or Download a Calibration Model: Opt for a simple shape like a cube or a single wall test (thin walls, like 0.8mm).
- Slicing in Cura:
- Import the model into Ultimaker Cura.
- Set your layer height to a standard size (e.g., 0.2 mm).
- Choose a single wall print setting to isolate the wall thickness for measurements.
Step 3: Measure Dimensions
- After printing the calibration model, use a precise caliper to measure the wall thickness.
- It’s best to take several measurements along various sections of the print to obtain an average value.
Step 4: Adjust the Extrusion Multiplier
Using the measurements from your calibration print, adjust the extrusion multiplier as follows:
- Calculate the Ratio:
- Target Wall Thickness (as per the model) / Measured Wall Thickness = Ratio
- For instance, if your model predicts a thickness of 1.0 mm and you measure 0.8 mm, you would calculate:
1.0 / 0.8 = 1.25.
- Set New Value in Cura:
- Navigate to the “Material” settings in Cura.
- Adjust the extrusion multiplier value according to your findings (e.g., if your current setting is 1.0, you would change it to 1.25).
Step 5: Print Again
- Reprint the calibration model with the adjusted settings.
- Measure the wall thickness and repeat the adjustment process until the printed thickness matches the target.
Step 6: Finalize Your Configuration
Once the extrusion multiplier is calibrated, save your custom material profile in Cura:
- Go to the “Material” settings.
- Click on “Save as profile” to ensure you have access to this configuration in the future.
Additional Tips for Precision in 3D Printing
- Use High-Quality Calipers: Invest in digital calipers for more accurate measurements.
- Consider Temperature Profiles: Different materials respond differently to temperature, which can affect extrusion. For more information, consider reading our guide on Cura Temperature Profiles.
- Fine-Tune Print Speed and Quality: As your understanding of these parameters grows, you might want to explore optimizing both speed and quality here.
Conclusion: Mastering Your Prints with Calibration
Calibrating the extrusion multiplier and flow settings in Cura is vital for achieving precise dimensional accuracy in 3D printing. By following our step-by-step guide, you can ensure your prints are of the highest quality, whether you’re producing prototypes, functional parts, or artistic designs. Don’t forget, calibration is not a one-time effort; continuous refinement will lead to improvements in your workflow and overall print success.
For more information on optimizing your 3D printing experience, visit our homepage to explore other useful guides and tips. Follow us on social media to stay updated on the latest trends and techniques in 3D printing. Happy printing!
FAQ
What is the extrusion multiplier?
The extrusion multiplier is a factor that adjusts the amount of filament your printer extrudes to achieve better precision in prints.
How often should I recalibrate?
It’s advisable to recalibrate your extrusion multiplier and flow settings every new filament batch, after major printer maintenance, and periodically every few months.
What tools are best for measurement?
Investing in digital calipers is recommended for accurate and precise measurements of print dimensions.
Why is flow rate important?
Flow rate directly affects the amount of material deposited during printing, influencing the overall quality and dimensional accuracy of the 3D print.