Cura Slicer Color Transition Techniques
Estimated Reading Time: 5 minutes
Key Takeaways:
- Utilize timed filament swaps for manual color changes.
- Adjust flow rates to create smooth color gradients.
- Segment your prints for distinct color sections.
- Implement optimal temperature settings for better transitions.
- Experiment with different filaments to enhance effects.
Table of Contents:
Understanding Filament Color Transitions
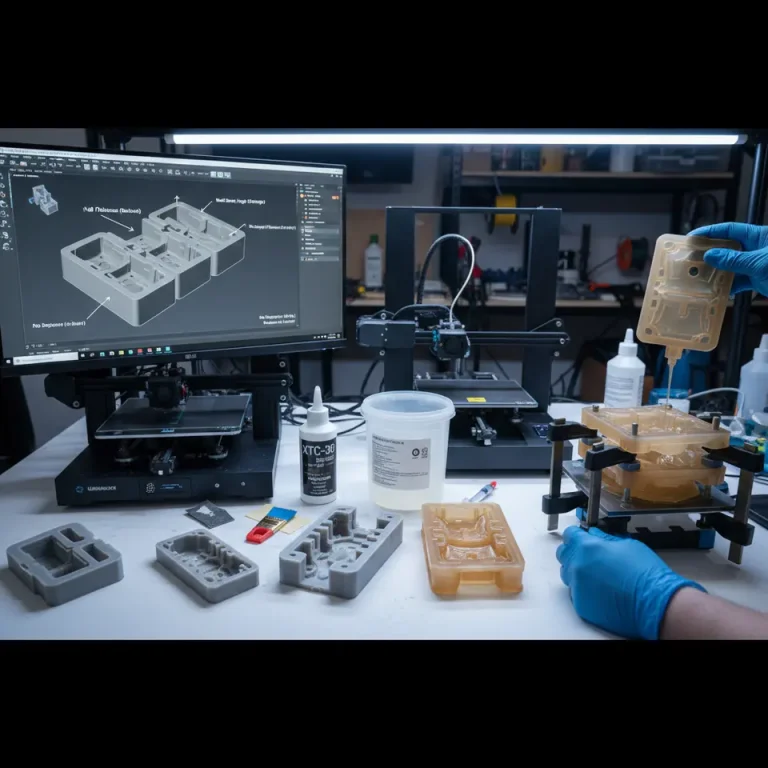
Filament color transitions enhance the appeal of your 3D prints by adding an artistic flair. These transitions can produce gradients by blending one color into another, creating visually striking pieces. While dual-extrusion printers can accomplish this effortlessly with separate spools of filament, single-nozzle printers can achieve equally impressive effects through clever methods.
Techniques to Create Gradient Effects
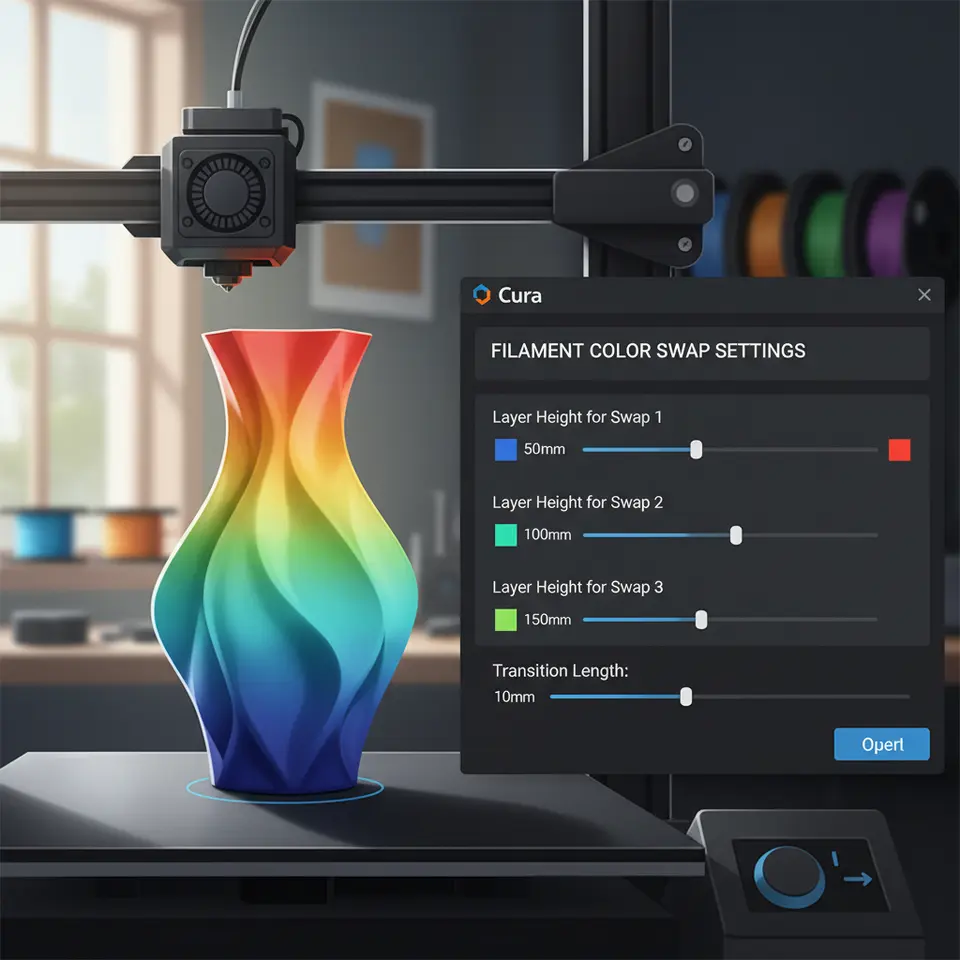
- Timed Filament Swaps: This method involves pausing the print at specific intervals to change the filament manually. You can use Cura’s built-in pause feature to set these stops.
- Graduated Extrusion: This technique focuses on adjusting the extrusion flow rate within the print to create a slow transition between colors.
- Segmented Prints: Breaking your model into segments that are each printed with a different color can yield intricate gradients.
1. Timed Filament Swaps
To execute timed filament swaps successfully, follow these steps:
- Initial Setup: Start your print as usual with your primary filament color.
- Determine Transition Points: Analyze your model and decide how many color transitions will occur and at which layer heights.
- Insert Pause Commands: Use your Cura slicer to add commands in the G-code at the designated layers. For example, you might want to pause after layer 10 to swap colors.
Here’s a sample G-code snippet to include for pausing:
;Pause for color swap
G1 Z{layer_height} ; move to the specified height
M25 ; pause the print
G1 Z{layer_height} ; move to the specified height
M25 ; pause the print
2. Graduated Extrusion
This technique requires you to gradually adjust the flow rate in Cura. Here’s how you can do it effectively:
- Flow Rate Adjustment: In Cura, after you’ve set your initial color and printed a few layers, you can create a custom G-code script to adjust the flow rate downwards over the transition period.
Here’s an example G-code snippet for a progressive flow rate:
M221 S90 ; decrease flow rate to 90% for transition into the next color
3. Segmented Prints
Segmenting a model is an excellent way to create gradient effects without relying solely on timed swaps. Here’s how:
- Segment Design: When designing in CAD software, create separate sections for each color. Each section will then be printed with the desired color.
- Printing Order: Ensure that you print the segments in the correct sequence so that they align perfectly when assembled.
Additionally, ensure you have adequate adhesion settings in Cura if relevant connects are involved.
Practical Takeaways
To ensure the best results for your gradient prints, implement these practical tips:
- Layer Height: Use a smaller layer height to help create smoother transitions. A layer height of 0.1 mm can prevent noticeable stepping in your prints.
- Temperature Settings: Adjust your nozzle temperature to reduce oozing and allow for a more dramatic transition.
- Material Considerations: Certain materials react differently to temperature changes and flow rates. Test different filaments to discover which will give the best gradient.
Utilizing features like Adaptive Layers in Cura can also enhance the quality of your prints. This feature adjusts layer thickness based on the model geometry, which may improve the transition effects.
G-code Pausing Script and Printable Demo
To help you get started, we’ve created a sample G-code pausing script that can be adjusted for your specific printer and design:
;Start G-code for filament color transitions
G28 ; Home all axes
G1 Z15.0 F9000 ; Move the platform down 15mm
G92 E0 ; Reset extruder
G1 F140 E30 ; Extrude 30mm of filament
G92 E0 ; Reset extruder
G1 F9000 ; Set feedrate
G28 ; Home all axes
G1 Z15.0 F9000 ; Move the platform down 15mm
G92 E0 ; Reset extruder
G1 F140 E30 ; Extrude 30mm of filament
G92 E0 ; Reset extruder
G1 F9000 ; Set feedrate
;[Insert layer height specific pause command here]
; For example at layer 10
;G1 Z{layer_height} ; replace with your calculated height
;M25 ; pause command
Finishing Notes
Color transitions in your 3D prints require both creativity and technical understanding. By effectively utilizing timed swaps, graduated extrusion, and segmented designs, you can create breathtaking gradient effects even on single-nozzle printers. These techniques can open up new creative avenues in your projects and improve your overall workflow.
If you’re eager to explore more advanced topics, check out our guides on Cura Slicing Errors Fix and Ultimate Cura Profile Settings for additional insights into tailoring your Cura settings for various needs.
For more tips and tricks surrounding Cura and 3D printing, visit CuraSlicers.com today. Don’t forget to follow us on social media for the latest updates and tutorials, or subscribe to our newsletter for future guides.
By incorporating the strategies outlined here, you’ll not only enhance the visual quality of your prints but also expand your overall skill set in 3D printing. Happy printing!
Frequently Asked Questions (FAQ)
1. Can I use any filament for color transitions?
Yes, various filaments can be used, but experimenting with different types can yield varying results.
Yes, various filaments can be used, but experimenting with different types can yield varying results.
2. Will these techniques work on all 3D printers?
These methods are primarily for single-nozzle printers but may vary based on the printer model and setup.
These methods are primarily for single-nozzle printers but may vary based on the printer model and setup.
3. How do I know when to pause for filament swaps?
Analyzing your model and planning transition points based on layer heights will help you determine when to pause.
Analyzing your model and planning transition points based on layer heights will help you determine when to pause.
4. Is there a risk of under-extrusion during the transition?
If settings are not adjusted appropriately, you may experience under-extrusion during color changes, hence careful adjustments are recommended.
If settings are not adjusted appropriately, you may experience under-extrusion during color changes, hence careful adjustments are recommended.