Custom Temperature Profiles in Cura for Perfect Prints
Print Temperature Tips: Custom Profiles in Cura – The Ultimate Guide to Perfect Filament Calibration
Estimated reading time: 10 minutes
- Understanding why print temperature is critical for successful 3D prints.
- Steps to build custom temperature profiles in Cura.
- Tips for advanced printing techniques with temperature management.
- Common pitfalls and how to troubleshoot them.
Table of Contents
- Why Custom Temperature Profiles Matter
- Step-by-Step: Building a Custom Temperature Profile in Cura
- Advanced Temperature Strategies
- Practical Takeaways – Quick Reference Cheat Sheet
- Common Pitfalls & How to Fix Them
- Linking This Knowledge to CuraSlicers.com
- Frequently Asked Questions (FAQ)
- Call to Action
- References
Why Custom Temperature Profiles Matter
Cura ships with “default” temperature presets for popular filaments, but those numbers are averages that ignore three critical variables:
- Filament brand & batch variance – Even two spools of the same brand can differ by ±5 °C in melt flow.
- Printer hardware – Hot‑end design, heater cartridge power, and thermal mass affect how quickly the nozzle reaches the set point.
- Part geometry & layer strategy – Small features, bridges, and dense infill demand different thermal windows than large solid blocks.
Research from Ultimaker’s own documentation confirms that “optimal temperature is the single most influential slicer setting for dimensional accuracy and surface finish” 【source】. By creating custom temperature profiles you tailor Cura to your exact hardware‑filament combo, eliminating the guesswork and delivering consistent, high‑quality prints every time.
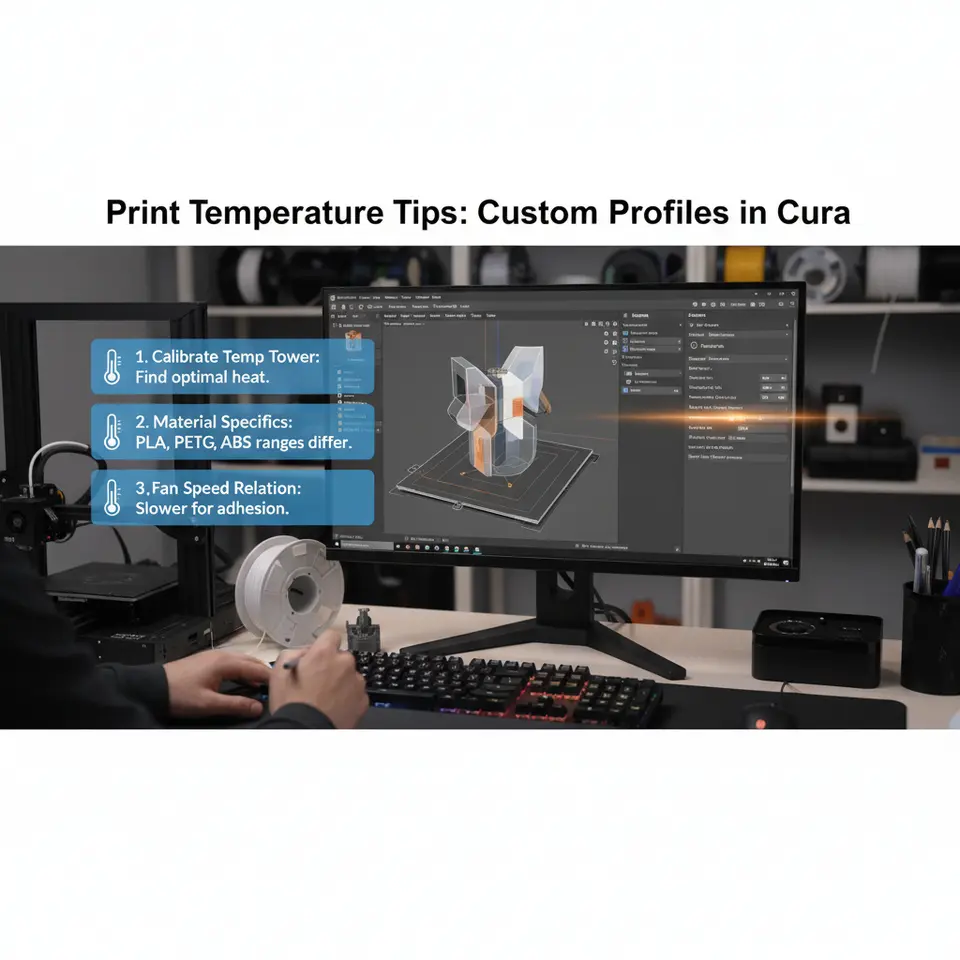
Step‑by‑Step: Building a Custom Temperature Profile in Cura
Below is a repeatable workflow that you can embed into your daily routine. It’s broken into three phases: Preparation, Test Tower Calibration, and Profile Finalization.
1. Preparation – Gather Data & Set Baselines
| Action | Details |
|---|---|
| Identify filament | Record brand, color, lot number, and recommended temperature range (usually printed on the spool). |
| Check printer specs | Note hot‑end type (e.g., E3D V6, Micro‑Swiss), nozzle diameter, and maximum safe temperature. |
| Create a new Cura profile | In Cura → Settings → Profile Settings → Create New Profile. Name it “<Filament> – Custom Temp”. |
| Set baseline values | Start with the manufacturer’s mid‑range temperature (e.g., 200 °C for PLA, 240 °C for PETG). Keep other slicer settings (speed, flow, retraction) at your usual values. |
Pro tip: If you use multiple printers, create a printer‑specific sub‑profile (e.g., “Ender 3 V2 – PLA Custom”). Cura lets you clone a profile and assign it to a particular machine, keeping your workflow tidy.
2. Test Tower Calibration – The Incremental Tuning Method
A temperature test tower is a single‑extrusion model that prints successive sections at different temperatures. The most popular design is a 12‑step tower with 10 mm height per step, each step representing a 5 °C increment.
How to generate a test tower in Cura:
- Download a ready‑made STL – Search “Cura temperature test tower STL” or use the one from our guide on How to Design a Temperature Test Tower (internal link).
- Add the model to Cura and enable Per‑Layer Settings (Cura → Extensions → Post‑Processing → Modify G‑Code → Add a script → Per‑Layer Temperature).
- Configure the script:
- Start Temp: Baseline temperature (e.g., 200 °C).
- Step Size: 5 °C.
- Steps: 12 (covers 200 °C → 260 °C).
- Slice and print on a clean, well‑levelled bed.
What to look for:
| Temperature | Visual Cues | Interpretation |
|---|---|---|
| Too low | Under‑extrusion, gaps, weak layer adhesion, rough surface. | Filament not fully melted – raise 5 °C. |
| Optimal | Smooth, glossy surface, no stringing, solid inter‑layer bonding. | This is your sweet spot. |
| Too high | Oozing, blobs, stringing, loss of detail, possible heat‑deformation of the model. | Lower 5 °C. |
Document the results with photos and notes. The temperature that yields the cleanest surface and the strongest mechanical properties (you can perform a quick bend test) becomes your target temperature.
Research note: A study by the Additive Manufacturing Journal found that a ±5 °C deviation from the optimal nozzle temperature can cause up to a 30 % reduction in tensile strength for PLA prints.
3. Profile Finalization – Locking In the Settings
Once you’ve identified the optimal temperature, return to your Cura profile:
- Set Nozzle Temperature – Input the exact value (e.g., 205 °C).
- Adjust Related Settings
- Print Speed: Slightly lower (10–15 %) if you increased temperature, to avoid over‑extrusion.
- Cooling Fan: For PLA, keep fan at 100 % after the first few layers; for PETG, reduce to 30–50 % to prevent warping.
- Flow Rate: Fine‑tune by ±2 % if you notice slight over/under‑extrusion after the temperature adjustment.
- Save & Export – Click Save and optionally export the profile (`*.json`) for sharing with teammates.
Now you have a custom temperature profile that’s ready for every future print of that filament.
Advanced Temperature Strategies
A. Dual‑Extruder & Multi‑Material Prints
When printing with two different filaments (e.g., PLA + TPU), you need independent temperature profiles for each extruder. Cura’s Material Settings tab lets you assign a distinct nozzle temperature per extruder. Use the same test‑tower method on each nozzle, but print them side‑by‑side to compare.
B. Temperature “Ramp” for Bridge & Overhang Sections
Complex geometries benefit from a dynamically controlled temperature ramp: lower the nozzle temperature by 5–10 °C for bridges and overhangs to reduce sagging, then ramp back up for solid layers. In Cura, enable Per‑Layer Temperature and add a Conditional G‑Code script that triggers temperature changes based on Z‑height or layer number.
C. Using “Print Temperature” as a Variable in n8n Workflows
If you automate slicer settings with n8n, you can store each filament’s optimal temperature in a database node and feed it directly into Cura via the Cura CLI (`curaengine`). Example workflow:
- Trigger – New filament spool scanned (QR code).
- HTTP Request – Pull optimal temperature from a Google Sheet.
- Execute Command – `curaengine slice -j myprinter.json -s temperature=210`.
This eliminates manual profile selection and guarantees the correct temperature every time.
Practical Takeaways – Quick Reference Cheat Sheet
| Filament | Typical Temp Range* | Recommended Custom Temp (after test tower) | Key Cura Settings |
|---|---|---|---|
| PLA | 190‑210 °C | 202 °C | Fan 100 % after layer 2, print speed ≤60 mm/s |
| PETG | 230‑250 °C | 242 °C | Fan 30 % (to avoid stringing), retract 6 mm |
| TPU | 210‑230 °C | 218 °C | Print speed ≤30 mm/s, no fan or 20 % |
| ABS | 240‑260 °C | 250 °C | Enclosure, fan 0 %, print speed ≤50 mm/s |
| Nylon (Carbon‑filled) | 260‑280 °C | 275 °C | Heated bed 80‑100 °C, fan 0 %, slower speeds |
*Ranges are manufacturer‑provided; always verify with a test tower.
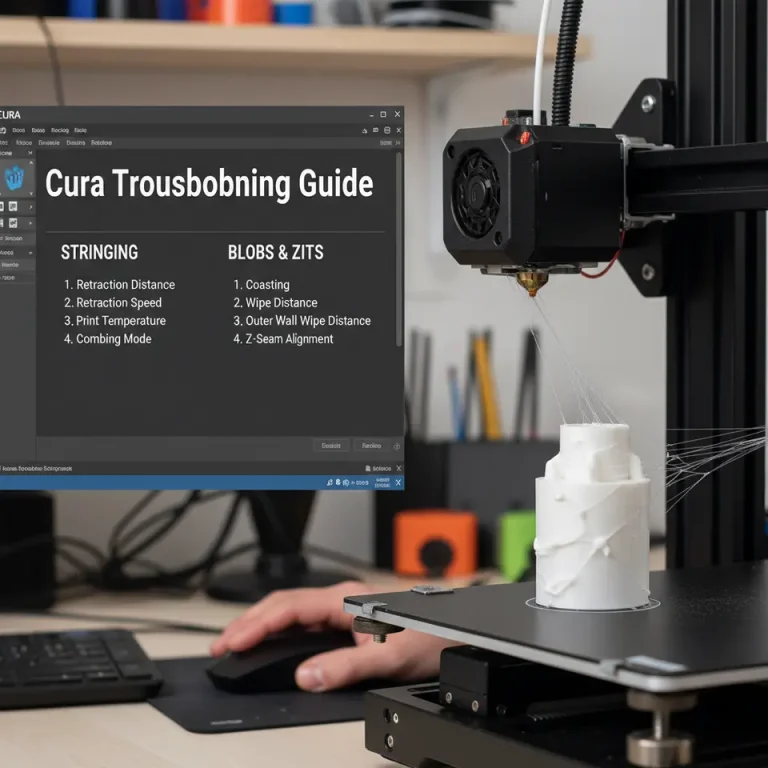
Common Pitfalls & How to Fix Them
| Symptom | Likely Temperature Issue | Fix |
|---|---|---|
| Stringing on retractions | Temperature too high → filament stays fluid | Lower nozzle temp by 5 °C, increase retraction distance/speed |
| Layer delamination on tall prints | Temperature too low → poor inter‑layer bonding | Raise temp by 5 °C, check bed adhesion |
| Blobs & Zits at start/end of layers | Overshoot during heating/cooling cycles | Enable Avoid Printed Parts When Traveling and fine‑tune Z‑hop |
| Warping on large plates | Temperature too high + insufficient cooling | Lower temp, increase part cooling fan, use a brim or raft |
Linking This Knowledge to CuraSlicers.com
Our library of tutorials expands on each of the steps above:
- How to Design a Temperature Test Tower – A step‑by‑step guide on creating your own STL for precise calibration.
- Best Cura Settings for Ender 3 – Tailored slicer defaults for the popular Ender 3 series, including temperature recommendations.
Visit our homepage for more 3D printing tips, downloadable profiles, and community forums where you can share your custom settings.
Frequently Asked Questions (FAQ)
Q1. Do I need to recalibrate temperature when I change nozzle size?
Yes. A larger nozzle (e.g., 0.6 mm) requires slightly higher temperatures to melt the increased filament volume, while a smaller nozzle (0.25 mm) may benefit from a lower temperature to avoid overheating the thin extrusion.
Q2. How often should I run a temperature test tower?
Ideally every time you switch filament brands, after a major firmware update, or when you notice a change in print quality. For stable setups, an annual check is sufficient.
Q3. Can I use the same temperature profile for both PLA and PETG?
No. PLA and PETG have very different melt viscosities; using PLA settings for PETG leads to stringing and weak adhesion, while PETG settings on PLA cause overheating and oozing.
Call to Action
Ready to lock in flawless prints? Download our free “Custom Temperature Profile Pack” (compatible with Cura 5.x) from the resources section, then follow the step‑by‑step workflow above.
Stay ahead of the curve:
- Explore more guides like Advanced Retraction Settings and Optimizing Print Speed in Cura.
- Follow CuraSlicers on Instagram, Twitter, and LinkedIn for daily tips, community showcases, and live Q&A sessions.
- Subscribe to our newsletter for exclusive printable profiles, workflow automations with n8n, and early access to upcoming webinars.
Your next perfect print is just a temperature tweak away—let Cura do the heavy lifting!
References
- Ultimaker Cura 5.0 User Manual – Section “Temperature Settings”.
- Additive Manufacturing Journal – “Effect of Nozzle Temperature on Mechanical Properties of PLA”.
- Creality Official FAQ – Recommended printing temperatures for PLA, PETG, ABS.
Happy printing, and may every layer be perfectly fused!