Slicing High-Resolution Topography Maps in Cura
Estimated Reading Time: 5 minutes
Key Takeaways:
- Select the right DEM or heightmap for your project.
- Convert raster images to STL files with software like QGIS or Blender.
- Optimize Cura settings to achieve high-resolution prints.
- Utilize tools for checking and simplifying models before printing.
- Understand troubleshooting techniques for common printing issues.
Table of Contents:
- Understanding the Basics
- Steps to Prepare DEMs or Heightmaps
- Configuring Cura for High-Resolution Prints
- Practical Examples and Application
- Troubleshooting Tips
- Concluding Thoughts on High-Resolution Slicing
- FAQ
Understanding the Basics
Before diving into the specifics, it’s crucial to understand what DEMs and heightmaps are. DEMs represent the Earth’s terrain in a raster format, providing a 3D view of elevation data. Heightmaps, on the other hand, offer a 2D representation where brightness values correspond to elevation levels. Both can be exceptionally useful for producing accurate geographic models, whether for educational purposes, landscape planning, or simply for artistic endeavors.
Steps to Prepare DEMs or Heightmaps
- Select a DEM or Heightmap: Start by choosing a dataset that suits your project needs. Websites like the U.S. Geological Survey (USGS) or NASA’s Earthdata offer valuable resources for obtaining DEM data.
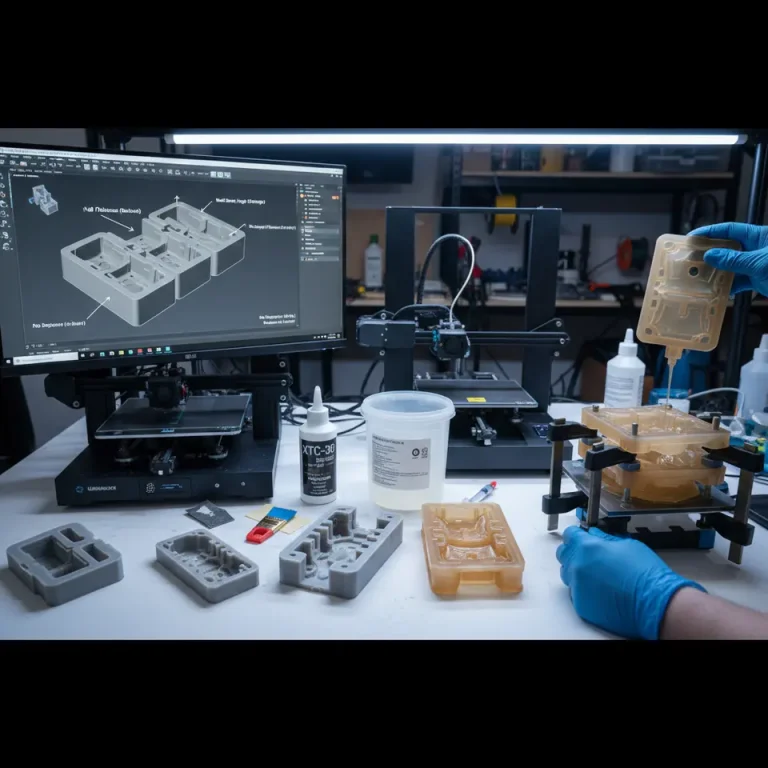
- Convert to STL: After downloading the DEM or heightmap, the next step is to convert the raster image into a 3D model. Several software options can assist in this conversion:
- QGIS: A free and open-source Geographic Information System that can easily convert DEMs into STL files.
- Blender: Utilize the Displace Modifier to create a 3D model from the heightmap, then export it as an STL file. Both tools allow you to manage scaling settings to ensure your model retains geographical accuracy during conversion. For in-depth guides, check Blender’s Manual.
- Check the Model: Once you have your STL file, open it using a CAD program (like MeshLab or Fusion 360) to verify the integrity of the model. Look for any irregularities such as holes or non-manifold edges that could affect the print.
- Optimize for Printing: Although high-resolution models are essential, they may sometimes produce overly complex meshes that can be challenging for 3D printers. Consider simplifying your model while maintaining its essential features. Tools like Meshmixer or Simplify3D can be effective for reducing poly count without significant detail loss.
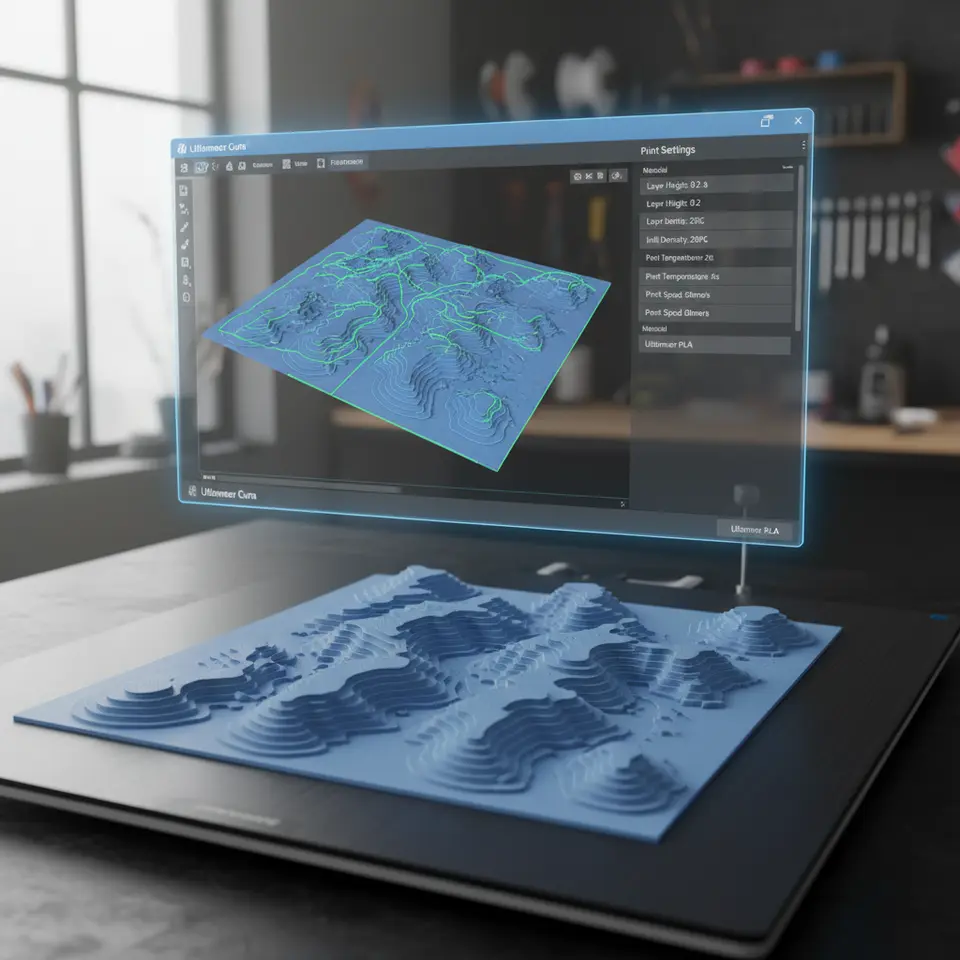
Configuring Cura for High-Resolution Prints
Once you have your STL model ready, it’s time to slice it in Ultimaker Cura. The following settings significantly influence the print quality for topographical maps:
1. Layer Height:
A smaller layer height will result in finer detail. For landscape features, consider using a layer height of 0.1 mm or even 0.05 mm. This will allow for better surface fidelity and highlight intricate details better.
2. Print Speed:
Slowing down the print speed can enhance detail retention. Opt for a speed of 30-40 mm/s for detailed prints as this provides more time for the filament to adhere properly.
3. Print Orientation:
The orientation of the model plays a critical role in the print quality. Position your model to minimize support material and ensure the most detailed parts are properly supported. Orienting maps flat on the bed generally yields better results.
4. Infill Settings:
If your model has elevated features, reduce the infill percentage to around 10-20%. A lower infill allows the print head to focus on detail rather than strength, which is essential for topography maps where structural integrity isn’t a priority.
5. Support Structures:
Ensure to enable supports only where necessary. For landscape features, tree supports can be advantageous as they provide excellent support while minimizing material usage.
6. Brim or Raft:
Use a brim instead of a raft if your model has a small footprint. This aids in bed adhesion without adding unnecessary material beneath the print. Consider reviewing our guide on Cura Slicer Brim Strategies for Tiny Parts for additional insights.
Practical Examples and Application
To help visualize the applications, consider the following examples of topographical models that can be printed:
- Local Parks or Hiking Trails: Create detailed models of parks or specific trails, highlighting elevations, water bodies, and pathways.
- Geological Features: Print representations of significant geological formations for educational purposes, ideal for classrooms or exhibit displays.
- Urban Planning: Utilize landscape models to visualize changes in proposed urban developments or infrastructural projects.
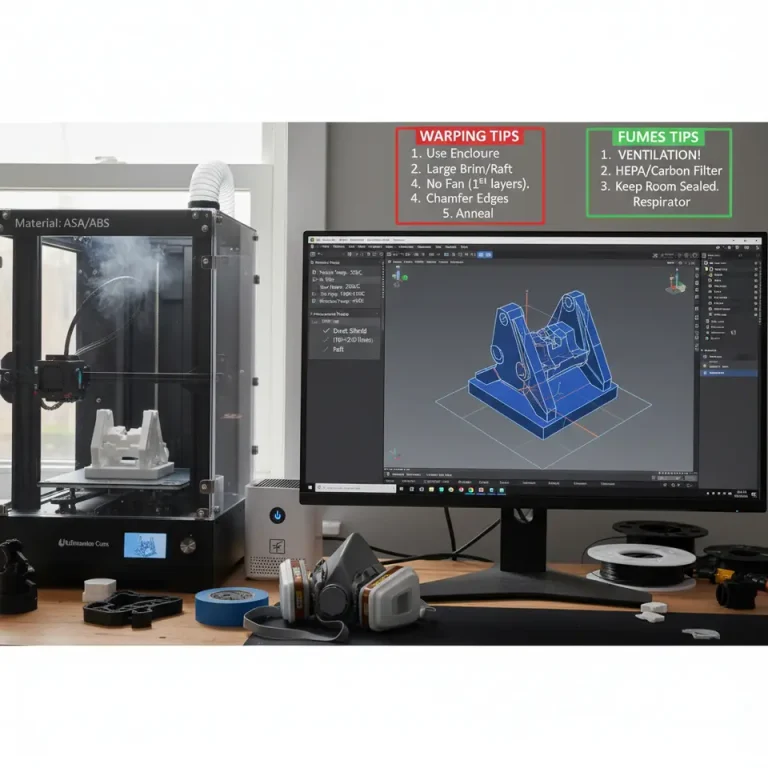
Troubleshooting Tips
Even experienced users may face challenges when printing complex models. Here are some tips to keep in mind:
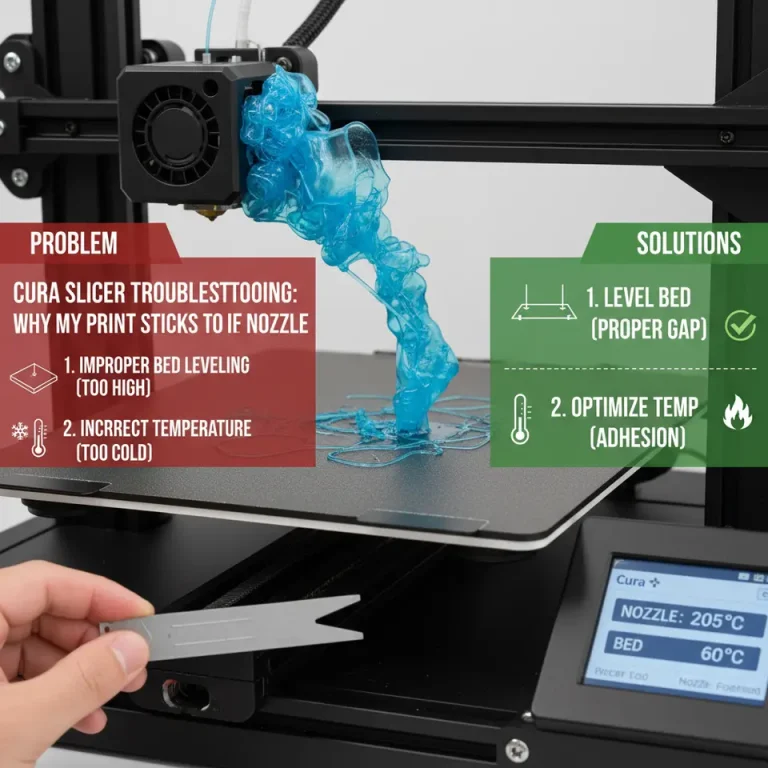
- Stringing: If you encounter stringing, adjustments such as increasing retraction speed and distance in Cura’s settings can help.
- Layer Separation: Ensure proper bed adhesion to avoid layer separation. Check your first layer settings and consider using a heated bed or adhesion aids.
For troubleshooting tips on a variety of printing issues, take a look at our post on Cura Slicing Errors and Fixes.
Concluding Thoughts on High-Resolution Slicing
Successfully slicing high-resolution topography maps or geographic models in Cura involves a blend of careful preparation, software optimization, and an understanding of 3D printing dynamics. Whether you’re a hobbyist looking to create realistic landscapes or a professional seeking to demonstrate geographical data, utilizing the right settings will undoubtedly enhance the accuracy and aesthetic appeal of your prints.
For more tips and guidance on Cura settings and workflow optimization, explore our comprehensive resources at CuraSlicers.com. Join our community on social media for the latest trends, or subscribe to our newsletter for regular updates on new guides and tutorials!
By mastering these techniques, you can elevate your 3D printing projects to new heights—literally and figuratively. Happy printing!
FAQ
1. What is a Digital Elevation Model (DEM)?
A DEM is a 3D representation of a terrain’s surface created from elevation data.
A DEM is a 3D representation of a terrain’s surface created from elevation data.
2. How do I convert a heightmap to an STL file?
You can use software like QGIS or Blender for this conversion process.
You can use software like QGIS or Blender for this conversion process.
3. What layer height should I use for printing topographical maps?
For better detail, a layer height of 0.1 mm or 0.05 mm is recommended.
For better detail, a layer height of 0.1 mm or 0.05 mm is recommended.
4. How can I avoid stringing during printing?
Increase retraction speed and distance in your Cura settings to minimize stringing.
Increase retraction speed and distance in your Cura settings to minimize stringing.
5. What infill percentage is appropriate for topographical models?
An infill percentage of 10-20% is generally sufficient for models focusing on detail rather than strength.
An infill percentage of 10-20% is generally sufficient for models focusing on detail rather than strength.