Understanding Acceleration and Jerk Settings in Cura
Estimated Reading Time: 5 minutes
Key Takeaways:
- Acceleration
- Jerk
- Cura has speed limits
- Careful tuning of acceleration and jerk settings can enhance print quality and efficiency.
- Calibration prints are essential
Table of Contents:
Understanding the Basics: Acceleration and Jerk
What is Acceleration?
In 3D printing terms, acceleration refers to how quickly the printer can increase its speed to reach its set travel speed. For example, if a printer has a low acceleration setting, it will take longer to reach its top velocity, leading to slower print speeds. Conversely, high acceleration settings allow the printer to reach its max velocity more rapidly, reducing print times but potentially compromising quality due to motion blur or resonance.
What is Jerk?
Jerk is the change in speed instantly achievable by the printer. Essentially, it refers to how quickly the printer can start or stop moving, or change direction. A higher jerk setting means the printer can make these adjustments more abruptly, which can lead to faster prints. However, if set too high, it can cause artifacts like ringing or ghosting in printed objects, especially on delicate or intricate designs.
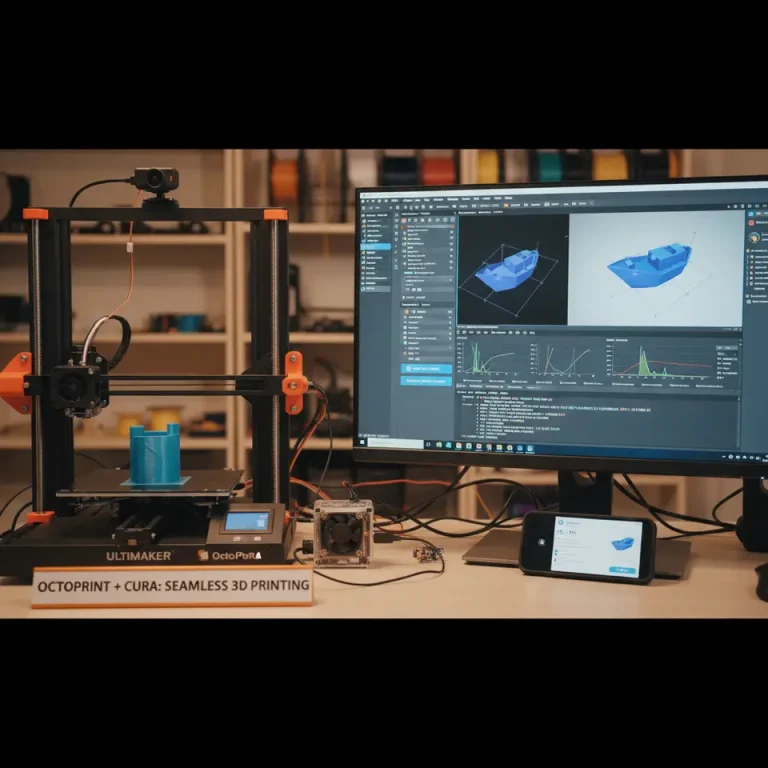
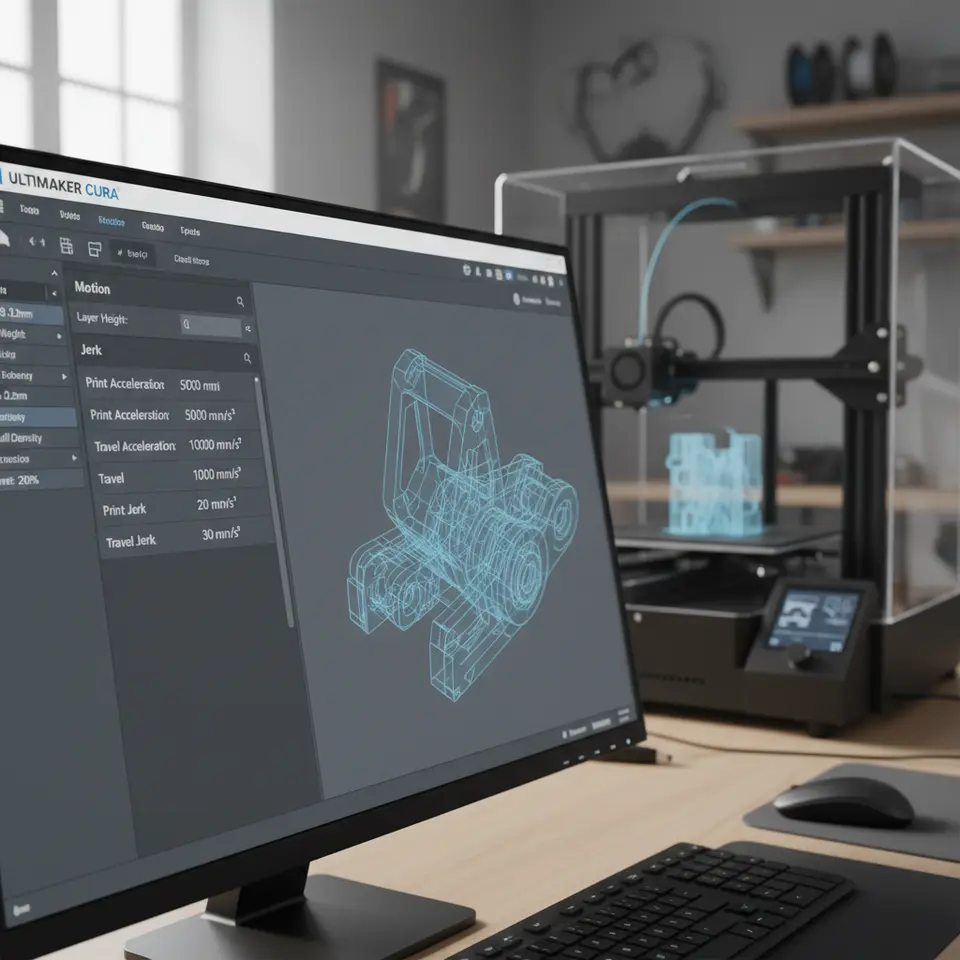
Cura Speed Limits
Ultimaker Cura has built-in speed limits for various printing actions, such as travel speed and printing speed, which help to prevent printer damage and maintain optimal print quality. Users may set these speed limits in their Cura profiles; however, they may not be aware that acceleration and jerk settings can override these limits under certain circumstances.
The Interaction Between Firmware Motion Limits and Cura Settings
Firmware Configuration
3D printers use firmware to regulate movement and performance, often containing preset limits for acceleration and jerk settings. These limits dictate how the printer will respond to speed commands sent from slicing software like Cura.
When the firmware’s acceleration and jerk settings imply a capability for higher speeds than what has been defined in Cura, the printer will typically prioritize firmware settings over the slicer-configured limits. This means, if you set a high speed in Cura but your acceleration is low, the time taken to reach that speed will be significantly constrained, thereby limiting throughput.
Impact on Print Quality and Flow
Consequently, manipulating acceleration and jerk settings within firmware can yield performance enhancements that exceed these limitations defined in Cura. Adjusting these settings can lead to both reduced print times and enhanced print quality, provided they are configured with care. Here are some practical takeaways:
- Calibrating Acceleration: Start with acceleration settings around 500 mm/s². You can incrementally test higher values (up to 800 or more) to discover optimal performance while monitoring print artifacts like ringing.
- Configuring Jerk: Many printers default to a jerk setup between 15 and 20 mm/s. Start at a lower value to maintain print quality, then gradually increase based on your printer’s capability and job type.
- Testing Outputs: Make sure to run calibration prints at various acceleration and jerk settings to see how it affects different models. Look for balance; faster speeds can lead to quality loss.
- Tuning Firmware: Before adjustments, make sure you review firmware compatibility and the printer’s capabilities. Many firmware options like Marlin firmware allow users to input acceleration and jerk settings and should be configured alongside Cura profiles.
Troubleshooting Tips
When adjusting acceleration and jerk settings, if you encounter issues such as stuttering movements, vibrating frames, or abnormalities in the printed object’s surface, consider the following:
- Revert or adjust settings incrementally: Go back to your previously working setting and adjust incrementally to find the best balance.
- Examine mechanical components: Ensure that belts are tight, the structure is stable, and no vibrations are affecting output.
- Utilize features in Cura: Check for features such as “Z-hop” to help alleviate issues with z-axis movement, particularly when rapid changes in motion occur.
Conclusion: Leveraging Acceleration and Jerk for Efficient Workflows
In conclusion, while Ultimaker Cura provides a robust framework for slicing and preparing prints, the nuanced relationship between acceleration, jerk settings, and speed limits is critical for maximizing your printer’s potential. By understanding and adjusting these settings, you can effectively override default limitations and produce faster, higher-quality prints.
For more detailed guidance on Cura settings and optimization strategies, explore our other articles like Cura Experimental Settings and Cura Slicer Print Nozzle Sticking.
If you’re looking to refine your printing processes or need assistance with specific Cura configurations, don’t hesitate to follow us on social media or subscribe to our newsletter for ongoing updates and guides. Visit our main page for more 3D printing tips and resources here.
For deeper insights into slicing intricacies or to learn about cutting-edge upgrades in 3D printing technology, check out Ultimaker’s official documentation for an industry-standard reference.
Happy printing!
FAQ
Q1: How do I find the optimal jerk and acceleration settings for my printer?
A1: Start with conservative values and make incremental adjustments while monitoring the print quality. Calibration prints are essential to balance speed and quality.
A1: Start with conservative values and make incremental adjustments while monitoring the print quality. Calibration prints are essential to balance speed and quality.
Q2: Can I override Cura’s speed limits by changing the firmware settings?
A2: Yes, firmware settings for acceleration and jerk can override Cura’s speed limits under specific conditions, affecting print performance and quality.
A2: Yes, firmware settings for acceleration and jerk can override Cura’s speed limits under specific conditions, affecting print performance and quality.
Q3: What issues may arise from high jerk settings?
A3: High jerk settings can lead to artifacts like ringing or ghosting, especially in detailed prints. Always balance speed with quality.
A3: High jerk settings can lead to artifacts like ringing or ghosting, especially in detailed prints. Always balance speed with quality.