Mastering Cura Slicer Bridging and Cantilever Techniques
Mastering Cura Slicer Bridging and Cantilever Strategies for Architectural Model Printing
Estimated Reading Time: 7 minutes
- Understand bridging and cantilevering in 3D printing
- Adjust Cura slicer settings for optimal results
- Implement practical techniques for successful architectural model prints
- Utilize finishing techniques for enhanced realism
- Explore additional resources for Cura optimization
Table of Contents
- Understanding Bridging and Cantilevers in 3D Printing
- Practical Techniques for Effective Bridging in Cura
- Mastering Cantilever Printing in Cura
- Building Test Models and Orientation Checklist
- Finishing Techniques for Visual Realism
- Wrapping It Up
- FAQ Section
Understanding Bridging and Cantilevers in 3D Printing
Before delving into specific Cura slicer strategies, it’s essential to understand what bridging and cantilevering mean in the context of 3D printing:
- Bridging refers to the ability of the printer to create a horizontal span between two vertical supports without the need for additional material underneath. This is crucial for architectural models that often feature intricate designs and openings.
- Cantilevering involves extending a part of a structure beyond its support base, challenging the printer to maintain stability and shape.
Both elements require careful planning in your slicer settings to ensure that your prints not only look good but also maintain structural integrity.
Practical Techniques for Effective Bridging in Cura
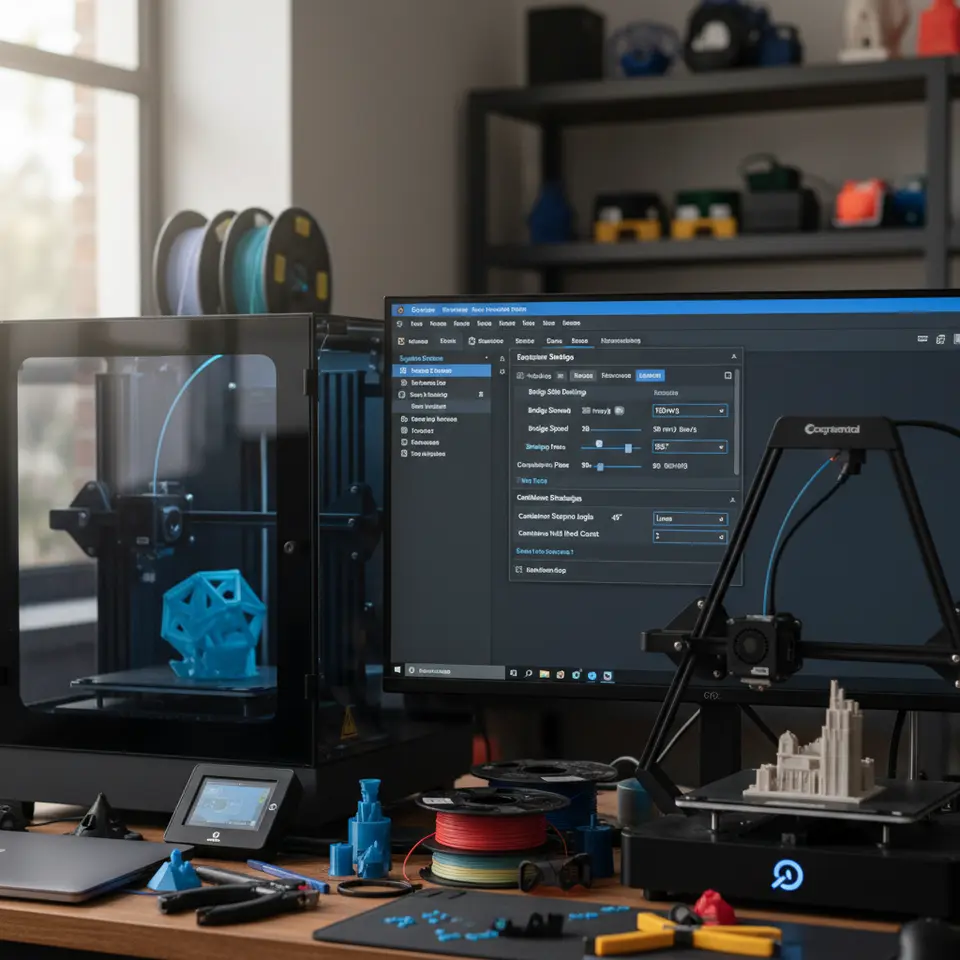
1. Adjusting Bridge Settings
Cura provides several settings that directly impact how the slicer manages bridging. To get started:
- Enable Bridging Mode: This setting ensures that Cura applies specific slicer optimizations when it detects a bridging section.
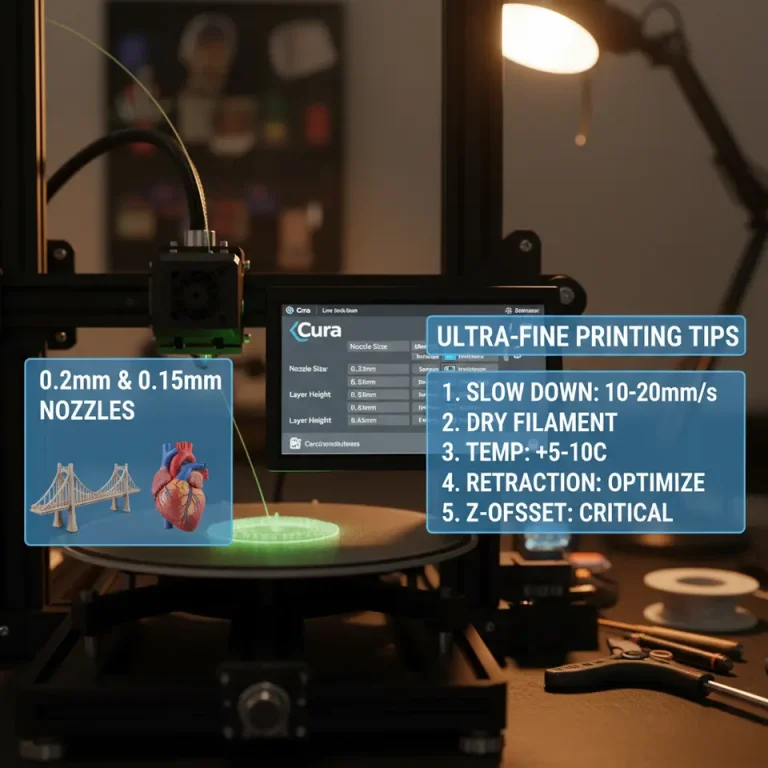
- Bridge Flow Rate: You might want to reduce the flow rate for bridging to prevent filament stringing and drooping during the print. Lower this to around 90%, depending on your material.
- Bridge Speed: Increasing the print speed while bridging can also help create more stable spans, hence try settings between 40-60 mm/s.
2. Cooling Configuration
Adequate cooling plays a critical role in bridging. When filament cools rapidly, it retains its shape better:
- Increase Cooling Fan Speed: If your printer is equipped with a cooling fan, ensure it runs at full speed during bridging phases. This will solidify the filament quickly and reduce sagging.
- Print Temperature: Experiment with reducing the print temperature slightly while printing bridges. This helps the filament harden more quickly, preserving the shape.
3. Layer Height Adjustments
For enhanced bridging capabilities:
- Reduce Layer Height: Lowering the layer height can improve the chances of successful bridging as thinner layers take less time to cool, resulting in faster hardening.
Mastering Cantilever Printing in Cura
Cantilevers require different strategies compared to bridging due to the unique structural stresses they introduce. Here’s how to effectively approach cantilevers in your Cura slicer settings:
1. Orientation and Support
Proper orientation of your model can minimize the need for supports and enhance structural integrity:
- Optimize Model Orientation: Align your model in such a way that the cantilevered sections are either fully supported by the build plate or parallel to other structures.
- Support Structures: If you must use supports, opt for tree supports or minimal supports that can be easily removed without damaging the print geometry.
2. Use of Adaptive Layers
Cura’s adaptive layer settings can help maintain detail while supporting fragile sections:
- Enable Adaptive Layers: This feature allows you to increase layer heights in less critical areas while using finer layers in intricate sections, improving overall print performance and detail.
3. Crafting a Strong Base
Establishing a solid base for cantilevered designs is essential:
- Initial Layer Settings: Ensure that your first layer adheres firmly. Follow best practices for first-layer adhesion by setting the first layer height to 0.2mm and speed to a slower rate (around 20 mm/s).
- Initial Layer Width: Increase the width of the initial layer to create a solid foundation.
Building Test Models and Orientation Checklist
Creating test prints of your architectural models is a valuable step in refining your settings. Consider developing sample structures that simulate the bridging and cantilevering effects you want to achieve.
Sample Test Set:
- Simple Cube with Overhang: A straightforward way to test bridge settings.
- Arch Design: Test for structural integrity under cantilever.
- Multi-Sectional Test: For complex architectural elements.
Orientation Checklist:
- Identify potential bridging areas.
- Determine correct angle for cantilevers to minimize support required.
- Verify clearance for moving parts, if applicable.
Finishing Techniques for Visual Realism
After printing, your architectural models may require finishing touches to achieve visual realism:
- Sanding: Gently sand down surfaces to remove minor imperfections.
- Painting: Use paint or finishes that mimic real materials (e.g., wood, stone).
- Weathering Techniques: Apply techniques such as washes or dry brushing to enhance details.
Wrapping It Up
Utilizing effective bridging and cantilever strategies in Cura is essential for successfully printing intricate architectural models. By leveraging the specific settings and techniques discussed, you’ll see improvements in print quality and realism.
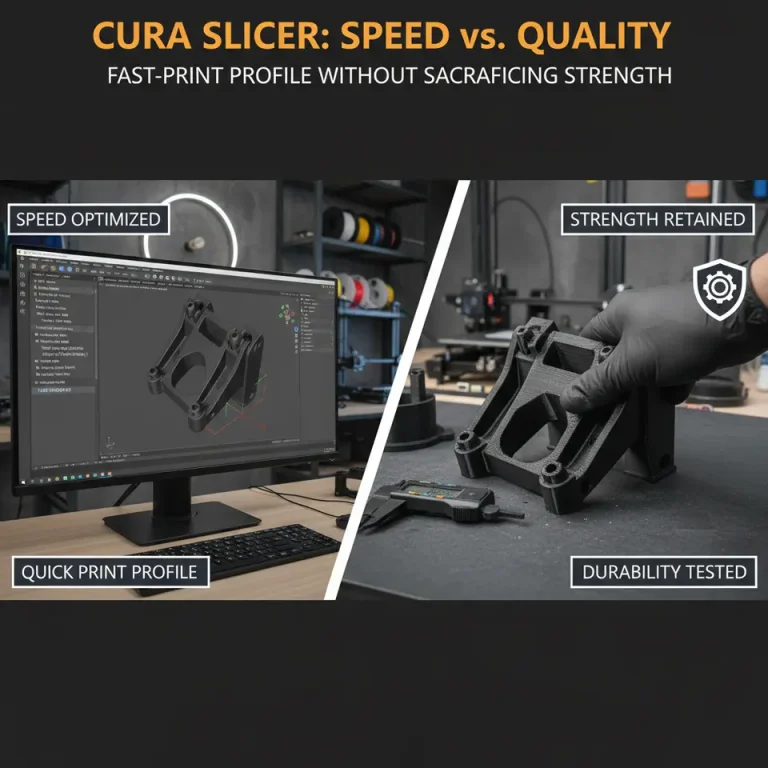
If you’re looking for additional insights on optimizing your Cura slicing experience, consider exploring our guides on Cura Stringing Fix and Cura Speed and Quality Profiles.
For more extensive resources and tutorials, don’t forget to visit our main page at CuraSlicers.com.
Start experimenting with these settings to elevate your architectural model prints—your designs deserve nothing less!
FAQ Section
Q: What is the best layer height for bridging?
A: Reducing the layer height to around 0.2mm can improve bridging success.
Q: How can I prevent sagging during bridging?
A: Increasing cooling fan speed and adjusting bridge flow rates can help minimize sagging.
Q: What types of supports are best for cantilevered designs?
A: Tree supports or minimal supports are recommended for easy removal without damaging prints.
Q: Where can I find more Cura resources?
A: Check out Ultimaker’s official documentation for comprehensive information on Cura settings and optimizations.
Happy printing!