Master Cura Slicer’s Custom Scripts for G-Code Optimization
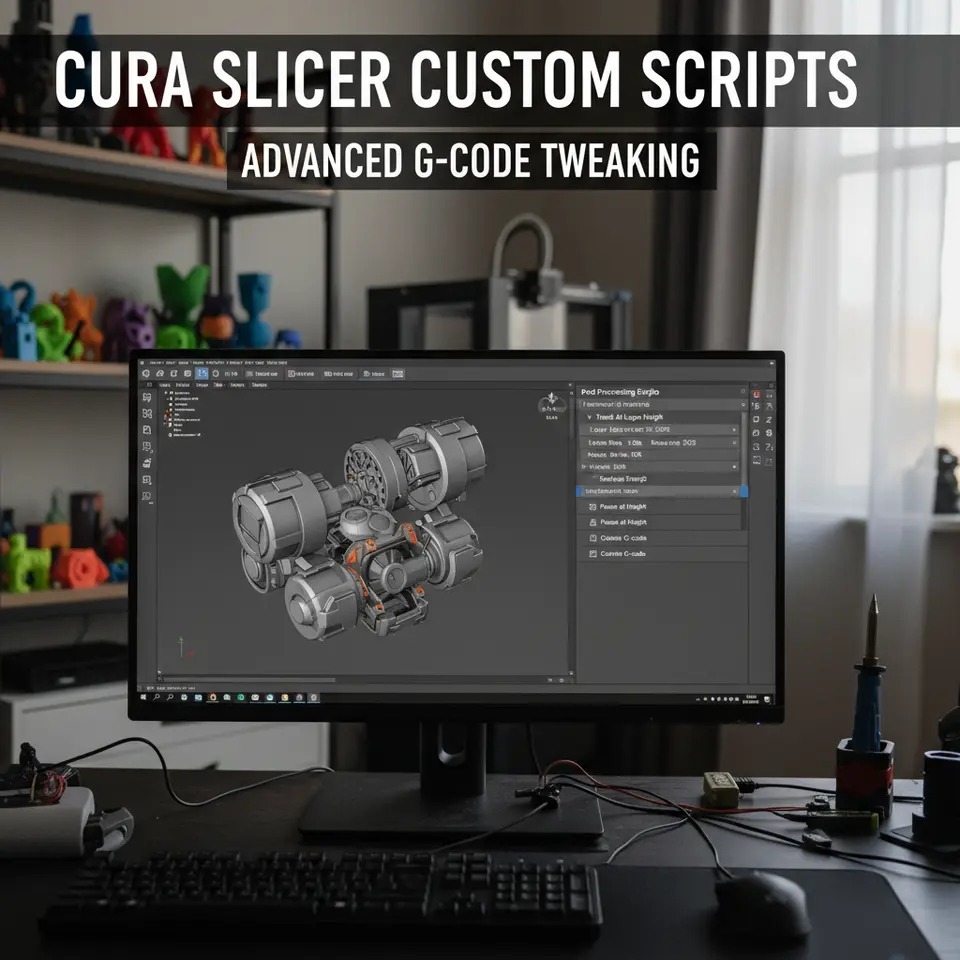
Cura Slicer Custom Scripts: How to Use Post-Processing Scripts for Advanced G-Code Tweaking
Estimated reading time: 5 minutes
- Learn how to optimize 3D prints using Cura custom scripts.
- Explore different use cases for advanced G-code modifications.
- Understand the importance of testing and monitoring scripts.
- Enhance workflow efficiency with automated processes.
- Find resources for further learning and development.
Table of Contents
- What are Cura Slicer Custom Scripts?
- Why Use Post-Processing Scripts in Cura?
- Common Use Cases for Cura Custom Scripts
- Testing Methodology for Post-Processing Scripts
- Conclusion: Unlocking the Power of Post-Processing Scripts
- FAQ
What are Cura Slicer Custom Scripts?
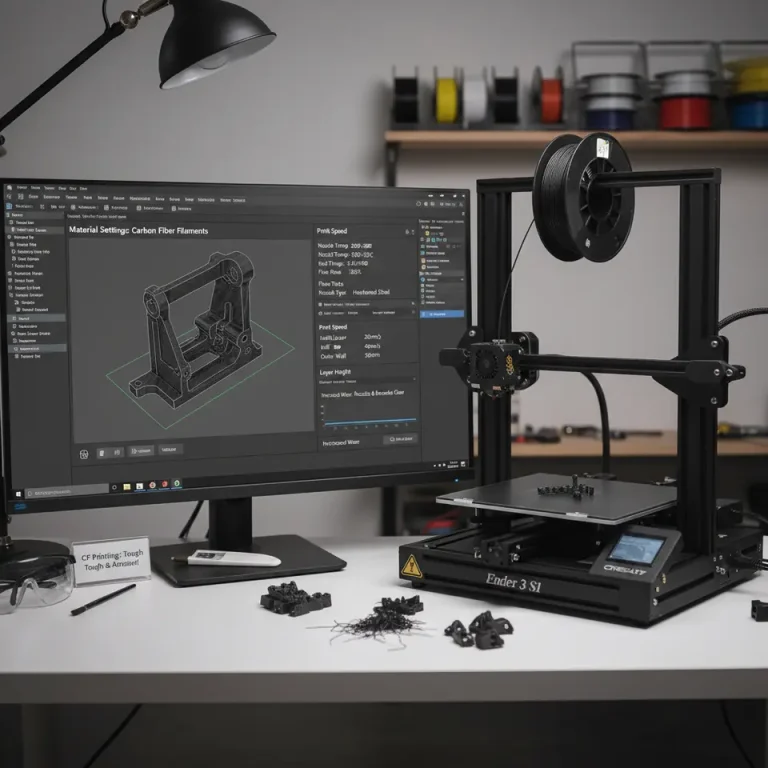
Cura’s custom scripts are segments of code that can be inserted into the main G-code file during slicing. These scripts allow users to manipulate how their 3D printer behaves during the print job. They can perform various tasks such as pausing prints at set intervals, changing filament mid-print, or implementing live extrusion modifiers that enhance print quality.
The versatility of these scripts not only allows for a higher level of precision but also opens avenues for creativity in the design process. By mastering these tools, hobbyists and professionals alike can achieve better print results and streamline their workflows.
Why Use Post-Processing Scripts in Cura?
- Enhanced Control: Custom scripts enable specific actions that improve the quality of the final print.
- Material Management: Switch filament types or colors seamlessly during a print job.
- Preparation for Multi-Material Prints: Fine-tune the printer’s settings during critical moments.
- Optimized Workflow: Automate tedious tasks, leading to quicker setup times.
These advantages make post-processing scripts a valuable addition to any 3D printing toolkit, especially for users aiming to elevate their skills and output quality.
Common Use Cases for Cura Custom Scripts
1. Custom Pauses
One of the most utilized scripts is the custom pause. This can be beneficial for changing filaments or simply inspecting the print mid-way. A typical script for pausing can look like this:
;Custom Pause
G1 Z+10 ; lift nozzle
G1 X0 Y0 ; move to the front
M300 S500 ; beep for notification
This script lifts the nozzle, shifts it to a safe position, and alerts the user when a pause is happening.
2. Material Swaps (M600 Command)
The M600 command allows users to change the filament or color on-the-fly. By inserting the script into the post-processing section, users can define when the printer will pause for a swap:
;Filament Swap
M600 ; Pause and swap filament
It’s essential to ensure that your printer firmware supports the M600 command, as not all printers are equipped to handle it.
3. Live Extrusion Modifiers
Scripts can be added to adjust extrusion settings dynamically based on certain conditions. For example, if the print is showing signs of stringing, you might implement a tweak like:
;Stringing Fix During Print
M220 S95 ; Reduce speed by 5%
This command will temporarily reduce the print speed, which can minimize stringing issues in real-time.
4. Annotated Script Library
Creating a library of commonly-used scripts for different scenarios can save considerable time. Here’s an example script overview to help you get started:
| Script Name | Description | Example |
|---|---|---|
| Custom Pause | Pauses print for filament change or adjustments | ;Custom Pause |
| Filament Swap | Initiates a filament swap during the print | M600 |
| Adjust Layer Height | Dynamically modifies layer height | M205 Z0.02 |
| Speed Adjustment | Adjusts speed dynamically, e.g., to fix stringing | M220 S90 |
Testing Methodology for Post-Processing Scripts
When experimenting with Cura’s post-processing scripts, it’s crucial to follow a safe testing methodology to avoid print failures or equipment damage:
- Back Up Settings: Always save your original settings and G-code files before applying new scripts.
- Use Test Prints: Start with smaller, less complex models to test your scripts before applying them to larger projects.
- Monitor Closely: Watch closely during the first run of any new script. Look for signs of malfunction or issues with the print quality.
- Document Successes and Failures: Keep a record of what works and what doesn’t to refine your script library over time.
Conclusion: Unlocking the Power of Post-Processing Scripts
By utilizing Cura slicer custom scripts, users can significantly enhance their control over the 3D printing process. These scripts provide powerful tools to customize prints, improve quality, and automate workflows. Whether you are pausing a print for a filament change, adjusting extrusion settings on the fly, or preparing for complex multi-material projects, mastering these features is essential for both enthusiasts and professionals looking to optimize their printing workflows.
For further tips and guides, check out our articles on Effective Cura Support Settings and Cura’s Hidden Features. Visit our main page for more insights and to stay updated with the latest in 3D printing technology.
Are you excited about implementing these custom scripts in your 3D printing projects? Follow CuraSlicers on social media, or subscribe for more expert guides and tutorials!
For detailed information on Cura’s features, refer to the Ultimaker’s official documentation, which provides a wealth of resources for anyone keen to harness the full power of Cura.
FAQ
What is a custom script in Cura?
Cura allows users to insert G-code snippets to modify printer behaviors, such as pausing or changing filaments.
How can I test custom scripts?
Test from smaller models and record your observations to ensure they work as intended.
Can I revert changes after testing scripts?
Yes, always back up your original settings to revert if necessary.