Managing Floating-Point Errors in Cura
Estimated Reading Time: 5 minutes
Key Takeaways:
- Understanding the impact of floating-point rounding errors is crucial for 3D printing.
- Ultimaker Cura employs multiple strategies to mitigate these errors.
- Practical measures, like using standard layer heights, can enhance print quality.
- Regular calibration of your 3D printer is essential for precision.
- Leveraging support structures can improve the overall print quality.
Table of Contents:
Understanding Floating-Point Rounding Errors
Floating-point rounding errors occur due to the limitations of numerical representation in computers. Numbers are stored in a binary format, which can lead to inaccuracies when performing calculations. For instance, if you attempt to represent 0.1 in binary, it becomes a repeating fraction similar to 1/3 in decimal. As a result, when performing mathematical operations, like calculating paths for a 3D print, these small inaccuracies can accumulate, leading to larger errors that impact the final print quality.
Source: For a deeper insight into floating-point representation, you can refer to the Wikipedia page on Floating-Point Arithmetic.
The Role of Precision in 3D Printing
In 3D printing, even minor discrepancies can lead to:
- Incorrect Dimensions: Floating-point errors can result in dimensions that are slightly off, affecting the part’s fit and function.
- Print Failures: Layers might shift or bond improperly due to miscalculations in coordinates.
- Surface Quality Issues: Inaccuracies can cause visible defects on the print surface.
Therefore, understanding how Ultimaker Cura handles these errors is crucial for anyone looking to master their 3D printing workflow.
How Cura Addresses Floating-Point Errors
Ultimaker Cura employs several strategies to mitigate the impact of floating-point rounding errors:
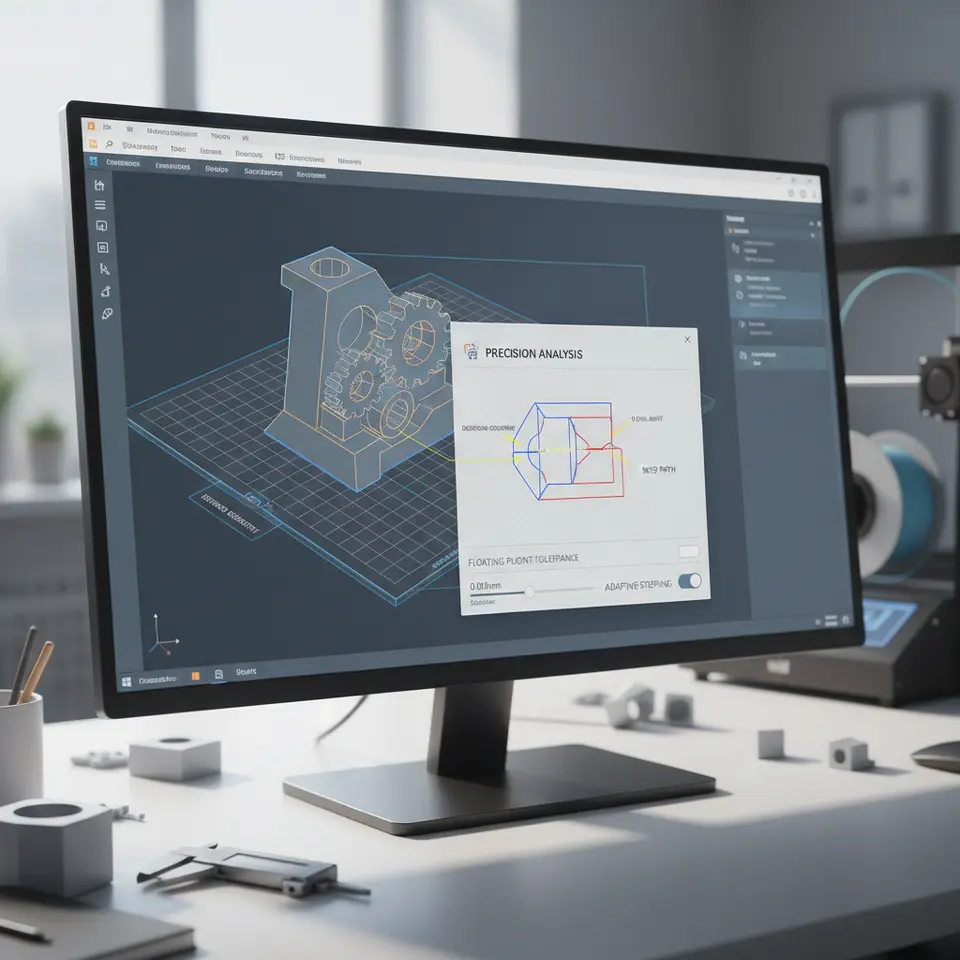
- Use of High Precision Calculations: Cura relies on double-precision floating-point representation in its calculations, which significantly reduces the risk of errors compared to single precision. This allows the software to handle a wider range of numerical values more accurately.
- Optimized Path Planning: Cura’s algorithm optimizes print paths to minimize complex calculations that could lead to rounding errors. By simplifying movements and minimizing rapid direction changes, Cura can reduce the potential for errors that arise from rounding during slicing.
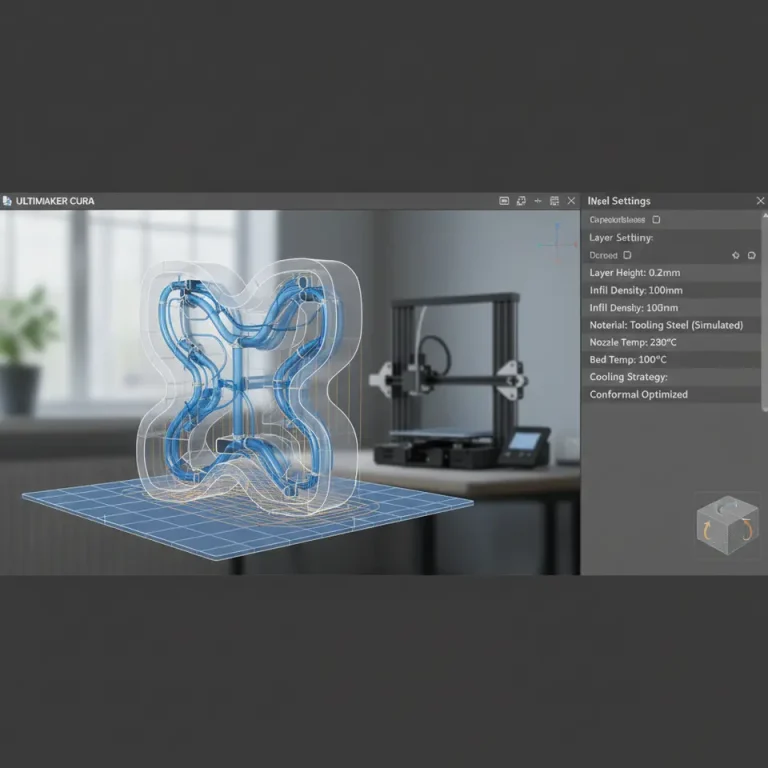
- Adaptive Slicing Techniques: Cura utilizes adaptive slicing where necessary, allowing for varying layer heights and contour definitions. This technique helps ensure that the software calculates dimensions with greater control, again reducing the likelihood of floating-point rounding issues adversely affecting your prints.
- Configuration of Precision Settings: In Cura, users can customize settings that affect the output precision for their prints, such as the layer height and wall thickness, allowing for adjustments according to specific needs or printer capabilities.
Source: More information about how precision plays a role in Cura’s functionalities can be found in the Ultimaker Cura documentation.
Practical Advice for Managing Floating-Point Errors
While Cura does an excellent job mitigating floating-point rounding errors, it’s wise for users to take proactive measures. Here are some practical takeaways to optimize print quality and reduce potential issues:
- Double-Check Units and Conversions: Ensure that all measurements are in the correct units (millimeters vs. inches) and converted accurately. This can prevent errors from arising simply due to unit discrepancies.
- Use Standard Layer Heights: While adaptive slicing is beneficial, using standard layer heights (like 0.1, 0.2, or 0.3mm) can provide a more consistent and reliable outcome, minimizing potential floating-point errors.
- Calibrate Your Printer: Regular calibration of your 3D printer ensures that it operates within its precise tolerances. If the printer is not calibrated correctly, the cumulative effects of floating-point rounding could lead to more significant errors.
- Test & Tune Your Settings: Experiment with Cura’s advanced settings, such as flow rate adjustments and retraction settings, to find the optimal balance for your specific print material and design. This can significantly improve the outcomes and offset any minor inaccuracies caused by floating-point implications.
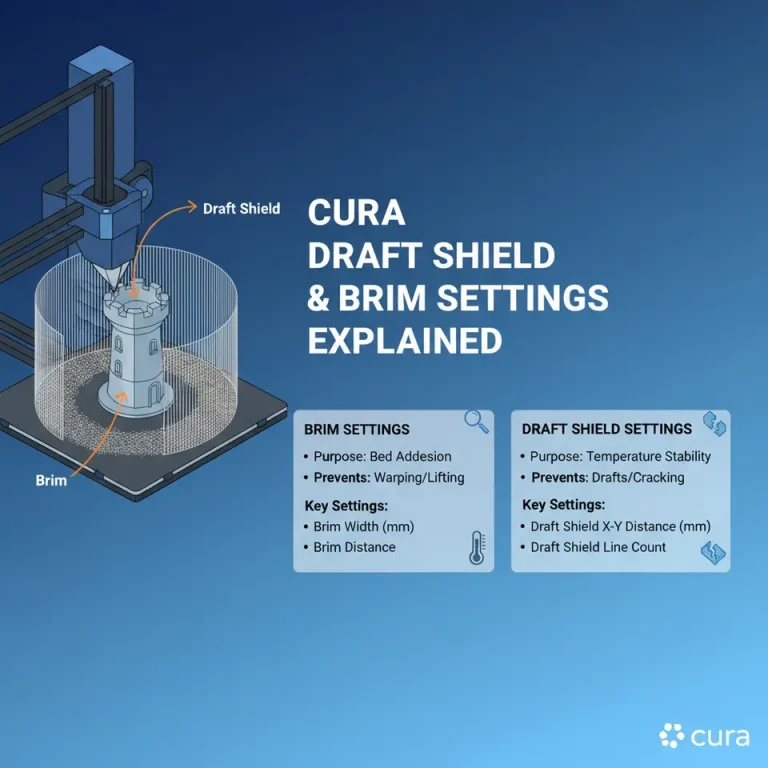
- Utilize Support Structures: If you’re printing complex shapes, leveraging Cura’s support settings can help improve the overall print quality, smoothing out any potential issues that may stem from tiny rounding errors.
For more information about common Cura settings and how to customize them for better results, check out our article on Cura Slicer Experimental Settings.
Conclusion
Floating-point rounding errors can pose challenges in 3D printing, but by understanding how Ultimaker Cura addresses these issues, you can become a more effective user. Utilizing the strategies outlined above and remaining mindful of precision in your designs will help ensure that your prints are accurate and of high quality.
For continuous improvement of your 3D printing journey, stay updated with related topics by following our blog. We invite you to explore our extensive resources like the guide on optimizing Cura settings for small cosmetic prints or discover how to handle bridging and cantilevering strategies.
If you found this post insightful, consider following us on social media or subscribing for future guides on 3D printing best practices and slicer optimization.
Homepage: For more expert advice on 3D printing, visit CuraSlicers.com.
FAQ
1. What are floating-point rounding errors?
Floating-point rounding errors are inaccuracies that occur due to the limitations of numerical representation in computers, particularly during arithmetic calculations.
2. How does Ultimaker Cura minimize these errors?
Cura utilizes high precision calculations, optimized path planning, and adaptive slicing techniques to reduce the impact of floating-point errors.
3. Why is calibration important in 3D printing?
Calibration ensures that the printer operates within its precise tolerances, minimizing the effects of inaccuracies that could arise from floating-point rounding errors.
4. Can I adjust precision settings in Cura?
Yes, users can customize various settings in Cura to optimize output precision, such as layer height and wall thickness.
5. Are standard layer heights better for print quality?
Using standard layer heights can provide a more consistent and reliable outcome, which helps to minimize potential floating-point errors.