Cura Slicer Extrusion Width Pitfalls
- Extrusion width is crucial for print quality and can vary by material.
- Automatic calculations may lead to poor results, especially for complex geometries.
- Manual adjustments and testing can significantly improve print outcomes.
- External factors affect extrusion, necessitating user insight and adjustments.
- Utilizing Cura’s advanced settings can enhance printing flexibility.
What is Extrusion Width?
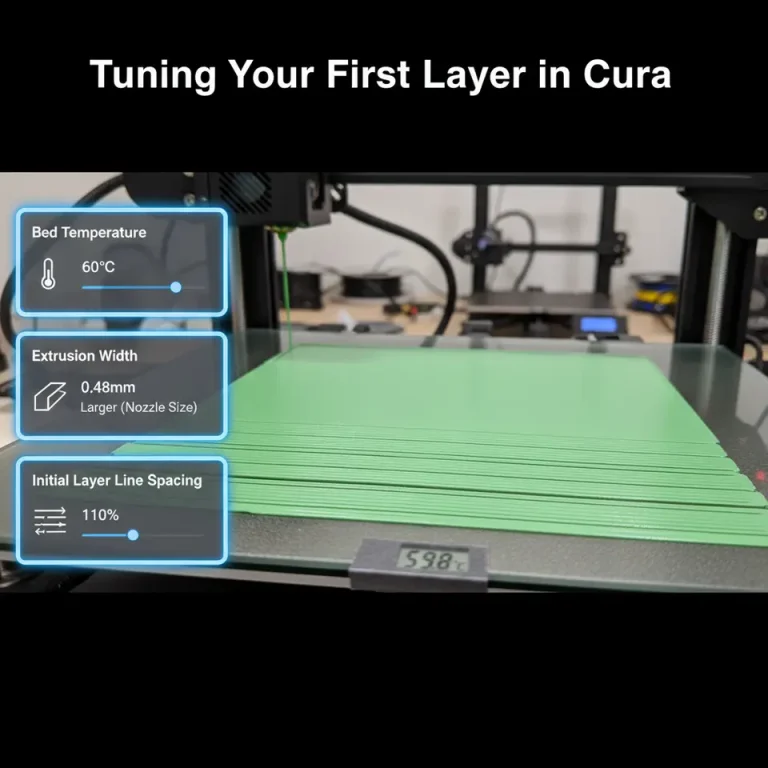
Extrusion width refers to the width of the extruded filament as it is deposited by the 3D printer’s nozzle. It directly affects layer adhesion, print speed, and overall print quality. Typically, the extrusion width is set based on the nozzle diameter; for example, a 0.4mm nozzle may have a default extrusion width of 0.4mm to 0.48mm when printed, allowing for some overlap to ensure solid layer bonds. Yet, the default settings may not always be optimal for every material, print, or project.
The Dangers of Relying on Automatic Extrusion Width Calculations
Many slicers, including Ultimaker Cura, attempt to simplify the user experience by offering auto-calculation features for extrusion width. However, there are significant drawbacks to this feature that every 3D printing enthusiast should be aware of.
- Inadequate for Complex Geometries: Automatic calculations are often based on generic parameters that fail to account for intricate geometries. For parts with complex shapes or overhangs, the calculated extrusion width may not deposit enough filament to provide proper support or strength, leading to under-extrusion or fragile parts.
- Inconsistent Layer Adhesion: If the automatic extrusion width is too narrow, it can result in insufficient bonding between layers. This inconsistency can cause parts to delaminate, impacting the structural integrity and durability of the print.
- Over-extrusion Issues: On the flip side, if the calculated width is too wide, this can lead to excessive filament being deposited, creating blobs and zits on the surface of the print, impacting aesthetic quality, and requiring additional post-processing.
- Material Specificity: Different materials require different extrusion widths for optimal results. While a filament like PLA might extrude seamlessly with the default settings, materials such as PETG or Nylon might require user intervention to adjust the extrusion width for optimal adhesion and flow characteristics.
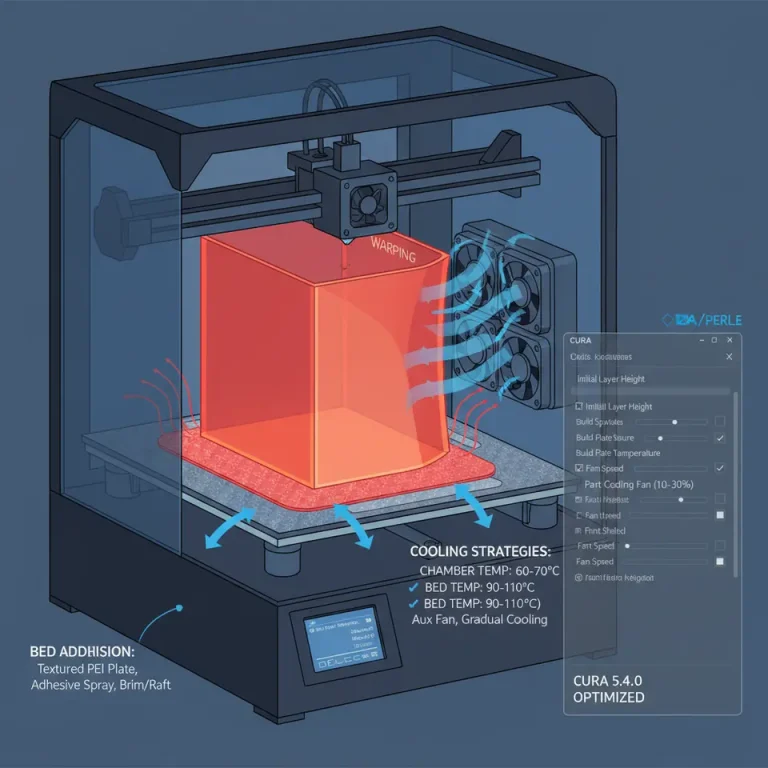
- Neglected Environmental Variables: External factors such as ambient temperature, humidity, and even the printer’s calibration can significantly influence how filament behaves. Automated slicer tools typically don’t account for these variables, potentially leading to non-ideal extrusion widths.
Practical Takeaways for Manual Extrusion Width Setting
To unlock the full potential of your 3D printer and optimize print quality, consider following these strategies:
- Calculate Manually: Instead of depending entirely on auto-calculation, experiment with manual settings. As a general guideline, setting an extrusion width between 100% and 120% of the nozzle diameter often results in excellent printed parts. For example, using a 0.4mm nozzle, you might set an extrusion width of 0.4mm to 0.48mm.
- Test Prints: Before committing to a larger print, create test prints to evaluate the adhesion, strength, and aesthetics. Use calibration shapes like cubes or letters to analyze how varying the extrusion width impacts the quality.
- Adjust Based on Material: Different filaments behave differently. Use material-specific guides — such as those available on our site — to tailor your extrusion settings. For example, take a look at our Cura Settings for Ceramic Filaments or explore tips for common materials like TPU and PETG.
- Engage in Troubleshooting: If you encounter issues with print quality, especially around layer adhesion, revisit your extrusion width settings. Consider if you are over or under-extruding, and adjust accordingly. Refer to our guide on Cura Slicing Errors: Fixes for more detailed troubleshooting tips.
- Use Cura’s Advanced Settings: Cura offers advanced settings for extrusion width adjustments, allowing you to specify different values for the first layer, infill, and outer layers. Utilizing these settings can significantly enhance the versatility of your prints.
The Importance of Fine-Tuning Extrusion Width
While automatic settings may seem convenient, they can obscure the nuances of 3D printing that yield the best results. Fine-tuning your extrusion width can elevate your print quality from mediocre to exceptional. Experienced users and beginner hobbyists alike should engage with their slicer settings, particularly extrusion width, to fully harness the capabilities of their 3D printers.
Conclusion
Navigating the world of extrusion width auto-calculation can be fraught with pitfalls. By understanding the mechanics behind this critical setting, users can avoid potential printing problems and achieve more consistent, high-quality results. Remember to rely on manual calculations tailored to each print job, engage in thorough testing, and utilize available resources for effective troubleshooting.
For more tips on enhancing your 3D printing experience and specific Cura slicer settings, be sure to explore more informative articles on CuraSlicers.com. Additionally, connect with us on social media for daily insights and updates on 3D printing technology.
By taking a thoughtful approach to your extrusion width settings, you can boost your printing efficiency and quality, transforming your 3D printing projects into success stories. Want to dive deeper into other aspects of Cura and printing workflows? Check out our guide on Cura Slicer Workflow for 3D Printing for more insights.
FAQ
What factors should I consider when setting extrusion width? It’s essential to consider your nozzle diameter, the material you are using, and the complexity of your print’s geometry.
Can I rely on automatic settings for all my prints? While automatic settings can be convenient, they may not be suitable for intricate designs or specialized materials, so manual adjustments are often necessary.
How do I know if I’m over-extruding or under-extruding? You may notice issues like blobs or excessive filament on the model for over-extrusion or weak layer adhesion for under-extrusion. Testing different settings can help identify these problems.
What is the best way to start adjusting extrusion width? Begin with the general guideline of setting the extrusion width between 100% and 120% of the nozzle diameter, then experiment based on the results of test prints.