Optimize Cura Slicer for Hollow Printing
Cura Slicer Hollow Prints: Wall Thickness vs. Infill Strategy to Reduce Filament Use
Estimated Reading Time: 6 minutes
- Understand the balance between wall thickness and infill density.
- Explore the importance of using shells and drain holes.
- Implement light infill ribs for added support.
- Test configurations for optimal filament usage.
- Learn effective slicer settings in Ultimaker Cura.
Table of Contents
- Understanding Hollow Prints
- What Is Wall Thickness?
- What Is Infill?
- Choosing the Right Strategy: Wall Thickness vs. Infill
- Testing Part Strength and Weight
- Step-By-Step Slicing Recipe in Cura
- Practical Takeaways
- Explore Further on CuraSlicers.com
- Conclusion
- FAQ
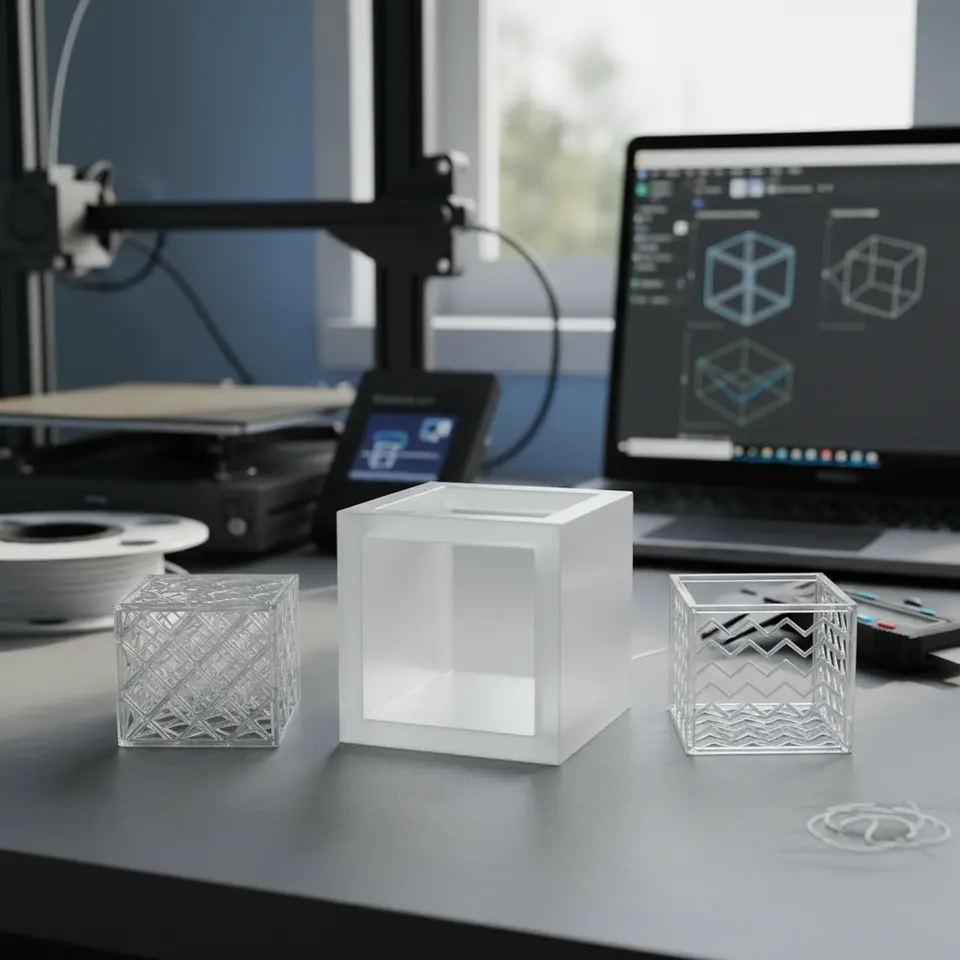
Understanding Hollow Prints
Hollow prints refer to 3D printed objects that are not fully solid, which is particularly useful in saving material and reducing print times while maintaining the desired strength and aesthetics. Achieving the right balance between wall thickness and infill settings is vital in creating successful hollow prints.
What Is Wall Thickness?
Wall thickness is the distance between the outer and inner edges of a printed wall. It directly influences the model’s strength, durability, and weight. Thicker walls typically provide better structural integrity but increase filament use, while thinner walls can save material but may compromise strength.
What Is Infill?
Infill is the internal structure of a 3D printed object and contributes to its strength and weight. There are several infill patterns (like grid, honeycomb, and gyroid) and densities, which determine how much filament is used. A lower infill density saves material but also lessens the object’s strength.
Choosing the Right Strategy: Wall Thickness vs. Infill
When creating hollow objects, you face the decision of how to configure the wall thickness and infill strategy effectively. Here are some considerations:
1. Wall Thickness vs. Infill Density
The greatest question in hollow printing is often whether to prioritize wall thickness or infill density.
- Wall Thickness: Increasing wall thickness provides excellent resistance against external forces. For example, using twin walls of 2mm-3mm could yield a robust structure while using less infill.
- Infill Strategy: Opting for a lower infill percentage (e.g., 10-20%) complemented by thicker walls could be more efficient. Using a gyroid or triangular infill pattern can optimize strength while minimizing filament use.
2. Shell Types and Drain Holes
Using shells effectively can create lightweight prints. The outer shell acts as a barrier while minimizing material usage.
- Shells: Opt for a thicker outer wall, typically 2-3 layers, which will provide an outer structure that can withstand pressure while allowing for a hollow interior.
- Drain Holes: Implementing drain holes prevents moisture from getting trapped in the interior during the printing process. This technique is particularly useful when printing larger hollow parts.
3. Light Infill Ribs for Structural Pathing
Adding light infill ribs can provide a supportive internal structure while still maintaining a hollow core. The optional use of these ribs helps distribute stress more evenly throughout the part.
Testing Part Strength and Weight
To understand the impact of shell thickness and infill strategies, we recommend printing test parts with various configurations. This can involve creating models with the following parameters:
- Model 1: 1.2mm wall thickness, 10% gyroid infill
- Model 2: 2mm wall thickness, 15% triangular infill
- Model 3: 3mm wall thickness with no infill (completely hollow design)
After printing, weigh each model and conduct a series of strength tests to assess performance against the material used. This experimentation can lead to the most efficient configuration tailored to your project’s needs.
Step-By-Step Slicing Recipe in Cura
Slicing Setup
- Load Your Model: Import your model into Ultimaker Cura.
- Set Print Settings:
- Layer Height: Use 0.2mm for a good balance of detail and speed.
- Wall Thickness: Set this to 2mm or more based on test part requirements.
- Infill Percentage: Choose between 10%-20%, depending on your structural need.
- Infill Pattern: Select gyroid for enhanced strength with lower filament use.
- Use Shell Options:
- Enable “Wall Line Count” to set the number of wall lines (ideally between 3-5).
- Integrate Drain Holes: Place them strategically based on your model’s internal structure.
- Add Infill Ribs: Manually create support structures within your model if necessary.
- Preview Before Printing: Utilize the Cura preview feature to ensure proper filament allocation.
Practical Takeaways
- When minimizing filament use, focus on thicker walls and lower infill density.
- Test different combinations of wall thickness and infill to identify the best balance of weight and strength.
- Incorporate advanced techniques like shells and internal ribs to improve object integrity without excessive material consumption.
Explore Further on CuraSlicers.com
For more in-depth insights and tips on Cura slicer settings and optimizing 3D prints, check out our guides on Cura Strength Tips and Cura Flow Rate and Line Width.
If you are interested in how to enhance the first layer adhesion for your prints, don’t miss our article on Perfect First Layer Cura.
Conclusion
Striking a balance between wall thickness and infill density is crucial to reducing filament use in hollow prints while maintaining strength and functionality. By experimenting with wall structures, limiting infill, and using innovative techniques like drain holes and light infill ribs, you can optimize your 3D prints effectively.
For further tips and updates, be sure to visit our homepage at CuraSlicers.com and subscribe to our newsletter. Let’s keep printing smarter together!
FAQ
1. What is the best wall thickness for hollow prints?
The best wall thickness typically ranges from 2mm to 3mm, providing a balance of strength while optimizing material use.
2. How does infill density affect strength?
A lower infill density saves material but can weaken the print. A density of 10% to 20% is often sufficient for lightweight objects.
3. Are drain holes necessary for hollow prints?
While not always necessary, drain holes can prevent moisture build-up inside hollow models, enhancing print quality.
4. Can I customize infill patterns in Cura?
Yes, Cura offers various infill patterns, including gyroid and triangular, which can be customized according to your print requirements.
5. How can I ensure the integrity of a hollow object?
Using thicker walls, strategic riser support, and testing different configurations can help ensure the integrity of hollow prints.