Understanding Cura Slicer Layer Time Warnings
Estimated Reading Time: 6 minutes
Key Takeaways:
- Layer time warnings in Cura help manage cooling between 3D print layers.
- Minimum layer time settings are crucial for preventing adhesion and surface defects.
- Adjusting print speed and cooling settings can significantly enhance print quality.
- Testing and adjusting settings can optimize performance based on materials used.
Table of Contents:
What are Layer Time Warnings in Cura?
Layer time warnings in Cura are alerts generated when the expected time for a layer to be printed is either too short or too long. These warnings reflect the cooling logic implemented within Cura, affecting how the printer responds to temperatures and speeds during operation. If a layer is printed too quickly, there’s a risk that the filament won’t cool sufficiently before the next layer is applied, leading to issues such as deformation, stringing, or insufficient adhesion between layers.
Understanding layer time warnings is essential for both beginners and seasoned professionals; it not only helps you achieve better print quality but also enhances the learning experience of managing your printing parameters effectively.
Cooling Logic in Cura
Cura employs a sophisticated cooling logic to manage the temperature of the filament during the printing process. Here’s how it works:
- Cooling Setup: 3D prints require adequate cooling to ensure each layer solidifies properly before the next is added. Cura estimates the required cooling time based on the filament type, layer height, print speed, and the ambient environment (such as the cooling provided by fans).
- Estimating Layer Time: The software calculates the time required for each layer based on its thickness and the speed at which it’s being printed. Layer heights that are too thick, coupled with high print speeds, may not allow sufficient cooling time.
- Warnings and Feedback: When your print parameters deviate significantly from what Cura considers optimal, a warning is triggered. This feedback serves as a guide for adjustments to parameters like initial layer settings, print speed, or fan speed to mitigate cooling issues.
Understanding this process can help you troubleshoot common issues effectively, leading to smoother prints and better surface finishes.
The Importance of Minimum Layer Time
Minimum layer time is a specific setting in Cura that controls how quickly a layer can be printed. This setting helps ensure that the printer allows enough time for each layer to cool down adequately. Here’s why it matters:
- Prevents Layer Adhesion Issues: Without adequate cooling, ultimate adhesion between layers may suffer, leading to weak points that can compromise the strength of printed objects.
- Prevents Surface Defects: Printing too quickly can result in visible defects on the surface of your model, such as warping or “elephant’s foot” — situations where the lower layers spread due to insufficient cooling time.
- Optimizes Print Quality: Adhering to minimum layer time settings allows for better control over the print process, delivering higher quality and more detailed outputs.
Adjusting Cura Settings for Optimal Layer Cooling
To better manage layer time warnings in Cura and improve cooling efficiency, consider the following adjustments:
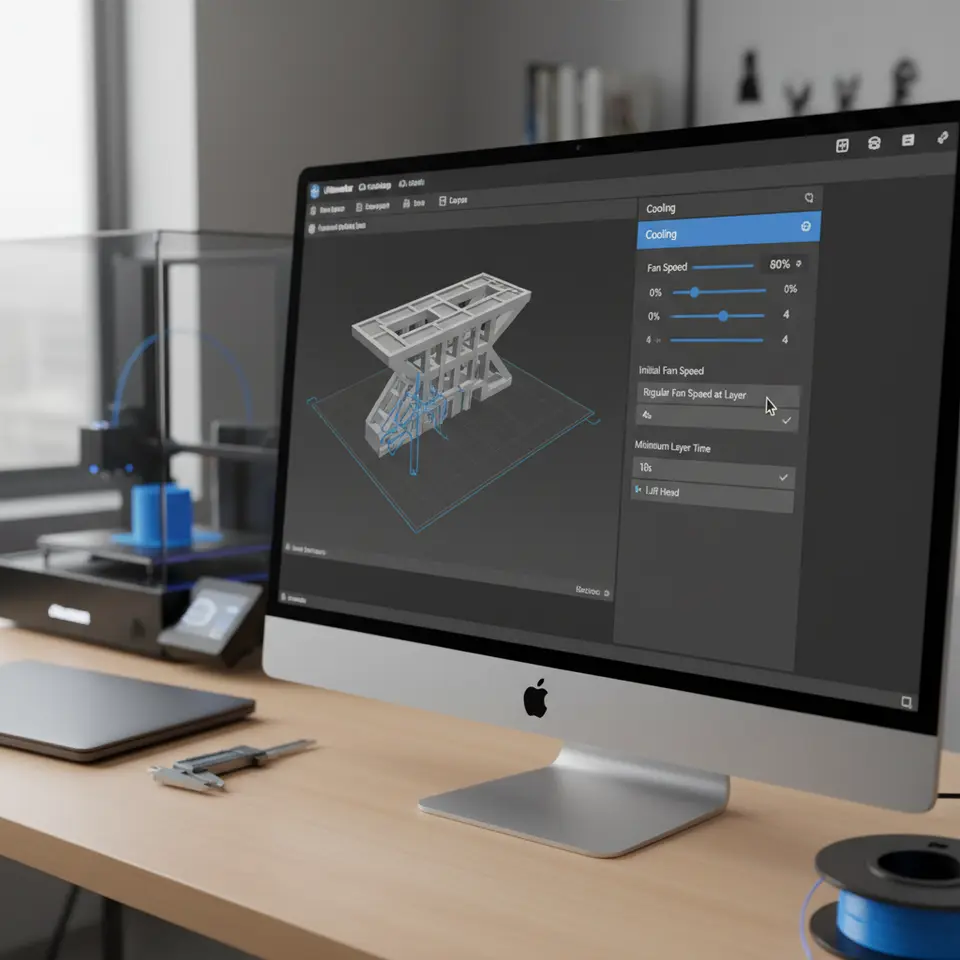
- Set Minimum Layer Time: Under the ‘Cooling’ section in Cura, set an appropriate minimum layer time. Generally, a setting between 5 to 15 seconds can be a good starting point, although the ideal value can vary depending on the specific print and materials used.
- Adjust Print Speed: Slower print speeds give the filament more time to cool. Reducing your print speed (usually found under ‘Speed’ in the slicing settings) can significantly impact layer adhesion and overall print quality.
- Incorporate Cooling Fans: Ensure that your cooling fans are functional and properly configured. Increasing fan speed after the first few layers can help reduce material temperature, especially in detailed prints. If you’re printing bridges or overhangs, enhanced cooling can make a substantial difference.
- Experiment with Layer Heights: Consider optimizing your layer height. Thinner layers often allow for improved detail and reduce the risk of problems from inadequate cooling, as each layer has less material to solidify.
Practical Takeaways
- Monitor Layer Time Warnings: Always pay attention to any layer time warnings displayed by Cura. They indicate optimal cooling needs and should not be ignored.
- Balance Speed and Quality: While faster prints are desirable, finding the right balance between speed and cooling is imperative. Too high a speed with thick layers often leads to issues.
- Test and Adjust: Don’t hesitate to run test prints with various settings to find the optimal combination of speed, layer height, and cooling. Adjustments based on material type can lead to better performance.
Conclusion
Layer time warnings in Cura serve as an invaluable tool for ensuring that your 3D prints come out as intended. By understanding the principles of cooling logic and adjusting minimum layer time to your printing needs, you can significantly improve the processes involved in creating high-quality prints. For more actionable insights, check out our guide on Best Cura Settings for Ender 3 or explore more about Cooling Settings in Cura.
For in-depth tips on optimizing your Cura slicer experience and troubleshooting various 3D printing obstacles, feel free to visit our main page at CuraSlicers.com.
Stay connected with us on social media for the latest updates, tips, and guides to enhance your 3D printing journey!
Call-To-Action
If you found this article helpful, don’t forget to subscribe to our newsletter for future guides, tutorials, and the latest trends in the world of 3D printing. Let’s make the most out of your Cura Slicer experience together! You can explore more about Slicing Techniques to further enhance your skills. Happy printing!
FAQ
What do I do if I get a layer time warning?
If you receive a layer time warning, consider adjusting your print speed, increasing minimum layer time, and ensuring that cooling fans are operational. These adjustments can improve the overall print quality.
If you receive a layer time warning, consider adjusting your print speed, increasing minimum layer time, and ensuring that cooling fans are operational. These adjustments can improve the overall print quality.
How can I optimize layer cooling?
You can optimize layer cooling by setting an appropriate minimum layer time, adjusting your print speed, incorporating cooling fans effectively, and experimenting with layer heights.
You can optimize layer cooling by setting an appropriate minimum layer time, adjusting your print speed, incorporating cooling fans effectively, and experimenting with layer heights.
Are layer time warnings always a concern?
While they’re not always detrimental, they should never be ignored. They serve as crucial indicators for optimizing your print settings to ensure quality output.
While they’re not always detrimental, they should never be ignored. They serve as crucial indicators for optimizing your print settings to ensure quality output.