Understanding Prints After Cura Previews
- Understand the discrepancies between Cura previews and actual prints.
- Implement material-specific settings for better print quality.
- Regularly calibrate your printer to ensure optimal performance.
- Optimize cooling and environmental conditions for accurate prints.
- Explore advanced settings to fine-tune your printing process.
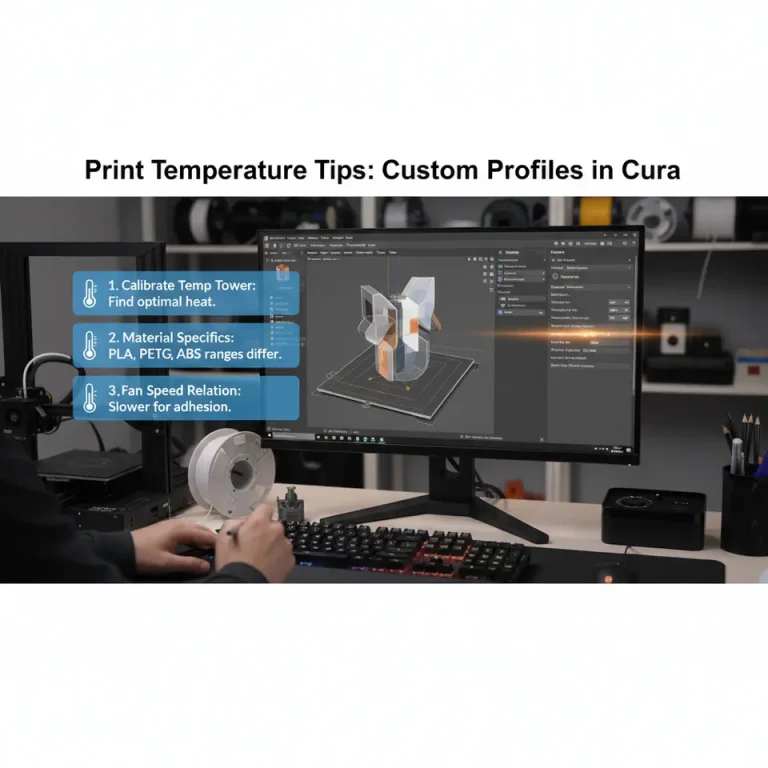
Different materials respond differently during printing—PLA, ABS, PETG, and TPU all have unique behaviors. For example, while Cura assumes ideal behavior based on the selected settings, in reality, factors like temperature fluctuations could cause under-extrusion or over-extrusion, leading to visible discrepancies in the finished print.
**Solution**: Always adjust your Cura settings based on the material you’re using. Use a dedicated profile for each filament type to improve consistency. Check out our guide on Cura Settings for PETG, PLA, and ABS for more insights.
A well-calibrated printer is crucial for accurate prints. If your printer isn’t calibrated correctly (extruder steps, bed leveling, etc.), it won’t replicate the expected results shown in the Cura preview. Misalignment or a poorly leveled print bed can lead to layer adhesion problems or even complete print failure.
**Solution**: Regularly calibrate your printer. We recommend following our Calibration Guide for Extrusion Multiplier to ensure your printer is ready to produce high-quality prints.
Cura assumes optimal print cooling and stable environmental conditions when generating previews. However, varying temperatures (too high or too low) or drafts can affect the cooling rates of the model during printing. This can cause warping or layer separation, especially with materials like ABS.
**Solution**: Optimize your cooling settings in Cura, and consider using a print enclosure to maintain a stable temperature. You can also read about our Long Print Reliability Settings that help in extending print times without failures.
Cura’s default extrusion and retraction settings might not align with the actual needs of your specific printer and filament. Incorrect retraction settings can lead to oozing and stringing, while improper flow rates can cause blobs and bumps in prints.
**Solution**: Customize your retraction settings in Cura based on your findings from previous prints. For example, the Retraction Settings Guide offers detailed advice on tuning these parameters for different materials.
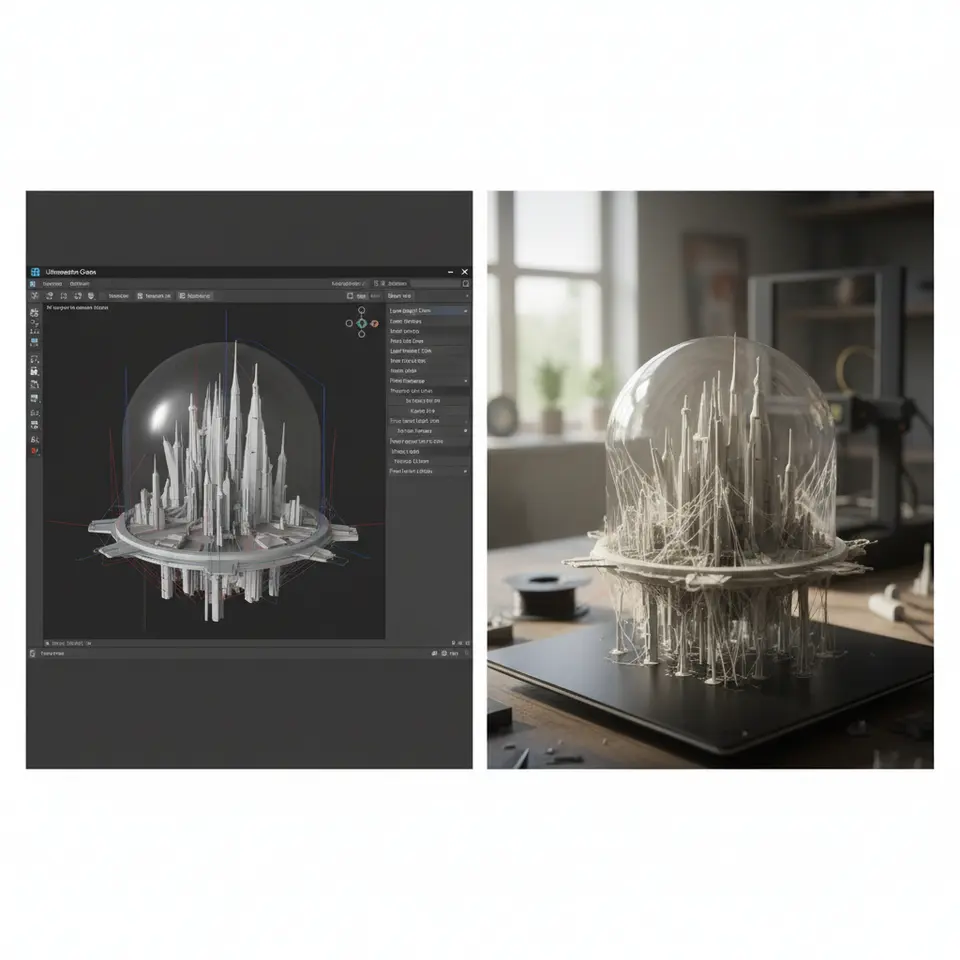
The previews in Cura may not fully portray the impact of layer height on print quality. Printing with a low layer height at a high speed can lead to issues like insufficient layer adhesion and detail loss. Conversely, printing too slowly can result in overheating or filament degradation.
**Solution**: Experiment with different layer heights and speeds to understand how they affect your final output. Our post on Layer Height and Speed Optimization might offer some helpful insight.
– **Conduct Test Prints**: Before starting large projects, conduct small test prints to gauge settings. These can help identify potential problems without wasting material.
– **Keep Your Printer Maintained**: Regularly clean the nozzle, check for mechanical wear, and make sure all axes are running smoothly.
– **Stay Informed with Updates**: Cura regularly updates with new features and settings. Stay engaged with the community and update your software to take advantage of improvements.
Be sure to follow us on social media or subscribe to our newsletter for more expert tips and the latest guides! Join the community at CuraSlicers.com for all your 3D printing needs.
In the tech-driven world of 3D printing, knowledge is indeed power. Let’s close the gap between slicer expectations and real-world performance together!
A: Prints may differ due to material properties, printer calibration, environmental conditions, and settings that may not align perfectly with your printer’s capabilities.
Q: How can I improve my print quality?
A: Optimize Cura settings based on material, maintain printer calibration, and consider environmental factors like cooling.
Q: What should I do if my printer is not producing quality prints?
A: Regularly calibrate your printer, adjust your settings according to the material, and conduct test prints before larger projects.
Q: Where can I find additional resources on Cura?
A: Explore our guides on Cura Settings for different materials, Retraction Settings, and Experimental Settings.