Reliable 3D Printing Profiles for Students
Estimated Reading Time: 5 minutes
Key Takeaways:
- Reliable profiles improve the 3D printing experience for students.
- Standardized settings in Cura streamline the learning process.
- Effective workflows maximize resource use in educational settings.
- Common printing issues can often be resolved with proper guidelines.
Table of Contents:
The Importance of Consistent Printing in Education
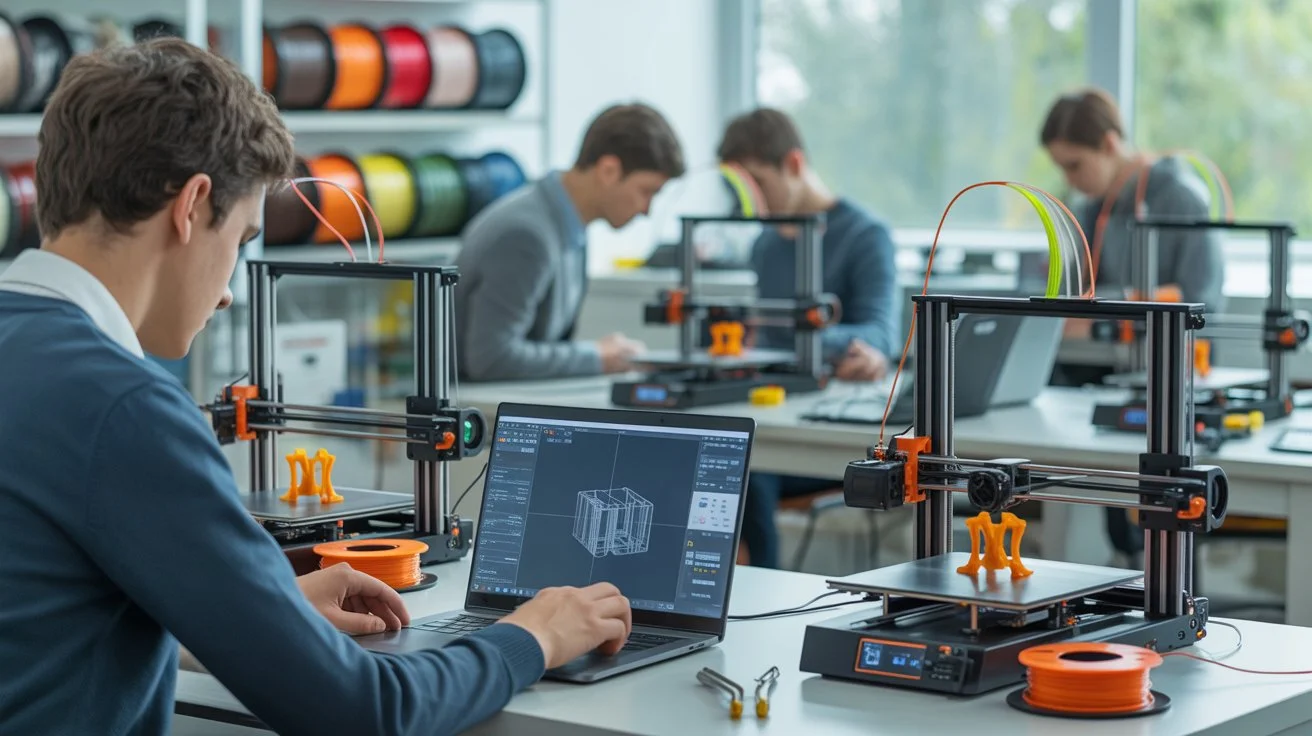
In educational environments, whether high schools, universities, or makerspaces, students often share 3D printers for a variety of projects. Establishing reliable profiles and workflows not only enhances the printing experience but also reduces frustration and waste. Customized Cura slicer settings facilitate better learning outcomes and help students focus on design and innovation rather than troubleshooting printing issues.
Understanding Cura Profiles for Education
When we speak of “profiles” in Ultimaker Cura, we refer to the specific settings configured for a particular printer and material combination. These settings can include layer height, print speed, temperature, infill percentage, and more. For students, having a predefined set of profiles can greatly streamline the learning process. Here’s a breakdown of what makes an effective 3D printing profile for repeated student use:
Key Components of an Effective Profile:
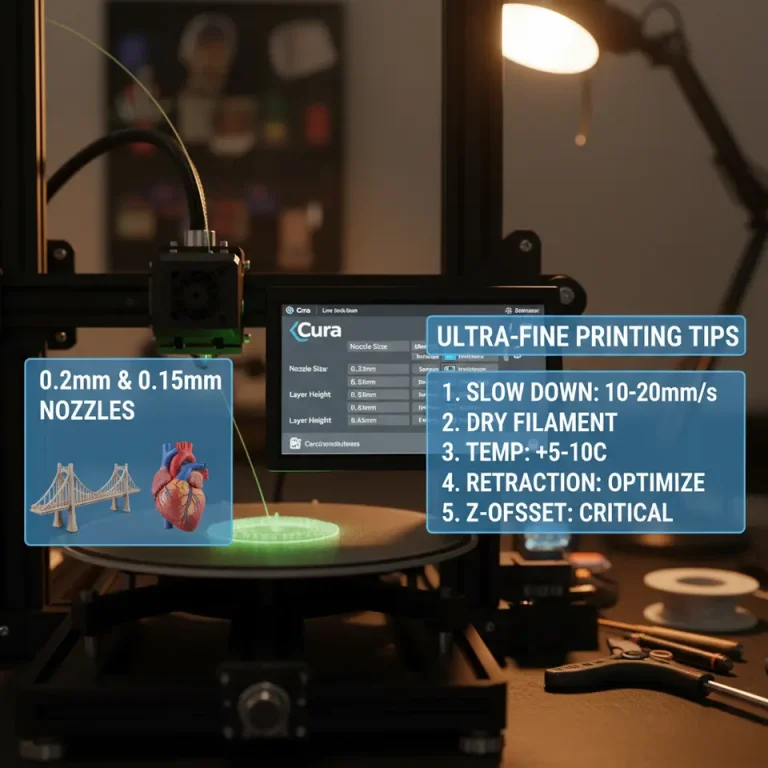
- Layer Height: A standard layer height of 0.2mm is often a good balance for quality and speed for beginners. It’s important to maintain consistency across prints to help students learn effective design strategies.
- Infill Density: For most educational projects, an infill density of around 20% is sufficient. This provides good structural integrity without being overly time-consuming or filament-heavy.
- Print Speed: Slower print speeds (40-60 mm/s) improve print quality, which is essential for students to see the results of their designs without imperfections.
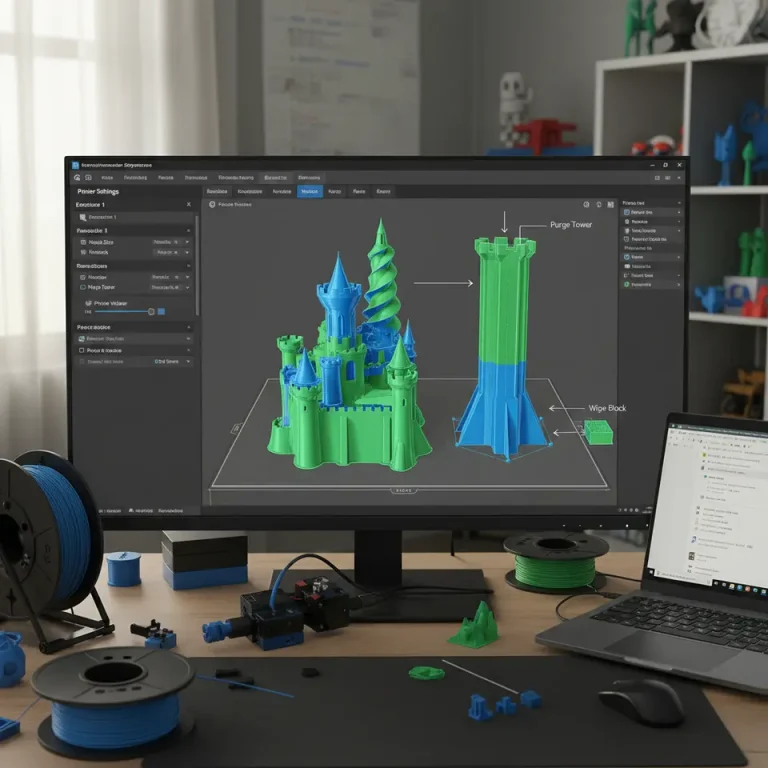
- Support Structures: Educators should configure support structures to be easily removable. Opting for tree supports can be beneficial for teaching students about design techniques to avoid excessive use of supports.
- Filament Type Considerations: If students are new to 3D printing, begin with PLA due to its ease of use and minor warping issues. For more advanced projects, profiles for PETG and ABS can be introduced.
Creating and Saving Reliable Profiles in Cura
Creating profiles in Cura is straightforward. Here are steps educators can follow to set up reliable profiles for classroom use:
- Open Ultimaker Cura and select the printer model in use.
- Set the Material Type: Choose PLA or another filament, depending on the project needs.
- Configure Basic Settings: Adjust layer height, print speed, and infill density according to the guidelines discussed.
- Enable Custom Settings: Use the “Custom” mode in Cura to refine more advanced settings, such as retraction distance and cooling settings.
- Save the Profile: Once satisfied, save the profile under a descriptive name (e.g., “Classroom PLA Settings”).
This profile allows for quick adjustments in future projects, maintaining the same quality and reducing the time spent on configuration, which is particularly useful in repeated student use cases.
Optimizing Workflows for Educational Settings
A smooth workflow is essential in educational settings where time and resources can be limited. Here are some tips for creating effective workflows:
- Batch Printing: Combine multiple projects into a single print run whenever possible. Cura’s “Print One at a Time” function ensures each item is printed with care, reducing the risk of misprints.
- Organizing Model Files: Maintain a shared directory of STL files that students can access. Group models by lesson or topic for easier navigation.
- Print Monitoring Tools: Utilize tools such as OctoPrint to manage prints remotely. This allows instructors to oversee multiple students’ prints, catching issues before they escalate.
- Feedback Mechanisms: After prints, have students document any issues they faced. This can be beneficial for refining profiles and troubleshooting future prints.
- Encourage Experimentation: Allow students to experiment with settings after they become familiar with standard profiles. This hands-on learning can foster deeper understanding and innovation.
Print Troubleshooting Tips for Students
Even with effective profiles, students may encounter common printing issues. Here are some troubleshooting tips to include in their learning process:
- Poor Layer Adhesion: Ensure that temperature settings are correct and consistent. A clogged nozzle can also be a culprit in failure to fuse layers properly.
- Warping: If using a different filament like ABS, ensure a heated bed is utilized. Educating about adhesive choices (like glue sticks or blue tape) can help.
- Stringing: Teach students about retraction settings. Adjusting retraction distance and speed can significantly reduce stringing in prints.
- Print Failures: Encourage students to assess their initial layers closely. A good first layer is key. If it’s not adhering properly, revisit bed leveling techniques.
Conclusion
Setting up reliable profiles and workflows can significantly enhance the educational experience when using 3D printers. By creating consistent settings in Ultimaker Cura, instructors can ensure students spend less time troubleshooting and more time developing their design skills and creativity.
For further reading, consider our guides on Optimizing Cura for Small Cosmetic Prints or our Cura Slicer Fit Tolerance Guide, which delve deeper into specific settings that can improve print quality and efficiency.
Stay informed with more updates and tips by visiting our main page at CuraSlicers.com and consider subscribing to our blog for the latest insights and tutorials in the 3D printing world. Happy Printing!
FAQ
What is a Cura profile?
A Cura profile refers to a specific set of printing settings configured for a particular printer and material combination, optimizing print quality and speed.
How can I create a reliable profile in Cura?
To create a reliable profile, select the printer, set the material type, configure basic settings (layer height, print speed, infill density), enable custom settings if needed, and save the profile under a descriptive name.
What are common troubleshooting tips for 3D printing?
Common troubleshooting tips include checking for poor layer adhesion, warping, stringing, and print failures by ensuring correct temperature settings, using appropriate materials, and ensuring proper bed leveling.