Create Quieter Prints with Silencing Mods in Cura
How to Make Silencing Mods and Configure Jerk/Acceleration Settings for Quieter Prints in Cura
Estimated reading time: 7 minutes
- Understand the sources of noise in your 3D printer.
- Implement effective silencing mods such as rubber feet and motor dampers.
- Configure jerk and acceleration settings in Cura for optimal prints.
- Measure and test changes for improved performance.
- Discover additional resources and community support for 3D printing tips.
Table of Contents
Understanding Noise in 3D Printing
Before diving into the modifications and settings, it’s crucial to understand the source of noise in 3D printers. Noise can arise from multiple components, including:
- Mechanical vibrations: Caused by the movement of motors and the print head.
- Resonance: Occurs when certain frequencies of vibration amplify sound.
- Fans and cooling systems: Often contribute to overall noise levels in a printer.
Considering these factors, implementing silencing mods and adjusting Cura settings can significantly reduce noise, creating a more pleasant 3D printing environment.
What Are Jerk and Acceleration Settings?
In the context of 3D printing, jerk and acceleration settings define how quickly your printer can start, stop, and change direction. Here’s a brief breakdown:
- Acceleration: Refers to how quickly the printer can reach its maximum speed. Higher acceleration numbers result in faster printing but can lead to increased vibrations.
- Jerk: Describes how quickly the printer can change its direction at a given speed. Lower jerk values can help smooth out the transitions, reducing vibrations and noise.
Making Silencing Mods
Several modifications can help reduce noise in your 3D printer. Here are some practical steps:
- Vibration Isolation:
- Rubber Feet: Attach rubber pads to the bottom of your printer to absorb vibrational energy and reduce noise. A simple DIY project involves cutting rubber mats to size and applying them to your printer’s base.
- Isolation Frame: Construct or buy an isolation frame that minimizes the transmission of vibrations to the surrounding area.
- Dampers:
- Motor Dampers: Installing vibration-dampening mounts on the stepper motors can significantly reduce noise. These are usually made from rubber or silicone, providing a buffer between the motor and the printer’s frame.
- Upgrade Fans:
- Replace stock fans with quieter or more efficient fan models. Look for options that operate at lower RPMs, providing adequate cooling while generating less noise.
- Enclosures:
- Building an enclosure can reduce noise transmission and create a more consistent printing environment. Ensure the enclosure is well-ventilated to avoid overheating issues while maximizing sound absorption.
Configuring Jerk and Acceleration Settings in Cura
Now that we have an understanding of noise sources and potential mods, let’s focus on configuring jerk and acceleration settings in Cura.
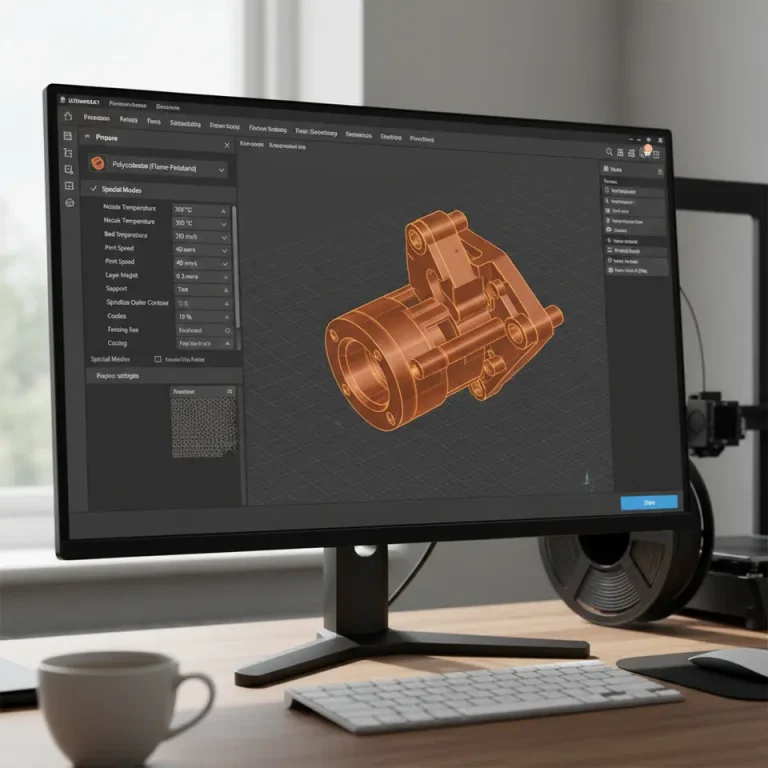
- Open Cura: Launch your Ultimaker Cura software and load your printer profile.
- Adjust Motion Settings: Navigate to the “Preferences” > “Configure Cura” > “Printers” > [your printer] > “Settings” > “Other”. Here you can implement the following adjustments:
- Max Jerk: Start with a low jerk setting (e.g., 5-10 mm/s). Test various values, incrementing in small steps until you find a balance between speed and noise reduction.
- Max Acceleration: Similarly, begin with a conservative acceleration setting (e.g., 500-1000 mm/s²). Slowly adjust this to achieve an optimal trade-off between speed and print quality.
- Test Print: To see measurable improvements, print a test object (like a simple benchmark model) before and after your adjustments. Measure both the noise level and print quality.
- Fine-tuning: Depending on your test results, continue to tweak the jerk and acceleration settings in small increments. Remember, the ultimate goal is to find the right balance that minimizes noise without sacrificing print quality or speed.
Measuring Noise and Vibration
To effectively quantify the improvement made by silencing mods and configuration adjustments, you can take these steps:
- Use a sound level meter (available as a smartphone app) to check the decibel levels before and after implementing modifications.
- For vibration measurements, consider employing an accelerometer (you can find inexpensive options online) to log data during prints.
Practical Takeaways
- Start with Low Settings: Adopt lower jerk and acceleration settings in Cura before progressively increasing them.
- Test and Measure: Utilize test prints to evaluate the effects of your configurations.
- Implement Silencing Mods: Simple upgrades such as rubber feet, motor dampers, and enclosures can significantly impact noise reduction.
- Optimized Workflow: The right adjustments can lead to improved workflow efficiency along with reduced noise levels.
Conclusion
By applying effective silencing mods and configuring jerk and acceleration settings in Cura, you can create a quieter 3D printing experience without compromising on quality. The trade-offs involved, such as longer print times, can be worthwhile for those seeking a more serene hobby setup or professional working environment.
For further insights on optimizing your 3D prints, explore our guides on Cura Strength Tips and Cura Speed and Quality Profiles. Visit CuraSlicers.com for more resources, tips, and community discussions.
If you found this article helpful, please share it with your fellow makers and enthusiasts! Don’t forget to follow us on social media and subscribe to our updates for the latest in 3D printing tips and techniques.
For more information on printer configurations, you can check out Ultimaker’s official documentation. Happy printing!
FAQ
What modifications can I make to reduce noise?
You can add rubber feet, motor dampers, upgrade fans, and create a printer enclosure to significantly reduce noise levels.
How do I configure jerk and acceleration settings in Cura?
Navigate to Preferences > Configure Cura > Printers > [your printer] > Settings > Other to adjust the Max Jerk and Max Acceleration settings.
How do I measure noise levels before and after modifications?
Use a sound level meter app on your smartphone to check decibel levels, and consider using an accelerometer for vibration measurements.