Minimize Vibration Artifacts in Cura Slicer
Cura Slicer Stepper Motor Vibration Artifacts: Settings to Minimize Print Lines
Estimated reading time: 5 minutes
- Understanding the causes of vibration artifacts in 3D printing.
- Key Cura slicer settings to adjust for better prints.
- Practical adjustments to your 3D printer’s setup.
- Importance of iterative testing for optimal settings.
- Balancing slicer settings and firmware adjustments for quality.
Table of Contents
- Understanding Vibration Artifacts
- Identifying Slicing Parameters in Cura
- Practical Printer Adjustments
- Testing Settings and Print Quality
- Firmware vs. Slicer Settings: Trade-off Notes
- Conclusion
- FAQ
Understanding Vibration Artifacts
Before we explore the solutions, it’s important to understand what causes vibration artifacts in 3D printing. These artifacts, often observed as visible lines or bands on the surface of prints, are primarily caused by mechanical resonance from the stepper motors controlling the printer’s axes. Factors influencing this phenomenon include:
- Print speed: Higher speeds can amplify vibrations.
- Acceleration settings: A sudden change in direction or speed can cause the stepper motors to resonate.
- Mechanical configurations: Loose components or insufficient damping can exacerbate the issue.
Recognizing these contributing factors is the first step toward implementing changes that can yield better print quality.
Identifying Slicing Parameters in Cura
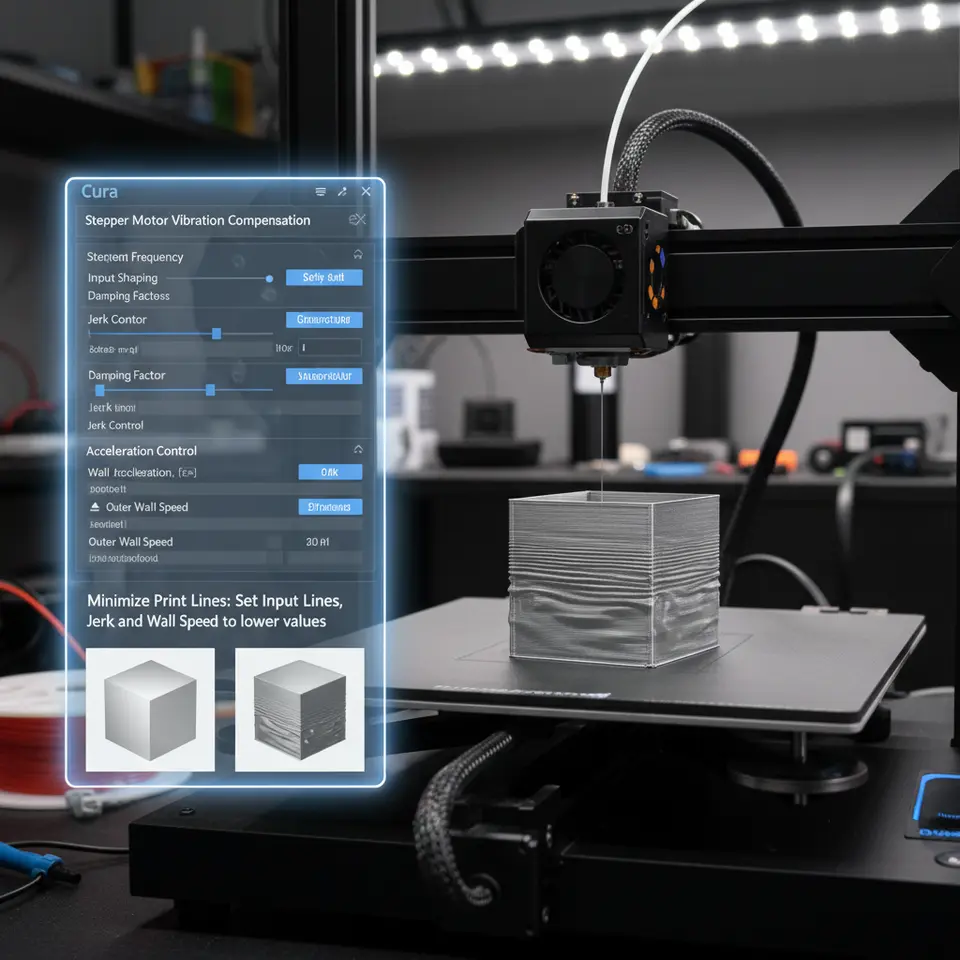
To mitigate vibration artifacts, you can adjust several settings within Cura Slicer. Below are key parameters that should be tuned:
1. Acceleration Settings
Acceleration determines how quickly the printer can change speed. If set too high, it can induce vibrations that manifest as banding on the printed part.
- Recommended Action: Lower the acceleration settings in your printer’s firmware or Cura. A typical starting point for acceleration might be around 500 mm/s², but this can be adjusted based on your machine’s capabilities. Experiment with settings downward to see the effect on print quality.
2. Jerk Settings
Similar to acceleration, jerk settings control instantaneous changes in speed during print moves. A higher jerk value can result in a more abrupt change, amplifying vibrations.
- Recommended Action: Lowering jerk settings can smooth out the motion. Try setting your jerk value between 5 to 10 mm/s as a test value.
3. Coasting
Coasting helps in minimizing oozing by stopping extrusion right before the end of a move. This setting can influence how the extruder reacts at motion endpoints.
- Recommended Action: Adjust the coasting volume in Cura settings. Typically, a volume around 0.5 mm³ is a good range to reduce vibration when the print head stops.
4. Print Speed
The speed at which your printer operates plays a colossal role in print quality. When the printer moves too quickly, the physical components may not have the time to settle, causing vibrations.
- Recommended Action: Adjust your print speed to a moderate level. While speeds of around 50 mm/s are typical, slowing down to about 30 mm/s may reduce vibration artifacts significantly.
Practical Printer Adjustments
In addition to slicer settings, consider the physical setup of your printer:
1. Frame Stability
Ensure your printer frame is stable and level. Vibration can propagate through an unstable frame, exacerbating resonance issues.
2. Damping Solutions
Incorporate vibration-damping solutions such as rubber feet or mats to isolate the printer from the surface it’s placed on. This won’t entirely eliminate the artifacts but can help lessen their impact.
3. Tighten Components
Inspect the hardware of your printer. Loose belts, screws, or components can introduce vibrational noise. Make sure everything is securely fastened before starting prints.
Testing Settings and Print Quality
To validate your changes, create test prints to assess the effect of the adjustments made. Here’s how to proceed:
- Prepare Test Models: Use simple geometrical shapes, such as cubes or cylinders, where banding artifacts are easily observed.
- Iterative Testing: Gradually adjust the settings mentioned and print each model, observing for changes in print quality.
- Use Indicators: Use visual indicators like a horizontal line across the model’s surface. This can help visualize and measure banding artifacts more effectively.
You can refer to our guide on Cura Speed and Quality Profiles for effective settings that enhance your prints, or our article on Cura Stringing Fix for additional considerations in print performance.
Firmware vs. Slicer Settings: Trade-off Notes
When optimizing for print quality, it’s essential to understand the interaction between slicer settings and firmware capabilities. While slicer settings allow for flexibility and can be adjusted on-the-fly, firmware adjustments require more technical knowledge and may involve experimental tweaking.
- Consider backing up current settings before making substantial changes.
- Firmware changes might require a good understanding of g-code. If you’re less experienced, start by adjusting slicer settings first.
Conclusion
Vibration artifacts can be frustrating, but understanding how to optimize both your Cura slicer settings and your printer setup can significantly reduce these imperfections. By tweaking acceleration, jerk, coasting settings, and adjusting your physical printer, you can enhance your print quality dramatically.
For additional resources on fixing common printing issues and optimizing your workflow, be sure to check out our homepage at CuraSlicers.com.
If you found this article useful, explore more about enhancing your prints by following us on social media or subscribing for future guides. Together, let’s elevate your 3D printing experience to the next level!
FAQ
1. What are vibration artifacts?
Vibration artifacts are unwanted lines or bands that appear on the surface of 3D prints, often caused by mechanical resonance from the printer’s stepper motors.
2. How can I reduce vibration artifacts?
Adjusting slicer settings such as acceleration, jerk, and print speed in Cura, as well as ensuring a stable printer setup can help minimize vibration artifacts.
3. Is it better to adjust firmware or slicer settings?
It depends on your comfort level; slicer settings offer more flexibility, while firmware changes can lead to more significant results but may require a technical understanding.
4. How do I test changes to my settings?
Create test prints using simple shapes and observe for changes in print quality with each adjustment.
5. Where can I find more resources on Cura settings?
You can visit our guide on Cura Speed and Quality Profiles for helpful settings.
For a deeper understanding of print quality dependencies on various slicer settings, you can visit Ultimaker’s official documentation here.