Prepare and Slice Models for SLA Mold Masters Using Cura
How to Prepare and Slice Models for SLA Mold Masters Using Cura as an FDM Prep Tool
Estimated reading time: 7 minutes
- Understand the importance of mold masters in 3D printing.
- Utilize Ultimaker Cura effectively for slicing settings.
- Employ surface finishing techniques for better results.
- Analyze case studies for practical applications.
- Enhance your skills with additional post-processing tips.
Table of Contents
- Understanding the Need for Mold Masters
- The Role of Ultimaker Cura in Model Preparation
- Step 1: Model Preparation
- Step 2: Slicing Settings in Cura
- Step 3: Surface Finishing Techniques
- Case Studies: Practical Applications of Mold Masters
- Further Post-Processing for Molding Tips
- Conclusion
- FAQ
Understanding the Need for Mold Masters
Mold masters are the original pieces from which silicone molds are made. The quality of the mold master directly impacts the end-product, making it crucial to focus not only on the 3D printing process but also on the post-processing stage. Mold masters require smooth surfaces, proper orientation, and appropriate density to enhance mold replication.
The Role of Ultimaker Cura in Model Preparation
Utilizing Ultimaker Cura as a prep tool for your FDM printer can streamline the preparation process for SLA mold masters. Cura is not only versatile but also rich in features that allow for detailed control over slicing settings, which can significantly enhance the quality of your prints. Let’s dive into practical tips for preparing your models effectively.
Step 1: Model Preparation
Before diving into Cura, preparation of the 3D model is key.
- File Format: Ensure your model is in a compatible file format (STL, OBJ, or 3MF). After designing your model in CAD software, export it in one of these formats.
- Check Model Integrity: Use software like Meshmixer or Netfabb to analyze and repair your model, ensuring there are no non-manifold edges or holes.
Step 2: Slicing Settings in Cura
Ideal Settings for SLA Mold Masters
When slicing your model in Ultimaker Cura, adjust these important settings:
- Layer Height: A lower layer height (0.1-0.2mm) provides better detail, which is vital for accurate mold surfaces. However, it may increase print time.
- Print Speed: Slower print speeds (30-50 mm/s) contribute to improved surface finish, crucial when creating molds.
- Infill Density: Use a higher infill density (at least 40-60%) for mold masters to ensure durability during mold making. This helps prevent warping or collapsing under pressure when the silicone is poured.
- Support Structures: Choose the right support options. For complex geometry, Tree supports can be beneficial, as they minimize contact with the model’s surface. You can read more about Cura’s support settings for effective support configuration.
Orientation Considerations
Proper model orientation can significantly affect the quality of your mold master.
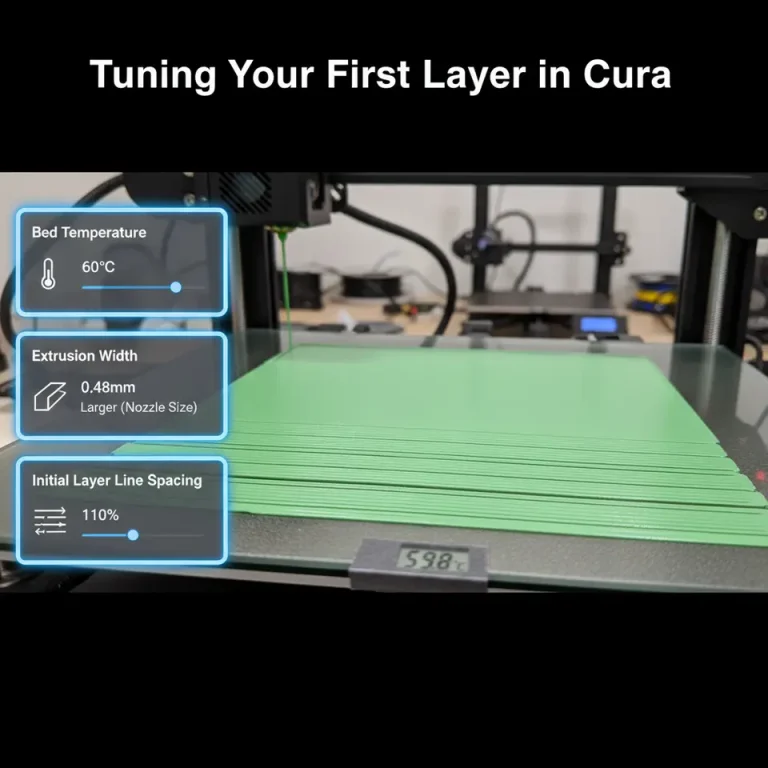
- Flat Surfaces: Orient the model to maximize flat surfaces against the build plate. This minimizes the need for supports and allows for better first layer adhesion, which is critical. Check our guide on achieving a perfect first layer with Cura.
- Dimensional Accuracy: Align your model in a manner that reduces overhangs. If necessary, use a slight angle to ease the printing of tricky details.
Step 3: Surface Finishing Techniques
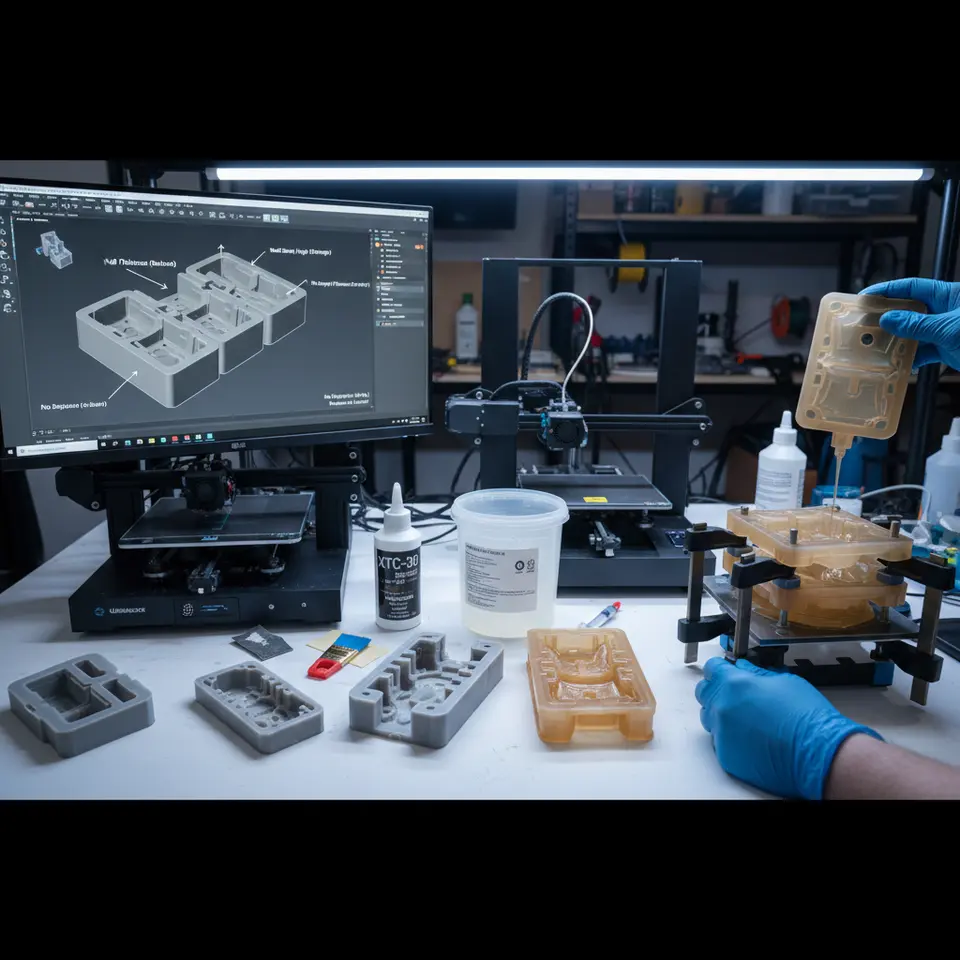
Post-printing, surface finishing is critical for a mold master. A smooth surface will result in higher-quality molds.
- Sanding: Begin with coarse sandpaper to flatten surfaces, then switch to finer grades (220-600 grit) for smoothing. Always keep the piece wet to reduce dust and improve the final finish.
- Primer and Paint: Applying a primer followed by a smooth coat of paint can enhance the surface polish. The primer fills in minor imperfections, creating a smooth final surface.
- Sealant: For additional smoothing, consider using a sealant, which can fill tiny cracks and create an even smoother surface.
Case Studies: Practical Applications of Mold Masters
Case Study 1: Jewelry Making
In jewelry design, precision is paramount. Jewelers often use SLA printers for the final mold, but they rely on FDM-printed mold masters to create initial prototypes. By applying detailed finishing techniques and optimizing Cura settings, jewelers can produce intricate designs that are both aesthetically pleasing and functional.
Case Study 2: Miniature Models
Miniature creators benefit from the durability of FDM mold masters combined with SLA printing for final models. An FDM master, printed with fine details and finished smoothly, can help achieve sharp details in silicone molds. This method reduces costs as FDM printers generally have lower operational costs compared to SLA.
Further Post-Processing for Molding Tips
After your print has cured, and if you’re preparing for silicone molding, consider the following additional tips:
- Molding Release Agent: Apply a mold release agent to your cured mold master to ensure that the silicone releases easily.
- Temperature Stability: If you’re using heating elements for your silicone during the curing process, ensure that your mold can withstand the temperatures without deforming.
Conclusion
Creating mold masters for SLA silicone molds using FDM printing and Ultimaker Cura is a valuable approach that combines the best of both printing technologies. By carefully preparing your models, adjusting the correct Cura settings, and applying effective post-processing techniques, you can elevate your mold-making game.
Call to Action
If you found this guide on how to prepare and slice models for SLA mold masters using Cura helpful, be sure to check out our other articles on 3D printing techniques, such as Cura’s hidden features and effective support settings.
Follow us on social media and subscribe to our newsletter for the latest 3D printing tips and tricks! For broader insights and resources, visit our main page CuraSlicers.com.
For more detailed information on slicer settings, refer to Ultimaker’s official documentation for a comprehensive understanding of optimal printing practices.
FAQ
Q: What is the best file format for 3D models?
A: The best file formats are STL, OBJ, or 3MF.
Q: Why is layer height important?
A: A lower layer height results in better detail for mold surfaces.
Q: How can I improve surface finish?
A: Techniques such as sanding, priming, and sealing can significantly improve surface quality.
Q: What purpose do support structures serve?
A: Support structures hold up overhangs during printing, ensuring the model maintains its intended shape.
Q: How can I prepare my mold master for silicone molding?
A: Apply a mold release agent and ensure your mold can withstand the curing temperature.