Fixing Support Delamination in Cura Slicer
Cura Slicer Troubleshooting: Why Support Interface Delaminates and How to Fix It
Estimated Reading Time: 6 minutes
- Understand the causes of support interface delamination.
- Learn how to optimize Cura slicer settings for better adhesion.
- Implement practical troubleshooting methods to enhance print quality.
- Discover post-processing tips to smoothen prints.
- Access additional resources for further learning.
Table of Contents
- Understanding Support Structures: The Role of the Support Interface
- Causes of Delamination in Support Interfaces
- Practical Troubleshooting Steps
- Testing and Interpretation Guide
- Final Polishing Tips for Seamless Prints
- Conclusion
- FAQ
Understanding Support Structures: The Role of the Support Interface
In 3D printing, support structures are crucial for fabricating overhangs and complex geometries. The support interface serves as the connection between the model and the support, allowing for smoother removal post-print. However, if the interface layer starts to delaminate, it can result in unsightly surfaces or worse, complete print failure.
Causes of Delamination in Support Interfaces
There are several factors that can contribute to delamination in the support interface when using Cura slicer settings. Below are some main culprits to consider:
- Support Z Distance: This parameter dictates how far the support structure is from the model itself. If this distance is too high, the interface may not bond well, leading to delamination.
- Interface Density: A low interface density means there are fewer connecting lines between the support and the model. If this is set too low, the support might not adequately connect to the model, causing parts to separate during the printing process.
- Extrusion Width: The extrusion width of the support interface can also impact adhesion. If the width is too narrow, it may not provide enough material for a strong bond.
- Temperature Settings: The extrusion temperature can significantly affect the interaction between the support interface and the model. If the temperature is too low, the filament may not adhere adequately, leading to a weak bond.
- Material Selection: Different filaments exhibit different adhesion properties. If you’re using a material that does not adhere well to the support interface, this can also lead to delamination.
- Print Speed: Printing too quickly can result in less-than-ideal extrusion of the support material, increasing the likelihood of weak bonding between the layers.
Practical Troubleshooting Steps
To mitigate the chances of delamination, here are practical steps you can take while adjusting your Cura settings:
1. Optimize Support Z Distance
- Testing: Start by reducing the support Z distance to find the ideal setting. A distance of 0.2 mm is generally effective, but tweaking it could yield better results.
- Settings: In Cura, navigate to the “Support” section and adjust the “Support Z Distance” within the Print Setup tab.
2. Adjust Interface Density
- Testing: Increase the interface density to around 20-30% if you’re experiencing delamination. This should strengthen the bonds by providing more contact points.
- Settings: Locate the “Support Interface Density” settings under the support settings in Cura.
3. Fine-Tune Extrusion Width
- Testing: Adjust the extrusion width for the support to around 90% of the nozzle diameter, but you may need to test values to find the optimal width.
- Settings: You can set this option in the “Advanced” settings of Cura’s profile setup.
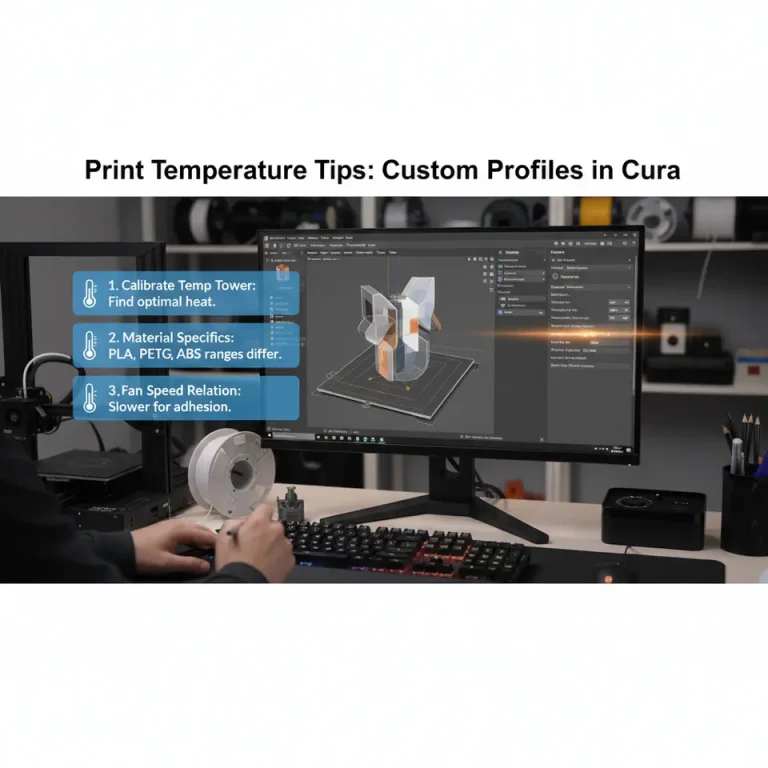
4. Monitor Temperature Settings
- Testing: Make sure you’re using the recommended temperature for your filament. Running a temperature tower can help you find the sweet spot for optimal adhesion.
- Settings: Adjust your nozzle temperature in the “Material” section of Cura to fit your filament specifications.
5. Materials Matter
Make sure to compare filament specifications. For example, materials like PLA are generally more forgiving in terms of adhesion compared to materials like TPU.
6. Control Print Speed
- Testing: Lowering your print speed can improve extrusion quality. If you are currently printing at 60 mm/s, try reducing it to 40 mm/s for test prints.
- Settings: Modify the “Print Speed” option under the “Speed” configuration in Cura.
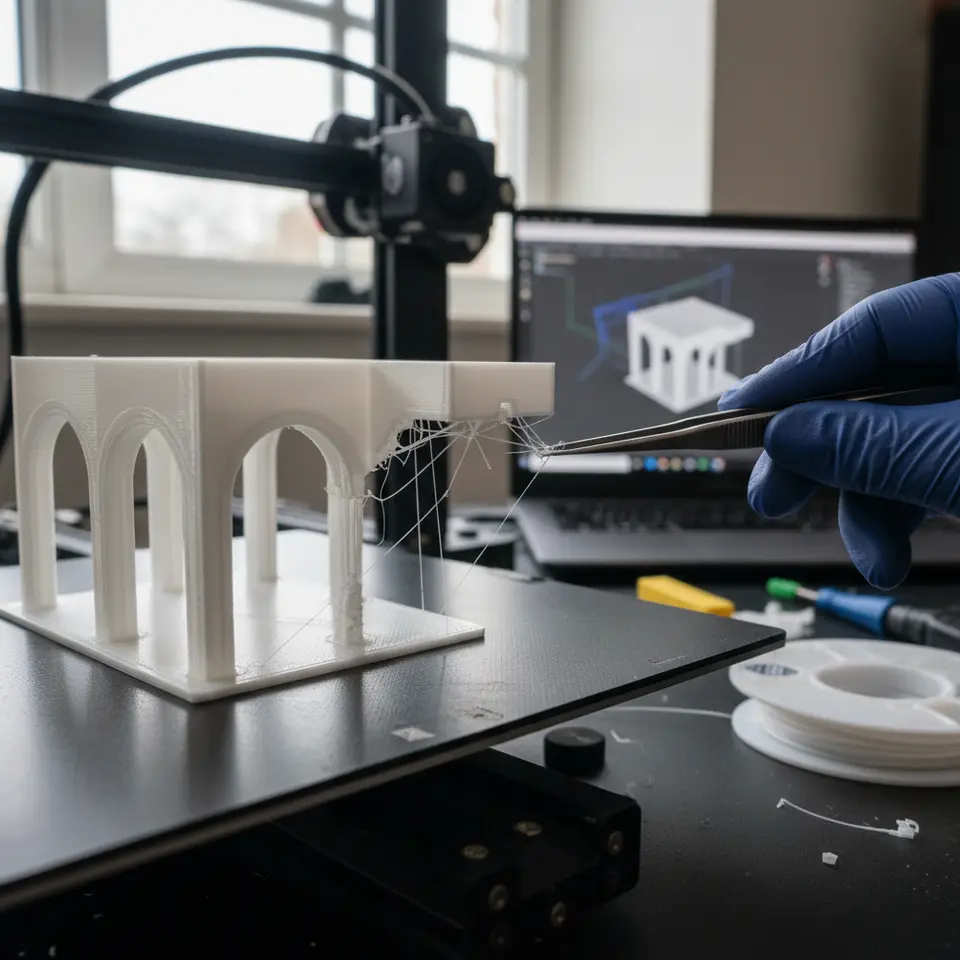
Testing and Interpretation Guide
When troubleshooting your 3D prints and adjusting settings, it’s essential to keep track of what changes you’ve made and how they impact your results. Consider the following testing methods:
- Print Test Objects: Use specific objects designed to test support structures. This allows you to isolate issues related to support interfaces.
- Documentation: Keep a log of your settings, corresponding print outcomes, and any other notes.
- Visual Inspection: After printing, assess the support interface. Look for gaps, weak bonds, or areas of failure, and correlate them with the adjustments you’ve made.
Final Polishing Tips for Seamless Prints
Delamination not only impacts functionality but also the visual appeal of your prints. Here are some final tips to polish your prints and eliminate seams:
- Post-Processing: Sanding the printed area can smooth out imperfections.
- Use Acetone or Solvents (for ABS): After printing, applying solvent can help to fuse layers and improve the surface finish.
- Interface Surface Finish: Adjust your interface layer settings to achieve a better surface finish, reducing the appearance of lines or seams.
Conclusion
Delamination in the support interface can be frustrating, but with the right Cura slicer settings and a keen understanding of troubleshooting techniques, you can significantly reduce the incidence of this issue. Keeping these settings optimized will lead to cleaner prints, better surface finishes, and a more satisfying 3D printing experience.
For further enhancement of your knowledge, consider reading our guide on Cura Strength Tips and Perfecting First Layer Adhesion, which will provide you with additional insights into optimizing your 3D prints.
Visit CuraSlicers.com for more 3D printing tips, tutorials, and resources. Don’t forget to join our online community on social media for updates, hacks, and the latest advancements in 3D printing technology. Happy printing!
FAQ
What is delamination? Delamination refers to the separation of layers in a 3D print, leading to structural integrity issues.
How can I improve adhesion between the model and support? Optimizing the support Z distance, interface density, and temperature settings can enhance adhesion significantly.
What filaments are best for support interfaces? PLA is generally more forgiving, while materials like TPU may require additional considerations for adhesion.
Is print speed important for support quality? Yes, slower print speeds can lead to better extrusion quality and improved bonding of support interfaces.
Can post-processing help with delamination issues? Yes, techniques such as sanding and using solvents can smooth out imperfections and improve overall aesthetics.