Slicing Articulated Models in Cura for Optimal Movement
How to Prepare and Slice Articulated Models in Cura for Smooth Joint Movement
Estimated Reading Time: 6 minutes
- Understanding the importance of tolerances in articulated models.
- Best practices for slicing articulated models in Ultimaker Cura.
- Post-printing techniques for optimal joint movement.
- Tips for testing and refining joint functionality.
Table of Contents
- Understanding Articulated Models
- Design Considerations for Articulated Models
- Slicing Articulated Models in Ultimaker Cura
- Post-Printing Techniques for Smooth Joint Movement
- Conclusion
- FAQ
Understanding Articulated Models
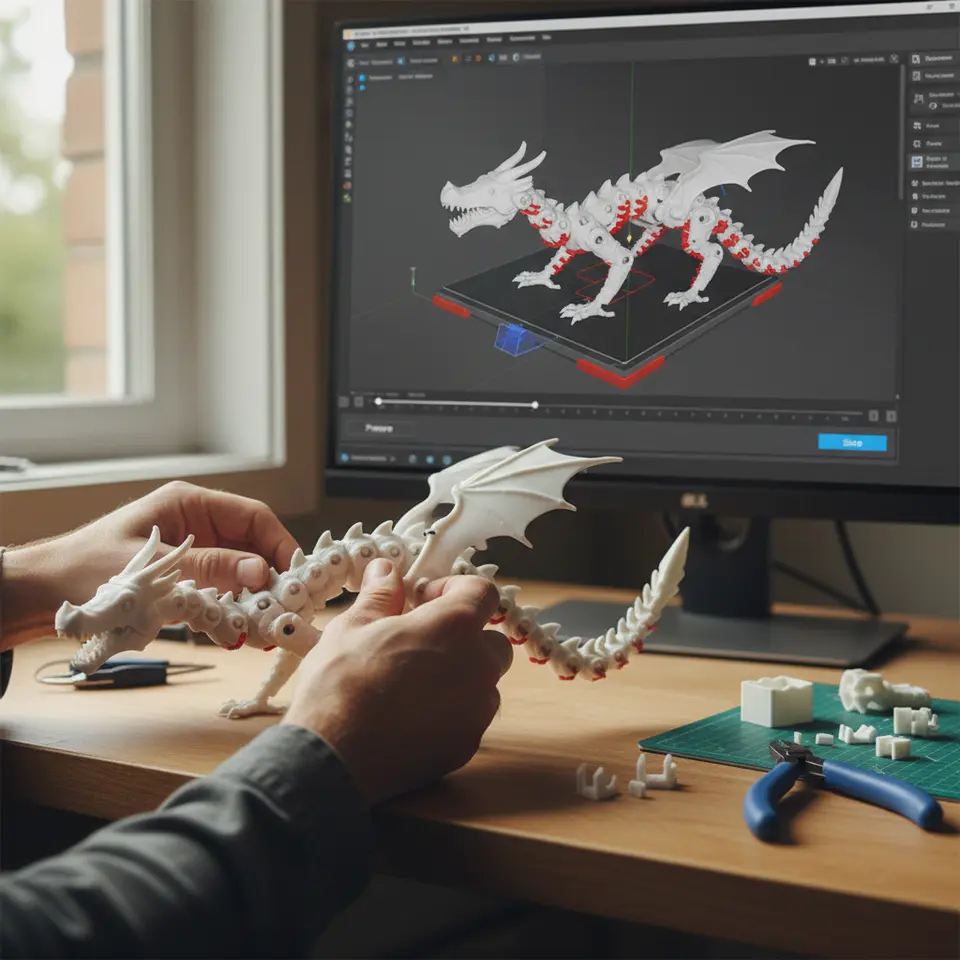
Articulated models consist of multiple linked segments that allow for movement – think of a humanoid figure or a robot. When creating these models, it’s essential to consider the tolerances and spacing between joints, as well as how gravity and weight will affect the assembled model during print. The goal is to print segments that can freely rotate or move without being overly tight or too loose.
Design Considerations for Articulated Models
1. Tolerance Levels for Joints
When designing articulated parts, it’s vital to account for tolerances:
- General Rule: A common starting point is to design joints with a gap of 0.3mm to 0.5mm between parts. This can help ensure that your joints move smoothly without the model being too loose.
- Test Prints: It’s advisable to print test sections of your articulated model to fine-tune these gaps based on the specific characteristics of your printer and material.
2. Joint Design
Consider using simple geometric shapes for joints, like spheres or cylinders, as they can provide a wider range of motion. Complex designs may require more intricate slicing strategies to ensure they print correctly without supports interfering with the motion.
3. Choosing the Right Material
Flexible filaments such as TPU can enhance the motion of joints while maintaining durability. However, if you’re using rigid materials like PLA or ABS, remember that extreme tolerances are key to avoid binding.
Slicing Articulated Models in Ultimaker Cura
Once your model is designed, the next step is to slice it properly to ensure effective printing. Here’s a detailed breakdown of how to slice articulated models in Cura.
1. Importing Your Model
Open Cura and import your articulated model. Adjust the scale and position on the build plate if necessary, ensuring it fits well in the printable area.
2. Orientation of the Model
The orientation of your model plays a critical role in print quality:
- Support Requirements: Position segments to reduce the need for supports on moving parts. Consider orienting horizontal joints flat on the build plate.
- Center of Gravity: Organize the joints in a way that balances the model during printing, which can help minimize warping or tilting.
3. Support Settings
When your model has overhangs or needs support:
- Breakaway Supports: Using breakaway supports can be beneficial as they can be removed easily and won’t impede the movement of joints.
- Support Interface: Consider using a support interface to provide a better surface finish where supports contact the print.
4. Advanced Settings in Cura
- Layer Height: A lower layer height (0.1mm to 0.2mm) can improve the detail and finish of joints, essential for functionality.
- Print Speed: Slower print speeds (30-50 mm/s) can improve detail and help prevent issues like layer misalignment, which is critical in articulated parts.
- Adhesion Settings: Using a raft or brim can help with adhesion but can create extra effort in post-processing. Ensure that such settings won’t interfere with joint design.
5. Custom Print Profiles
Creating a custom print profile based on your printer’s capabilities and your specific model will allow you to fine-tune settings according to your needs. For instance, adjusting flow rates and line widths can help improve the quality of joints. Consider reading our guide on Cura Speed and Quality Profiles for more insights into achieving optimal print results.
6. Slicing the Model
After adjusting all the settings, hit “Slice” and preview the layers to ensure everything looks correct. Pay attention to how the supports and joints will interact, and check for potential problems that could emerge during printing.
Post-Printing Techniques for Smooth Joint Movement
Once your articulated model is printed, attention to post-processing can significantly enhance its functionality:
1. Removing Supports
Carefully remove any supports from your model, ensuring not to damage the joints. Using pliers can help if the supports are particularly stubborn.
2. Sanding and Finishing
- Sanding Joints: Light sanding of joints will help remove any rough edges and create a smoother surface for movement.
- Lubricants: Applying a small amount of lubricant (like silicone spray) can help joints move more easily.
3. Testing Movement
After assembling your model, test the movement of each joint. If any joints bind, you may need to return to the model design for adjustments or refine the joint areas during post-processing.
Conclusion
Mastering the preparation and slicing of articulated models in Cura can significantly enhance the outcome of your 3D prints, ensuring that joints are functional and aesthetically pleasing. By carefully considering design tolerances, optimal slicing settings, and effective post-processing techniques, you can create intricate and engaging articulated models that meet your creative needs.
For more insights and detailed guides on enhancing your 3D printing experience, don’t forget to check out our comprehensive article on Perfecting the First Layer in Cura and learn how to address printing issues with our Stringing Fix Guide.
If you found this guide helpful, explore CuraSlicers.com for more tips, and consider following us on social media or subscribing for updates on future articles. Happy printing!
FAQ
Q: What are articulated models?
A: Articulated models are 3D printed models made of linked segments which can move independently, allowing for dynamic poses and motion, often used in toys and figures.
Q: How do I know the right tolerance for my joints?
A: A good starting point is designing joints with a gap of 0.3mm to 0.5mm. However, testing is essential as each printer and material can behave differently.
Q: What material works best for articulated models?
A: Flexible filaments like TPU are useful for enhanced motion, but rigid materials such as PLA or ABS can also work with precise tolerances.
Q: How can I improve joint movement post-printing?
A: Consider removing supports carefully, sanding joints for a smooth surface, and using lubricants for easier movement.
Q: Can I create custom print profiles in Cura?
A: Yes, creating custom profiles allows you to adjust settings according to your printer’s characteristics and the specific needs of your model.