Automate Your Cura Slicing with n8n
Estimated Reading Time: 6 minutes
Key Takeaways:
- Automating the 3D printing slicing process can save significant time and reduce errors.
- n8n is a versatile tool for creating workflows to streamline 3D printing operations.
- Proper configuration of Cura profiles is essential for successful automation.
- Automation can be tailored to suit individual needs or large-scale print farms.
- Regular updates to profiles can enhance print quality and efficiency.
Table of Contents:
Introduction
In the fast-paced world of 3D printing, optimizing workflows for maximum efficiency is crucial for both hobbyists and professionals alike. One of the most promising ways to achieve this is through the automation of slicing processes. In this article, we will focus on building an automated Cura slicing pipeline using n8n, a powerful automation tool that can help streamline your workflow. By the end of this guide, you will learn how to automatically slice STL files, apply the appropriate Cura profiles, and export G-code, making repetitive tasks a thing of the past.
What is n8n?
n8n is an open-source workflow automation tool that allows users to connect various applications and services to automate processes. It features a user-friendly interface and supports a wide range of integrations, making it a perfect candidate for optimizing your 3D printing workflows, especially when working with Cura.
For 3D printing professionals managing print farms, n8n acts as a vital cog in the machinery of productivity. This guide will provide step-by-step instructions on how to leverage n8n for automating Cura’s slicing process, significantly improving your efficiency in managing multiple 3D prints.
Setting Up Your Environment
Before diving into the automation process, it’s essential to have everything set up correctly. Here’s what you’ll need:
- Ultimaker Cura: The slicing software where you will configure your profiles.
- n8n: Set up on your local machine or server (instructions can be found on the n8n website).
- STL Files: The models you intend to slice automatically.
- A Print Farm: If you’re running multiple printers, ensure they are networked and ready to receive the G-code.
Step 1: Configure Ultimaker Cura Profiles
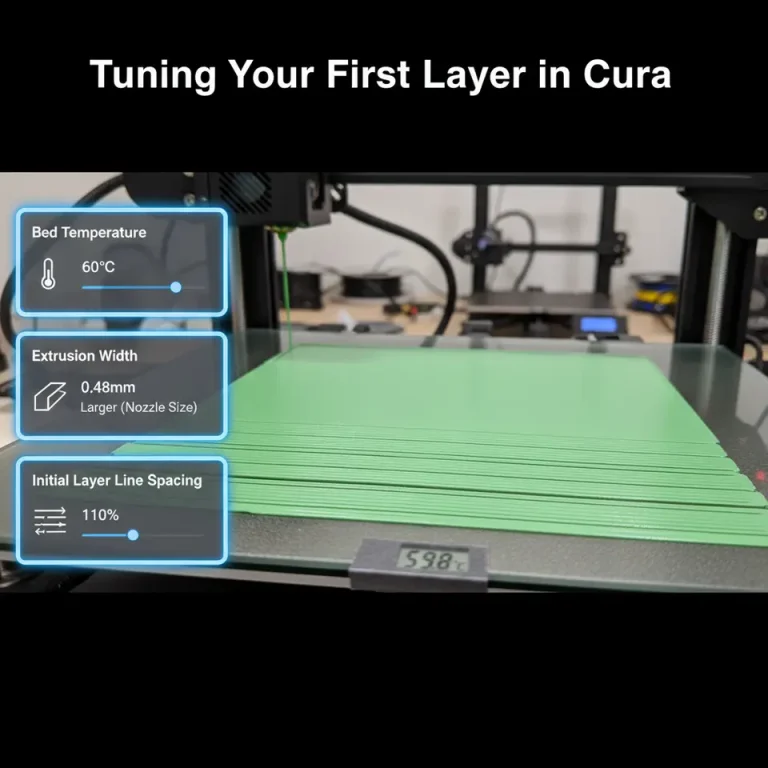
Before configuring n8n, you must create and adjust your Cura profiles for the different models you plan to print. Customize your settings based on material type (PLA, ABS, PETG, etc.), print speed, layer height, and other parameters conducive to ensuring high print quality.
To learn more about specific Cura settings, check out our Ultimate Cura Profile Settings guide.
Step 2: Setting Up n8n Workflows
Once your Cura profiles are configured, you can begin setting up n8n to automate the slicing process.
a. Create a New Workflow
- Open n8n on your browser.
- Click on “New Workflow” to start.
b. Add Nodes for File Upload
You’ll first need a node to monitor a directory for new STL files. Here’s how to do that:
-
Node: “Read Binary File”
- Configure it to watch a specific folder (e.g.,
/downloads/stl_files). This folder should be where you save your STL files.
- Configure it to watch a specific folder (e.g.,
c. Add a Node for Executing the Cura Command
Next, set up n8n to run the Cura slicing command. Ensure that you have command line access to Cura, which might vary based on your operating system.
-
Node: “Execute Command”
- The command will typically look something like this:
cura -o /path/to/output.gcode -p /path/to/stl/file.stl --profile my_custom_profile - Make sure to replace the placeholders with your actual paths and profile names.
d. Export G-Code
After slicing, you will want to save or send the generated G-code to your printers:
-
Node: “Write Binary File”
- Use this node to save the output G-code into a specific directory from which your printers can read or receive files.
Step 3: Test the Automation
Now that your workflow is set up, it’s time to test it. Place an STL file in the watched directory, and verify if n8n can successfully automate the slicing process and create the expected G-code.
Troubleshooting Tips
- Check File Paths: Ensure that all file paths within your nodes point to the correct directories to prevent errors.
- Adjust Permissions: Make sure your n8n installation has the necessary permissions to run flattening operations and write files to the output directory.
- Cura Compatibility: Ensure the version of Cura you are using supports command-line operations; reviewing the Ultimaker Cura Documentation can provide further insights.
Practical Takeaways
An automated Cura slicing pipeline can dramatically optimize your workflow by reducing manual intervention and human error. Here are some actionable tips:
- Regularly Update Profiles: As you learn more about print settings, regularly update your Cura profiles to take advantage of improved settings or strategies, such as Cura’s Bridging and Cantilevering Strategies.
- Monitor Outputs: Incorporate further nodes in n8n that notify you upon completion or alert you of any errors during the slicing process.
- Use Version Control: Keep variations of profiles for different types of prints to quickly switch between settings as needed.
Conclusion
By implementing n8n for automating your Cura slicing pipeline, you can dramatically enhance the efficiency of your 3D printing operations. Whether you’re a hobbyist or managing a print farm, this streamlined approach reduces the time spent on repetitive tasks, allowing you to focus on what truly matters—creating!
Explore more on CuraSlicers.com to refine your 3D printing knowledge. Don’t forget to visit our homepage for additional tutorials and guides on 3D printing optimization. If you want to stay updated with the latest in slicing techniques and workflow innovations, follow us on social media or subscribe to our newsletter!
FAQ
Q: What is the purpose of automating the slicing process?
A: Automating the slicing process reduces manual work, streamlines workflows, and minimizes human errors, thereby making it more efficient to manage multiple prints.
A: Automating the slicing process reduces manual work, streamlines workflows, and minimizes human errors, thereby making it more efficient to manage multiple prints.
Q: Can I use n8n without prior coding experience?
A: Yes, n8n is designed with a user-friendly interface, allowing users without extensive coding experience to build workflows easily.
A: Yes, n8n is designed with a user-friendly interface, allowing users without extensive coding experience to build workflows easily.
Q: How often should I update my Cura profiles?
A: You should regularly update your Cura profiles as you learn more about print settings or if there are any changes in materials or print techniques.
A: You should regularly update your Cura profiles as you learn more about print settings or if there are any changes in materials or print techniques.