Optimizing Cura for Small Cosmetic Prints
How to Optimize Cura for Small, Fast Cosmetic Prints for Etsy Product Runs
Estimated Reading Time: 7 minutes
- Learn how to optimize your Cura settings for small, detailed cosmetic prints.
- Discover efficient plate organization and batch printing techniques.
- Minimize support structures while maintaining print quality.
- Explore effective finishing techniques and photography tips for Etsy listings.
- Utilize a simple cost/time calculation template to boost profitability.
Understanding the Needs of Small Cosmetic Prints
When producing small cosmetic items for Etsy, your approach to 3D printing must emphasize efficiency, quality, and aesthetic appeal. Many of these objects have intricate details, require a polished finish, and often need to be printed in bulk. Here are some key considerations:
- Print Quality: Small prints need high detail. Ensure that your Cura settings are optimized to achieve the best finish.
- Speed: Reducing print times without sacrificing quality is crucial, particularly when fulfilling large orders.
- Minimal Support: Since many cosmetic prints have intricate designs, minimizing the use of supports can help reduce post-processing time and improve the quality of the finished product.
- Batch Processing: Printing multiple items at once can save you time and resources.
1. Plate Organization and Batch Printing
Strategic plate organization is crucial when maximizing your print area and minimizing material waste. Follow these steps to optimize your print plate in Cura:
a. Arrange Items Efficiently
- Nest Items: Place smaller models closely together to maximize space. Make use of Cura’s “Arrange in Config” tool to help pack prints tightly without overlaps.
- Use Duplicate Functionality: Using the “Copy” feature in Cura lets you easily duplicate models on the same plate, enabling you to print multiple copies in one go.
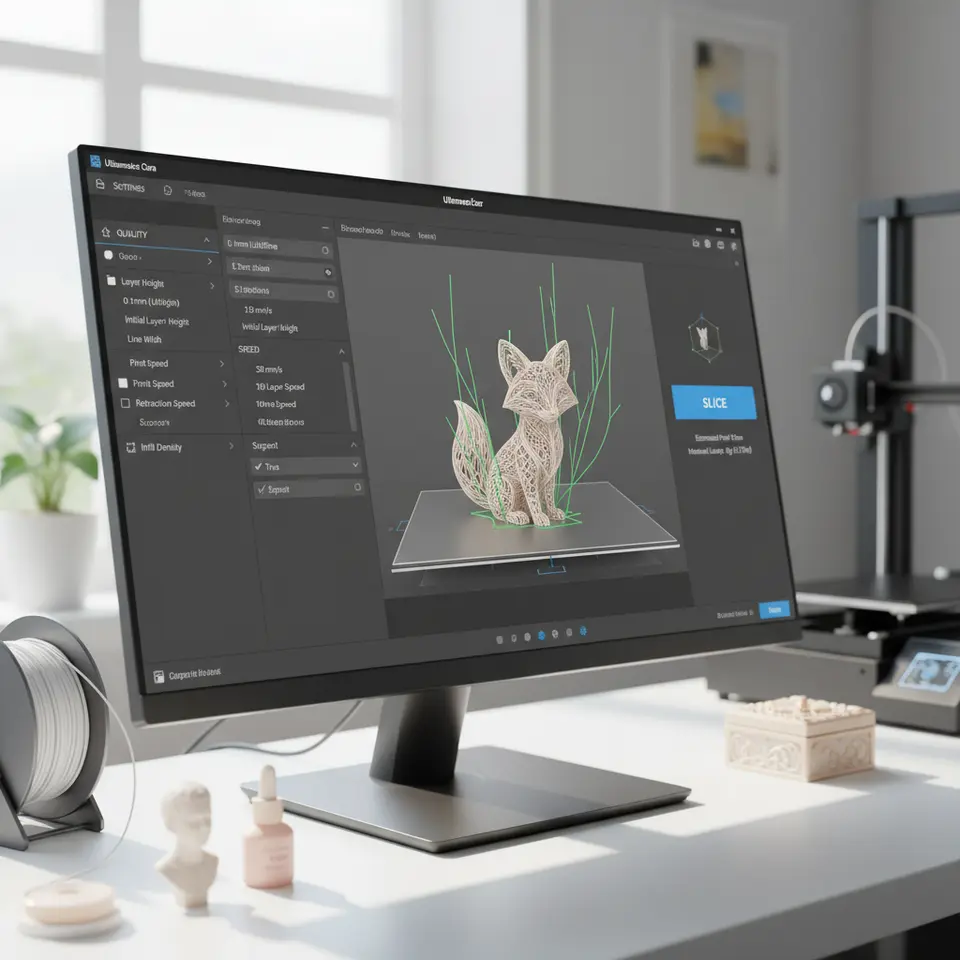
b. Consider Layer Height and Print Speed
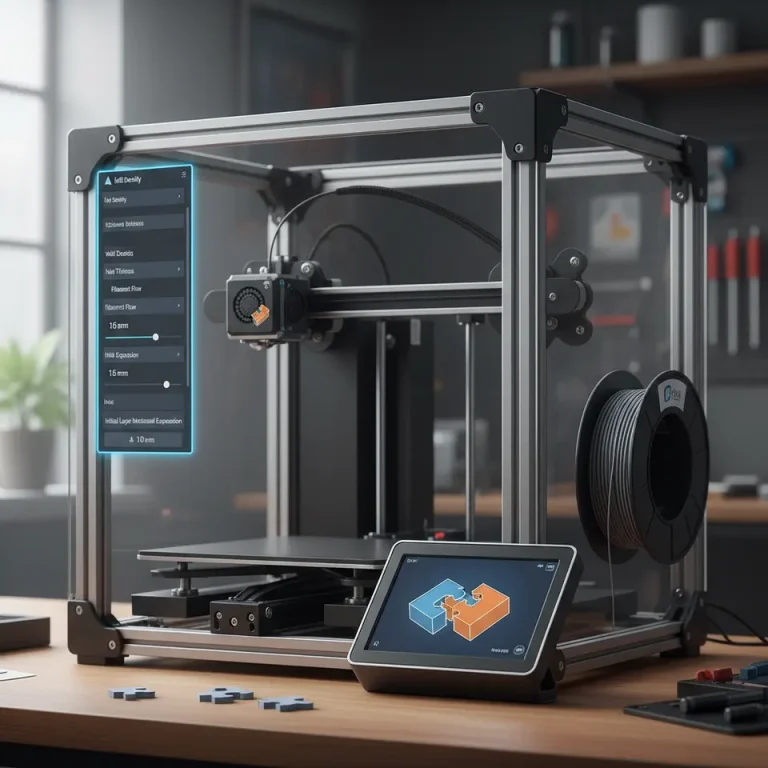
For small cosmetic items, a layer height of 0.1mm to 0.2mm is recommended. This provides a balance between quality and speed:
- Switch to Draft Mode if necessary for initial prototypes, allowing you to use a larger layer height (0.3mm) while assessing the functionality before fine-tuning your settings for customer-ready prints.
- To further enhance your print speed, use the Print Speed setting in Cura. Set it around 50-60 mm/s for smaller, more delicate prints to maintain quality while ensuring faster output.
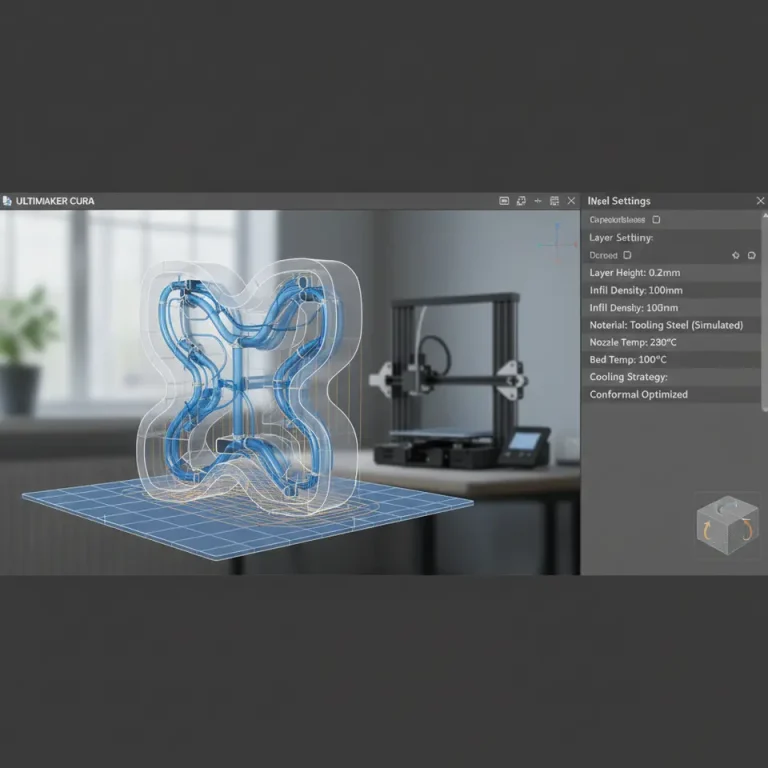
2. Optimize Support Settings
Support structures can be detrimental to the aesthetic quality of small prints. Here are some strategies to minimize their use:
a. Analyze Model Geometry
Identify parts of the model that may require supports. Consider Overhang Angle and Support Placement options in Cura to control where supports are generated.
b. Use Tree Supports
Tree supports can be advantageous for small cosmetic items as they use less material and minimize contact with the model. This leads to less cleanup afterward. Refer to our guide on Cura Tree vs Normal Supports for deeper insights on using this feature.
c. Support Blockers
Cura allows you to add support blockers on regions of your model where supports are unnecessary. Use this tool to ensure only the essential areas are supported, keeping post-processing times low.
3. Finishing Techniques for Cosmetic Prints
After printing, proper finishing techniques can significantly enhance the aesthetic appeal of your products:
a. Sanding and Polishing
For a smooth surface, light sanding followed by polishing can create a professional look. Consider using various grits of sandpaper, starting coarse and moving to fine, to remove layer lines effectively.
b. Painting
Utilize acrylic paints or epoxy resin finishes that are cosmetic-safe. Ensure your prints are clean and dust-free prior to painting for uniform application.
c. Sealing
Seal your prints with a clear coat to add durability and improve appearance.
4. Photography Tips for Your Etsy Listings
High-quality images are essential for attracting customers. Here are some photography tips:
a. Natural Lighting
Take your photos in a well-lit area during daylight to enhance the colors and details of your cosmetic prints.
b. Use a Clean Background
A white or neutral background allows your products to stand out. Consider using a lightbox for uniform lighting.
c. Detail Shots
Include close-up shots that showcase the details and quality of your prints, enhancing buyer confidence.
5. Batch Profile and Packaging Suggestions
a. Create a Batch Profile in Cura
Using batch profiles in Cura is essential for maintaining consistency across multiple prints. For cosmetic items:
- Save Print Settings: After adjusting settings for one print, save this as a profile for future use by navigating to “Profiles > Create a New Profile.”
- Label Profiles Appropriately: Ensure you can easily identify profiles for different types of cosmetic items.
b. Packaging Your Products
For shipping, consider eco-friendly packaging options that reflect your brand’s ethos. Bubble wrap can be particularly useful for fragile prints to prevent damage during transit.
6. Cost/Time Calculation Template
Understanding your production costs is essential. Use the following simple template to calculate:
| Parameter | Value |
|---|---|
| Material Cost (per gram) | $X.XX |
| Print Time (hours) | X hours |
| Electricity Cost (per hour) | $Y.YY |
| Selling Price | $Z.ZZ |
| Profit Margin | 10-30% |
By quantifying your costs, you can make informed pricing decisions when selling on Etsy.
Final Thoughts
Optimizing Cura for small, fast cosmetic prints is an essential step for anyone looking to thrive on platforms like Etsy. From effectively organizing your print plates to minimizing supports and ensuring a polished finish, these strategies will help you produce high-quality prints efficiently.
If you want to learn more about print optimization techniques, check out our guides on Cura Settings for PETG, PLA, and ABS or delve into Cura Flow Rate and Line Width for deeper insights.
Ready to enhance your 3D printing experience? Visit our homepage CuraSlicers.com for more in-depth articles and resources. Subscribe to our newsletter or follow us on social media for the latest updates and tips in the world of 3D printing!
FAQ
Q: What are the best layer settings for cosmetic prints?
A: A layer height of 0.1mm to 0.2mm is recommended for small cosmetic prints, striving for a balance of quality and speed.
Q: How can I minimize support structures?
A: Analyze the model’s geometry, use tree supports, and apply support blockers in Cura to reduce unnecessary support use.
Q: What finishing techniques can I use for 3D printed cosmetic items?
A: Sanding, polishing, painting with cosmetic-safe materials, and sealing are effective techniques to enhance the look of your prints.
Q: How do I take great photos of my prints for Etsy?
A: Use natural lighting, a clean background, and detail shots to showcase your products effectively.
Q: Is it important to create batch profiles in Cura?
A: Yes, creating batch profiles ensures consistency, making it easier to replicate successful print settings for similar items.