Automating Cura Profile Testing for 3D Printing
Estimated reading time: 5 minutes
Key takeaways:
- Automating batch slicing can save time and materials.
- Batch slicing allows for comparative analysis of different profiles.
- Successful implementation requires Python and Ultimaker Cura.
- Careful examination of results is crucial for optimization.
Table of contents:
- Introduction
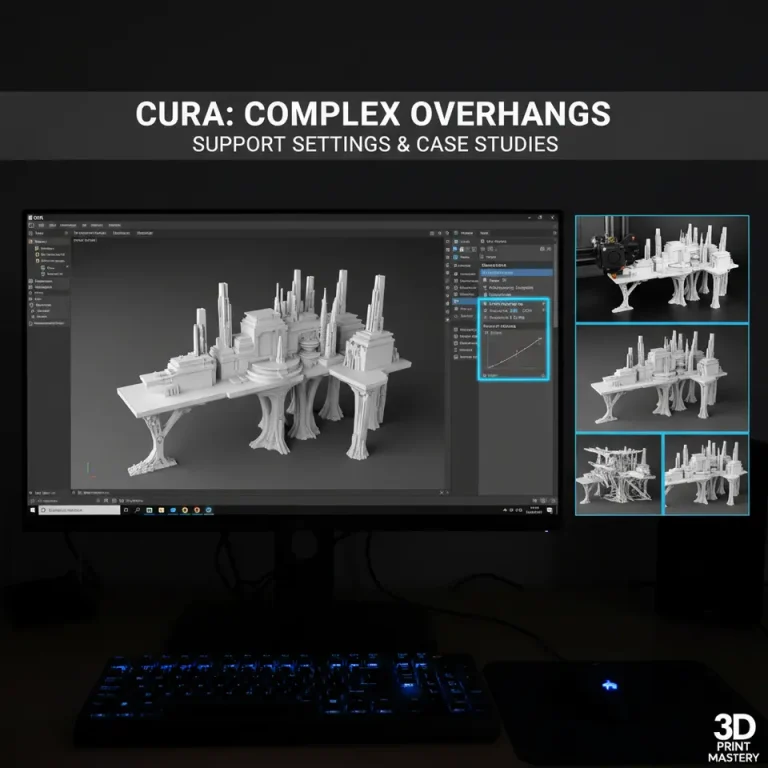
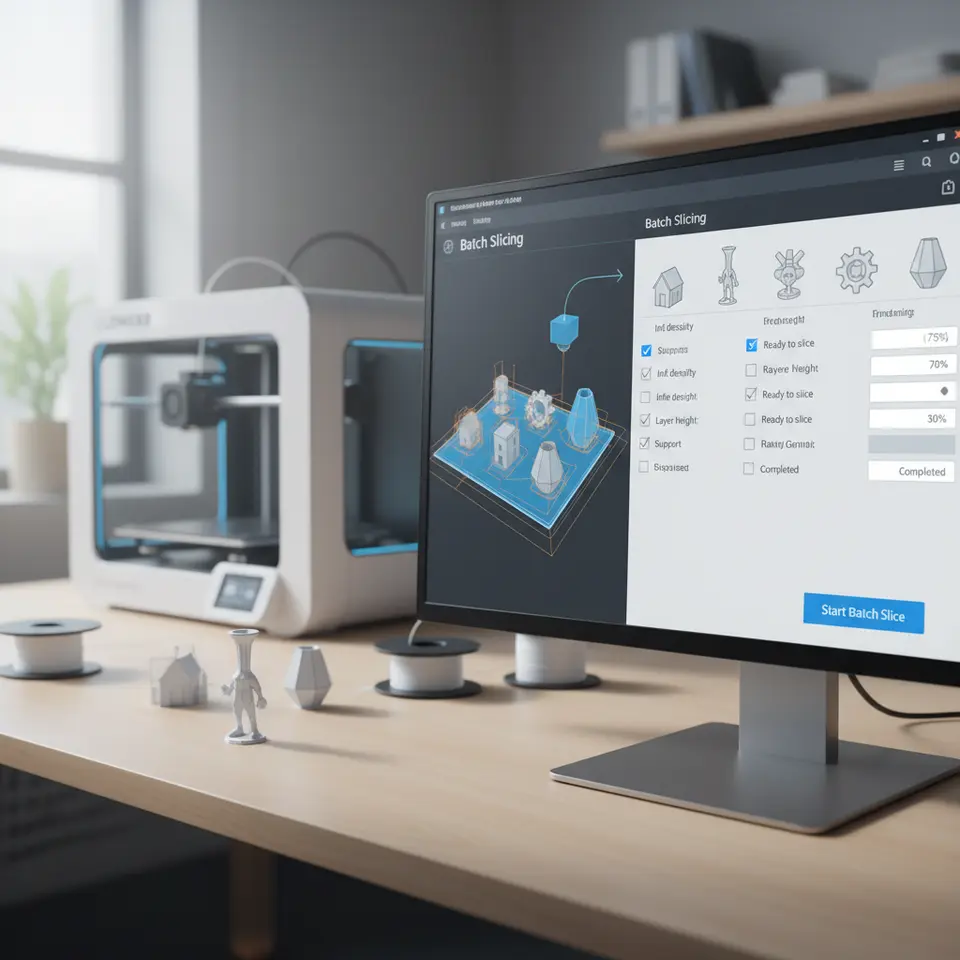
- What is Batch Slicing in Cura?
- Setting Up Your Environment
- Automating Cura Profile Testing
- Comparing Results
- Practical Tips for Effective Batch Slicing
- Integrating Automation into Your Workflow
- Conclusion and Next Steps
- FAQ
Introduction
In the realm of 3D printing, efficiency and reliability are key determinants of success. One powerful technique to enhance both factors is automating Cura profile testing with batch slicing. This method allows users to slice the same model with various profiles simultaneously, providing insights into print time, material usage, and overall reliability. This guide will explore the steps to automate the testing process effectively, helping both beginners and seasoned professionals optimize their 3D printing workflows.
With 3D printing evolving rapidly, the ability to efficiently test and compare various slicing settings can save enthusiasts a significant amount of time and materials. Whether you are trying to determine the best profile for a complex geometric shape or just interested in improving the consistency of your prototyping, this post will serve as an essential resource.
What is Batch Slicing in Cura?
Batch slicing refers to the process of slicing multiple 3D models or the same model with different settings in a single operation. This is particularly beneficial for users who wish to explore various configurations without the tedious overhead of manually slicing each file individually. Ultimaker Cura supports batch slicing in combination with Python scripting, allowing users to create scripts that facilitate profile testing.
Benefits of Batch Slicing:
- Comparative Analysis: Quickly assess various settings for efficiency in print time and material use.
- Time-Saving: Automate repetitive tasks, significantly reducing manual effort.
- Optimized Settings: Identify which settings yield the highest quality prints, thereby improving reliability.
Setting Up Your Environment
Before diving into automating your slicing tests, it’s essential to ensure your hardware and software are correctly configured.
Required Tools:
- Ultimaker Cura: Ensure you’re using the latest version of Cura that supports batch scripting.
- Python: Installed on your system to run the automation scripts.
- 3D Models: The STL or OBJ files you intend to test.
Step-by-Step Setup:
- Install Python: Download and install from the official Python website.
- Cura Setup: Make sure your Ultimaker Cura settings are optimized for batch processing. You can consult the Cura Slicer Guide for a comprehensive overview.
- Slicing Profiles: Prepare various slicing configurations that you intend to compare. This can include settings for speed, layer height, infill, and support structures.
Automating Cura Profile Testing
Once you have your environment set up and the necessary tools ready, you can start scripting your batch slicing process. The goal is to create a Python script that automates the slicing of a model with different profiles.
Example Python Script for Batch Slicing:
Here’s a simple example of how you might structure your script:
import os
import cura
from cura import slicer
import cura
from cura import slicer
# Define your model path and export directory
model_path = “path/to/your/model.stl”
export_dir = “path/to/export/”
# List of profiles to test
profiles = [
“Profile_A”,
“Profile_B”,
“Profile_C”
]
# Function to slice the model
def batch_slice(model, profiles):
for profile in profiles:
slicer.open(model)
cura.settings.loadSettings(profile) # Load the Cura profile
sliced_file = cura.slicer.saveSlicedFile(export_dir, model, profile)
print(f”Sliced file saved: {sliced_file}”)
# Run the batch slice function
batch_slice(model_path, profiles)
Important Considerations:
- Error Handling: Ensure your script includes error handling to deal with common issues such as file access errors.
- Testing Environment: Test your setup with a simple design before moving to complex models.
- Output Files: Specify clear naming conventions to keep track of the output files and their corresponding profiles.
Comparing Results
After running your batch slicing script, you will have multiple G-code files to analyze. Here’s how to effectively compare the results:
- Print Time and Material Usage: Check the estimated print time and material usage listed in each G-code file. This information is usually displayed in the Cura interface before slicing.
- Print Quality: Print each of the profiles and visually inspect them for quality. Key factors to look for include layer adhesion, overhangs, and overall strength.
- Reliability Testing: Run reliability tests over time to examine not just the appearance of the prints but also how they perform under stress.
Practical Tips for Effective Batch Slicing
- Adjust Layer Heights: Test both fine (0.1mm) and coarse (0.3mm) layer heights to see which one yields the best results for your particular model.
- Material Selection: Different materials behave differently under similar settings; be mindful of this in your tests.
- Incremental Changes: Make incremental changes to your settings rather than large adjustments to better understand how each setting affects print outcomes.
Integrating Automation into Your Workflow
Automating Cura profile testing can significantly enhance your 3D printing workflow. With tools like n8n.io for process automation and batch slicing onboard, you can streamline not only your slicing tasks but also integrate other processes like monitoring your printer or managing print queues.
Conclusion and Next Steps
Automating Cura profile testing with batch slicing empowers 3D printing enthusiasts to optimize their workflows and improve print quality effectively. By using the method outlined above, you can save time, reduce material waste, and enhance the reliability of your prints.
Be sure to check out additional resources on CuraSlicers.com for further optimization techniques, including our guides on Cura Experimental Settings and tips for perfect first layers.
If you found this guide helpful, consider exploring our other resources on 3D printing. Follow us on social media or subscribe for more insights into refining your 3D printing journey!
For further information, feel free to visit CuraSlicers.com and check out the official documentation on layering settings at Ultimaker’s website to enhance your skills further.
Happy printing!
FAQ
Q: What is batch slicing?
A: Batch slicing is the process of slicing multiple 3D models or the same model with different settings in one operation.
Q: How does automation improve my 3D printing workflow?
A: Automation reduces manual tasks and allows for easier comparisons of different settings, saving time and materials.
Q: What tools do I need to get started?
A: You will need Ultimaker Cura, Python installed on your system, and the STL or OBJ files you want to test.