Build Your Cura Calibration Library
Estimated Reading Time: 7 minutes
Key Takeaways:
- Calibration is essential for optimal print quality across different filament types.
- Building a calibration library saves time and reduces material waste.
- Regularly review and update settings as filament technologies evolve.
- Use structured processes for documenting and organizing calibration settings.
Table of Contents:
- Understanding the Importance of Calibration
- Benefits of a Calibration Library
- Steps to Build a Cura Calibration Library
- Practical Takeaways for Your Cura Calibration Library
- Integrating Best Practices from CuraSlicers.com
- Conclusion
- FAQ
Understanding the Importance of Calibration
Calibration in 3D printing refers to fine-tuning settings like temperature, print speed, layer height, and retraction to match the specific requirements of different filament types. Each material, from PLA to ABS, has its own unique characteristics and optimal printing conditions. Without proper calibration, users may experience print failures, defects, and wasted material.
According to a OneKey 3D study, many users overlook calibration, resulting in subpar print quality and material wastage. Therefore, establishing a solid foundation of calibration profiles for each filament type can radically enhance your 3D printing workflow.
Benefits of a Calibration Library
- Consistency: Standardizing settings for each filament allows for consistent quality across prints.
- Time Efficiency: Instead of recalibrating settings for every print, having a library speeds up the process of setting up different jobs.
- Reduced Waste: Properly calibrated settings help minimize filament wastage due to failed prints.
- Knowledge Base: A calibration library serves as a valuable reference for future projects, especially for users experimenting with unfamiliar materials.
Steps to Build a Cura Calibration Library
1. Gather Filament Specifications
Before calibrating, it’s essential to understand the specifications of each filament. Key parameters include:
- Manufacturer guidelines: These often provide initial recommendations for temperature settings and other parameters.
- Material properties: Understanding the properties like viscosity, melting point, and shrinkage can inform calibration.
2. Initial Setup
Start by organizing your Cura workspace. Create a separate project or folder for each filament type you plan to work with. This will keep your profiles neat and easily accessible.
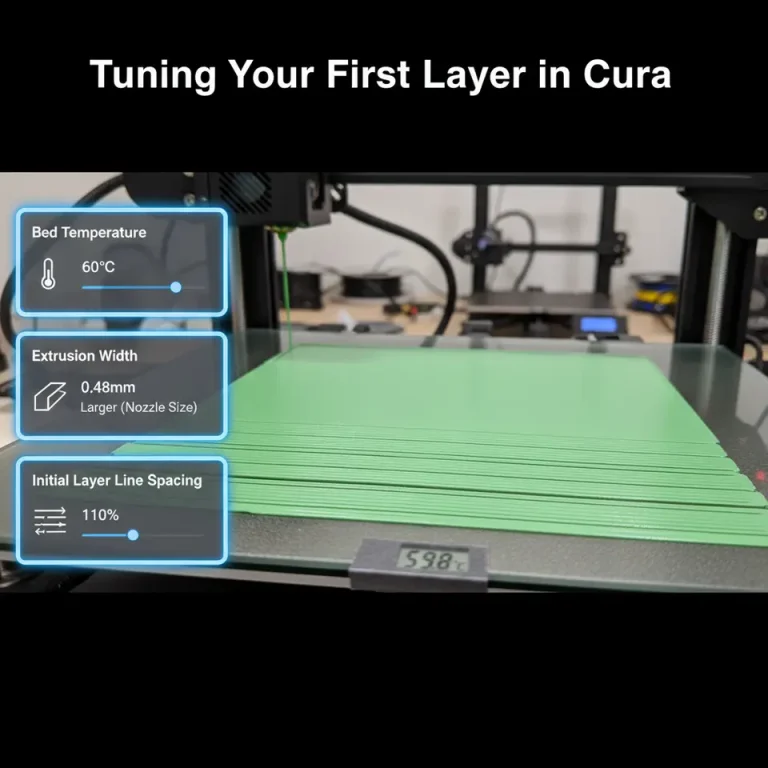
3. Calibrate Basic Settings
For each filament, calibrate the following basic settings initially:
- Nozzle Temperature: Start with the manufacturer-recommended temperature and adjust based on the first few prints. Use a temperature tower for optimal calibration.
- Build Plate Temperature: Some materials, such as ABS, require a heated bed to prevent warping.
- Print Speed: A slower speed can often improve adhesion and surface quality, especially for intricate models.
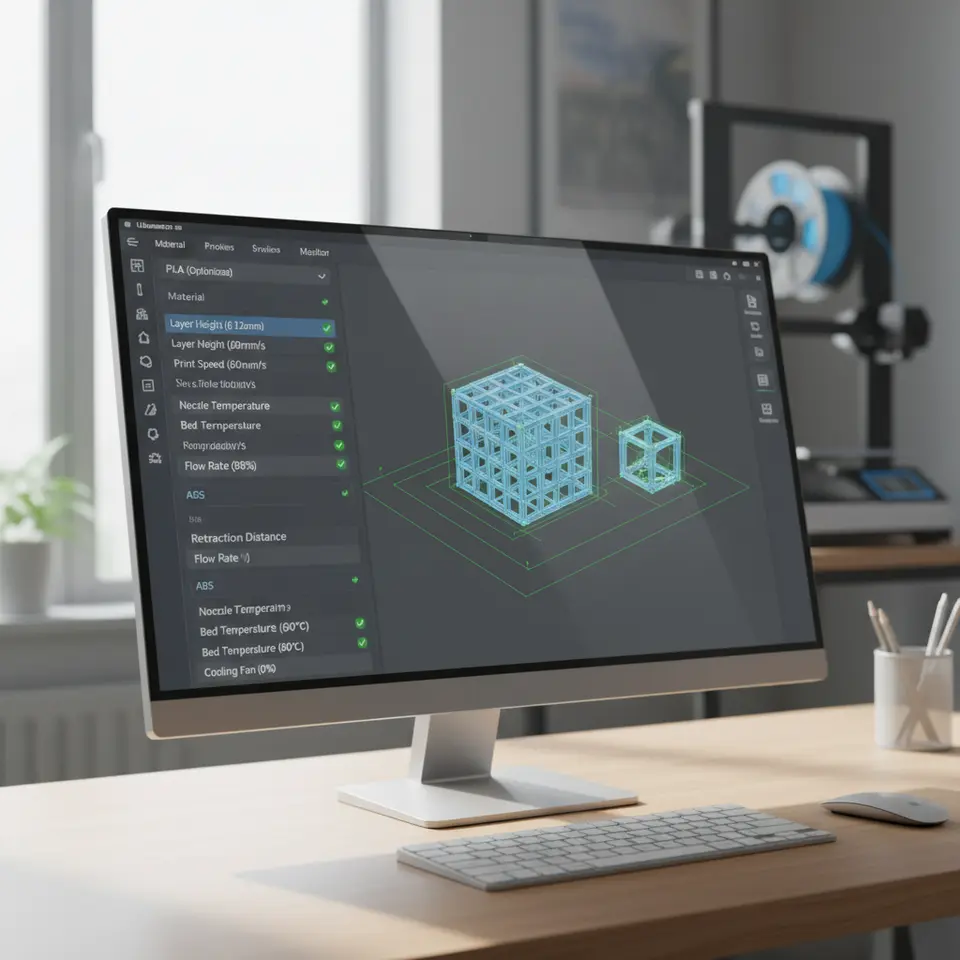
4. Fine-Tuning Advanced Settings
Once the basic settings are established, dive into advanced settings, including:
- Retraction Settings: Adjust retraction speeds and distances to minimize stringing and improve finish.
- Cooling Settings: Filaments like PLA benefit from good cooling, while ABS might need minimal cooling to prevent warping.
5. Test Prints and Iteration
Run small test prints such as calibration cubes or specific model sections to test your settings. Analyze the results for issues like layer adhesion, stringing, and overall surface finish. Adjust and iterate on your settings based on these results until you achieve satisfactory quality.
6. Document Your Settings
As you refine your settings, document them meticulously in your calibration library. A simple spreadsheet can do the trick, or you can use Cura’s built-in profile management features to categorize your profiles effectively.
- Include important parameters like temperature, speed, layer height, and material type.
- Note any specific quirks or recommendations you’ve discovered during testing.
7. Create a Reference Model
Having a standard reference model for each filament type is beneficial. All test prints can be based on this model, ensuring comparability across different calibrations.
8. Regularly Review and Update
Filament technologies are constantly evolving. Stay updated with new materials and their properties. Regularly review and revise your printer settings to ensure your calibration library remains relevant and effective.
Practical Takeaways for Your Cura Calibration Library
- Use Temperature Towers: Run a temperature tower print to accurately find the optimal nozzle temperature.
- Create a Cheat Sheet: Make a quick reference guide for common filament types, noting optimal settings and specific characteristics.
- Automate with Profiles: Use Cura’s ability to save profiles for easy access. Create distinct profiles for different brands and materials alike.
You can enhance your 3D printing workflow by integrating effective sharing and organizational methods with tools like n8n to automate and optimize various tasks. For instance, you could set up an automated process to log new calibration settings based on test results.
Integrating Best Practices from CuraSlicers.com
At CuraSlicers.com, we provide various resources to help improve your printing experience. You can also read our guide on optimizing Cura settings for small cosmetic prints, which can be crucial for fine-tuning calibration profiles efficiently. Additionally, check out our Cura Slicer Custom Scripts article to explore advanced ways to automate changes based on filament type.
Conclusion
Building a thorough Cura calibration library for every filament not only saves time and reduces waste but also elevates the quality of your 3D prints. By systematically organizing and documenting your settings, you can ensure a more enjoyable and efficient printing experience. Engage with our resources, subscribe to our newsletters, and follow us on social media for ongoing tips and guidance related to your 3D printing journey.
For more detailed guidance and optimal Cura settings, visit our homepage at CuraSlicers.com, and enhance your 3D printing capabilities today!
For further information on this topic, access the official Ultimaker documentation here (opens in a new tab).
FAQ
Q1: Why is calibration important in 3D printing?
Calibration is key to achieving optimal print quality and preventing print failures, defects, and material wastage.
Q2: How often should I update my calibration settings?
It’s recommended to review and update your settings regularly as new filament technologies emerge.
Q3: What are temperature towers and how are they used?
Temperature towers are prints that help determine the optimal nozzle temperature for a specific filament type by visually assessing quality at various temperatures.
Q4: Can I save multiple profiles in Cura for different filaments?
Yes, Cura allows you to create and save multiple profiles for different filament types, making it easy to switch between settings.
Q5: Where can I find more resources on Cura settings?
You can find a wealth of resources on CuraSlicers.com, including guides and articles on optimizing your settings.