Cura Slicer Tuning for High-Flow Hotends
- Calibrate your volumetric flow rate for optimal extrusion.
- Balance layer height and print speed for quality prints.
- Adjust temperature settings based on filament type for better adhesion.
- Regularly test and document your settings for improved performance.
- Utilize the Cura features to enhance workflow efficiency.
Table of Contents
- Understanding High-Flow Hotends
- Key Considerations for Tuning Your Cura Slicer
- Practical Takeaways for Effective High-Flow Printing
- Further Enhancements with Cura
- Preventing Common Issues
- Conclusion
- Call to Action
Understanding High-Flow Hotends
Key Considerations for Tuning Your Cura Slicer
-
Volumetric Flow Rate:
The volumetric flow rate is a critical parameter in 3D printing that determines how much filament is extruded per unit of time. For high-flow hotends, it’s vital to calibrate this setting within Cura. The default rates may not be adequate for your specific configuration, and testing different flow rates can lead to ideal settings.To optimize the volumetric flow rate in Cura, go to the Material settings and adjust the following:
- Set the Flow Rate to around 100% initially.
- Gradually increase or decrease this value while performing test prints to find the optimal configuration for your high-flow setup.
-
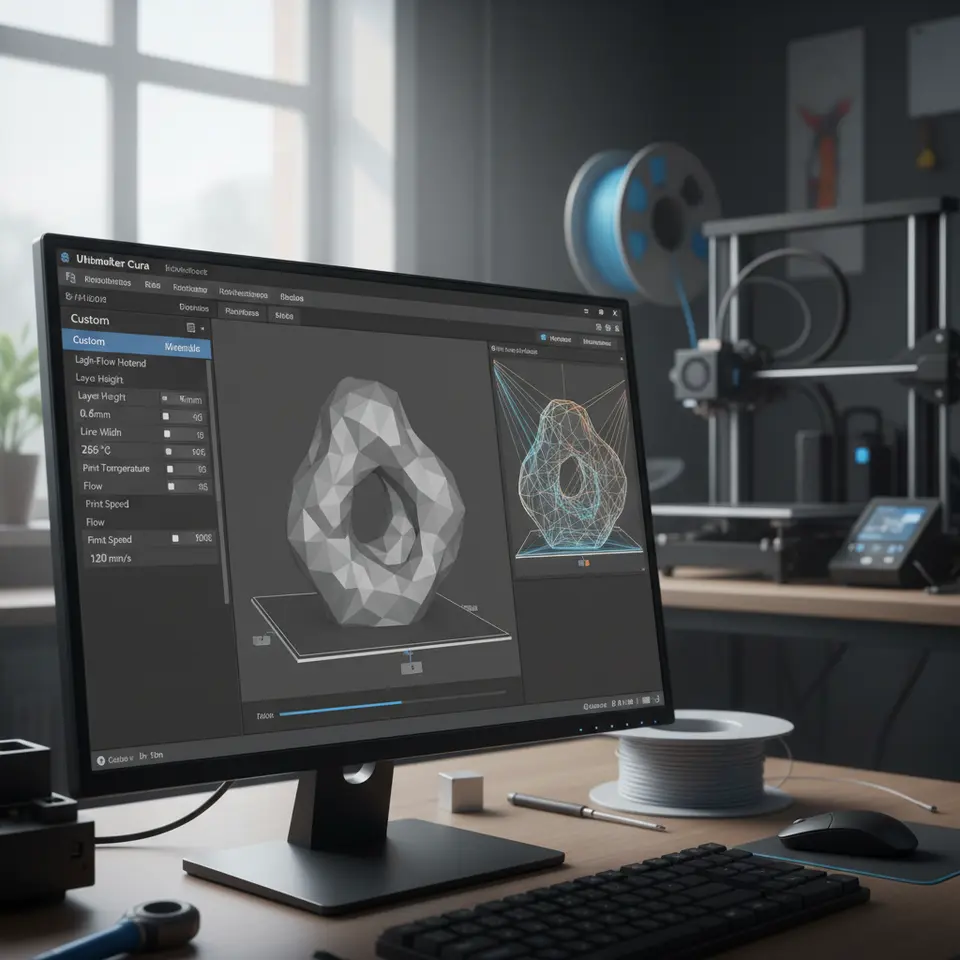
Layer Height and Print Speed:
Balancing layer height with print speed is key to maintaining quality. For high-flow hotends, you may want to increase the layer height while also increasing print speeds. This combination can help achieve desired print quality and mechanical properties.Consider the following:
- Start with a layer height of 0.2 mm as a standard. For thicker layers, you can push it up to 0.4 mm.
- Example settings for print speed could range from 60mm/s – 100 mm/s depending on your material and model complexity.
-
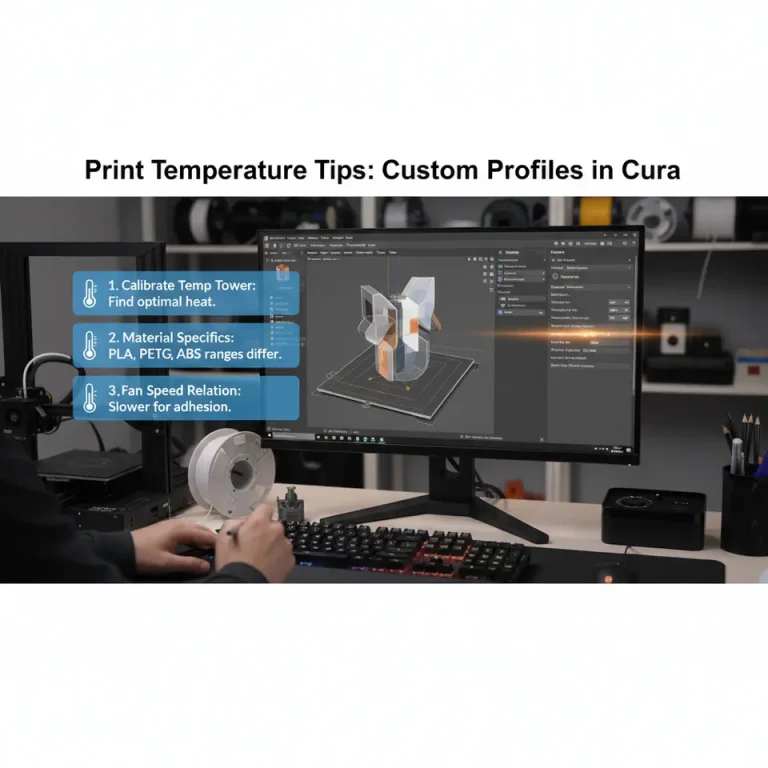
Temperature Settings:
The nozzle and bed temperature significantly impact the quality of your print. High-flow hotends typically require higher temperatures for accurate melting and extrusion.Begin with:
- A nozzle temperature between 200°C and 230°C (depending on filament type), and adjust based on print adhesion and flow consistency.
- A heated bed temperature can enhance adhesion, set it between 50°C and 70°C.
-
Retraction Settings:
Retraction can be a challenge with high-flow hotends, as excessive retraction settings may lead to stringing or inconsistent extrusion. Reducing retraction distance to about 1mm or adjusting the speed can alleviate issues while ensuring optimal performance. -
Cooling Settings:
Adequate cooling is essential to stabilize prints and prevent warping, especially for high-speed configurations. Make sure to:- Optimize your fan speed depending on the layer height; typically, a higher fan speed works well for thinner layers.
- Enable cooling after the first 3-5 layers to allow the adhesion of the first layers without premature cooling.
Practical Takeaways for Effective High-Flow Printing
- Calibrate Regularly: Periodic recalibration of your flow rate is necessary as you change filaments or settings.
- Conduct Test Prints: Use calibration cubes or test pieces to assess the effects of changes in settings, observing how quality shifts at varying settings.
- Document Settings: Maintain a log of settings that yield the best results to streamline future printing workflows.
Further Enhancements with Cura
Preventing Common Issues
For more on adhesion techniques, see our post on Cura Slicer Brim Strategies for Tiny Parts.
Conclusion
Call to Action
For broader insights into 3D printing technology, refer to resources like Ultimaker’s Cura documentation, which provide extensive knowledge on the intricacies of 3D printing parameters.
FAQ
A high-flow hotend is designed to extrude filament faster and allows for thicker layer heights, suitable for rapid printing of large and strong parts.
How do I know if my settings are optimal?
Performing test prints and observing print quality is essential in determining if your settings are optimized for your specific setup.
What can I do if I experience stringing?
Reducing retraction distance or speed, along with adjusting temperatures, can help mitigate stringing issues in your prints.