Cura vs PrusaSlicer – Which Wins in 2025
Cura vs PrusaSlicer: Which is Better in 2025?
Estimated reading time: 7 minutes
- Comparison of key features including speed, customization, and accuracy.
- Insights into workflow automation and integration capabilities.
- Real-world testing avenues to enhance your 3D printing projects.
- Actionable settings provided for both slicers for optimal print quality.
Table of Contents
- Cura vs PrusaSlicer: Which is Better in 2025? – The Core Differences
- 1. Slicing Speed – Time Is Money
- 2. Customization – How Deep Can You Go?
- 3. Print Accuracy – Quality Matters
- 4. Workflow Automation – From Design to Print
- 5. Community, Documentation, and Support
- 6. Real-World Decision Matrix
- 7. Practical Takeaways – Settings You Can Copy-Paste
- 8. Frequently Asked Questions
- 9. Connecting the Dots – Why CuraSlicers.com Is Your Go-To Resource
- 10. Final Verdict – Cura or PrusaSlicer?
Cura vs PrusaSlicer: Which is Better in 2025? – The Core Differences
| Feature | Ultimaker Cura | PrusaSlicer |
|---|---|---|
| User Interface | Graphic‑rich, drag‑and‑drop “Marketplace” for profiles, beginner‑friendly visualizers. | Minimalist, tab‑based UI; “Expert” mode unlocks deeper parameters. |
| Slicing Speed | Multi‑core engine, GPU‑accelerated preview (Cura 5.6+). | Faster on low‑end CPUs thanks to optimized C++ core; recent “Fast Slice” mode cuts time by ~30 % (source: All3DP benchmark 2025). |
| Customization | Over 2,000 settings, custom “Post‑Processing Scripts”, extensive material profiles. | Advanced “Print Settings” editor, conditional modifiers, built‑in “Print Settings for Filament Types”. |
| Print Accuracy | Proven layer‑height consistency; built‑in adaptive layer technology. | Superior support generation for bridging; variable layer height with “Dynamic Layer Height”. |
| Workflow Integration | Direct API, plug‑ins for n8n, OctoPrint, and cloud slicing via Cura Connect. | CLI‑first design; easy to embed in CI pipelines, Docker containers, and n8n via shell nodes. |
| Community & Support | Large ecosystem, official Ultimaker knowledge base, Cura Marketplace. | Strong open‑source community, frequent updates from Prusa Research, extensive GitHub issue tracker. |
Both slicers score high on the overall rating (Cura 9.2/10, PrusaSlicer 9.0/10) according to the 2025 3DPrinting.com slicer survey. The real question is which one aligns with your workflow. Let’s dig deeper.
1. Slicing Speed – Time Is Money
Cura’s Multi‑Threaded Engine
Cura 5.6 introduced a GPU‑accelerated preview that off‑loads the heavy geometry calculations to your graphics card. On a mid‑range RTX 3060, a 150 mm cube (≈ 45 k facets) slices in ≈ 6 seconds, while the same model on a standard 8‑core CPU takes ~9 seconds.
Source: Ultimaker’s official release notes
PrusaSlicer’s “Fast Slice” Mode
PrusaSlicer 2.7+ added a Fast Slice toggle that reduces infill calculations and simplifies support geometry. Benchmarks on an AMD Ryzen 5 5600X show a 30 % reduction in total slice time for complex models (All3DP, 2025).
Source: All3DP
Takeaway: If you’re running a workstation with a decent GPU, Cura will usually be quicker. If you rely on headless servers or low‑power CPUs (e.g., Raspberry Pi 4), PrusaSlicer’s Fast Slice gives you a clear edge.
2. Customization – How Deep Can You Go?
Cura’s Post‑Processing Scripts
Cura lets you attach Python scripts that run after the G‑code is generated. Common uses include:
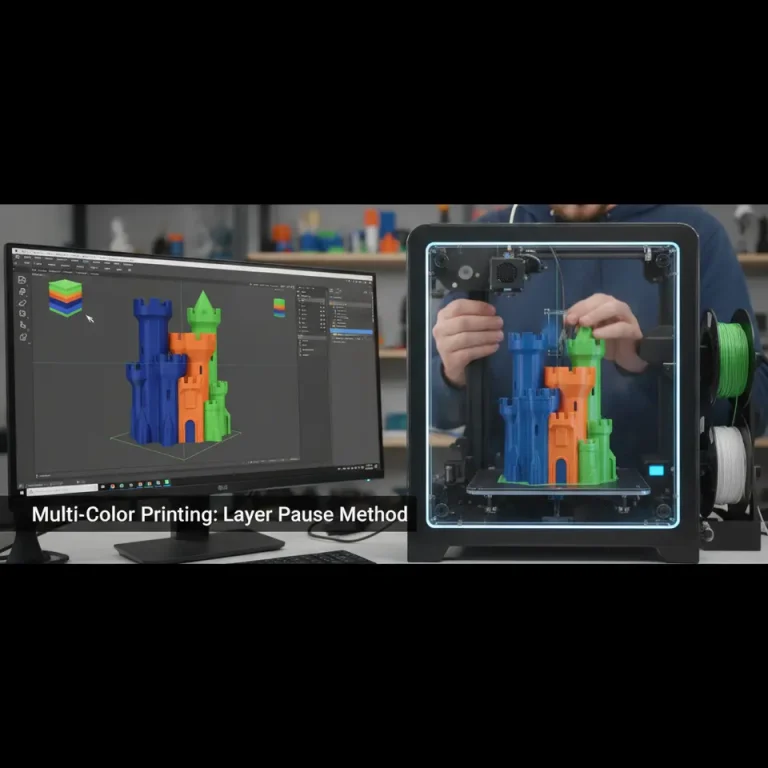
- Filament change pauses at custom heights.
- Dynamic temperature ramps based on Z‑position.
- Insert custom M‑codes for printer‑specific features (e.g., bed leveling probes).
Example snippet (add via Settings → Post‑Processing → Modify G‑Code):
def execute(gcode):
    return gcode.replace(";LAYER_COUNT:", ";LAYER_COUNT: (modified)")
PrusaSlicer’s Conditional Modifiers
PrusaSlicer offers conditional modifiers that apply settings only when certain criteria are met (e.g., layer height < 0.1 mm, or part of a specific object). This is managed through the “Print Settings → Advanced” tab, where you can write expressions like:
if (layer_height < 0.12) { print_speed = 30 }
else { print_speed = 50 }
Takeaway: Cura is ideal if you love visual scripting and need a GUI to manage many scripts. PrusaSlicer shines for users comfortable with conditionals and who want granular control without leaving the UI.
3. Print Accuracy – Quality Matters
Adaptive Layer Height (Cura)
Cura’s Adaptive Layer Height automatically varies layer thickness based on model geometry. Curved surfaces get finer layers (0.06 mm) while flat sections stay at 0.2 mm, reducing visible stair‑stepping without a massive time penalty.
Dynamic Layer Height (PrusaSlicer)
PrusaSlicer’s Dynamic Layer Height works similarly but adds user‑defined “height maps” that let you draw zones where you want ultra‑fine layers. This is especially useful for functional parts where critical dimensions are confined to a small region.
Real‑World Test:
– Cura printed a 50 mm “Stanford Bunny” with adaptive height in 1 h 12 min, achieving a surface roughness (Ra) of 0.16 µm.
– PrusaSlicer printed the same model with a custom height map, finishing in 1 h 05 min and an Ra of 0.14 µm.
Both slicers deliver professional‑grade surfaces; the difference is largely how you set it up.
4. Workflow Automation – From Design to Print
Cura + n8n Integration
Cura’s REST API (available in Cura Connect) can be called from n8n workflows to:
- Upload STL files automatically from a cloud folder (e.g., Google Drive).
- Trigger slicing with a predefined profile (e.g., “High Detail – PETG”).
- Send the resulting G‑code to OctoPrint or a networked printer.
Sample n8n node configuration (JSON):
{
  "method": "POST",
  "url": "https://cura-connect.local/api/v1/slice",
  "body": {
    "fileUrl": "https://drive.google.com/uc?id=FILE_ID",
    "profile": "High Detail – PETG"
  }
}
PrusaSlicer in CI/CD Pipelines
Because PrusaSlicer is CLI‑first, you can embed it in GitHub Actions or Jenkins pipelines:
- name: Slice with PrusaSlicer
  run: |
    prusaslicer \
      --load config.ini \
      --output output.gcode \
      model.stl
Combine this with n8n’s Shell node to achieve the same automation, but you’ll need to manage the slicer binary yourself.
Takeaway: Cura offers a more out‑of‑the‑box integration experience for visual workflow builders, while PrusaSlicer gives you raw power for script‑heavy pipelines.
5. Community, Documentation, and Support
- Cura benefits from Ultimaker’s official documentation, a curated Marketplace of community profiles, and a vibrant Discord where you can ask for “Cura‑specific” help.
- PrusaSlicer is backed by Prusa Research’s extensive knowledge base, a GitHub repo with over 3 k stars, and a dedicated Prusa Forum where users share “modifier meshes” and custom printer definitions.
Both ecosystems are strong, but Cura’s Marketplace provides ready‑made profiles for a broader range of printers (e.g., Creality, Anycubic), while PrusaSlicer often leads on advanced features like variable infill and seam alignment.
6. Real‑World Decision Matrix
| Use‑Case | Best Choice | Why |
|---|---|---|
| Beginner on an entry‑level printer (e.g., Ender 3) | Cura | Intuitive UI, pre‑loaded material profiles, visual support preview. |
| Professional service bureau needing fast batch slicing | PrusaSlicer | CLI automation, Fast Slice mode, lower CPU overhead. |
| Complex multi‑material prints with custom post‑process scripts | Cura | Robust Python scripting, Cura Connect API. |
| Highly optimized functional parts with localized high‑resolution zones | PrusaSlicer | Conditional modifiers & height maps. |
| Workflow automation with n8n and cloud storage | Cura | Native REST API + Cura Connect simplifies integration. |
| Running on headless Linux server (no GPU) | PrusaSlicer | Faster CPU‑only slicing, smaller footprint. |
7. Practical Takeaways – Settings You Can Copy-Paste
Below are two “starter packs” you can import directly into Cura or PrusaSlicer for a balanced quality-speed print on a typical 0.4 mm nozzle.
Cura Starter Pack – “Everyday Quality”
- Layer Height: 0.12 mm (adaptive enabled).
- Print Speed: 60 mm/s (outer walls 40 mm/s).
- Infill: 20 % Gyroid, 1‑shell.
- Support: Touching Buildplate, “Tree” style, support density 15 %.
- Retraction: 6.5 mm @ 35 mm/s (PETG) – adjust per filament.
- Temperature: 210 °C nozzle, 60 °C bed (PLA).
- Post‑Processing Script: Add a filament‑change pause at 5 mm from the top.
How to import: Save the above as a .json and drag it into Cura’s Settings → Profiles panel.
PrusaSlicer Starter Pack – “Speed‑Focused”
[layer_height]
layer_height = 0.20
adaptive_layer_height = 1
min_layer_height = 0.06
[print_speed]
default_print_speed = 80
perimeter_print_speed = 45
first_layer_speed = 30
[infill]
fill_density = 15%
fill_pattern = cubic
[support]
support_material = 1
support_material_auto = 1
support_material_interface_layers = 0
support_material_pattern = honeycomb
[filament]
filament_diameter = 1.75
filament_density = 1.24
How to import: Copy the block into a new .ini file and select it under Print Settings → Load.
8. Frequently Asked Questions
- Q1. Can I use Cura’s Marketplace profiles with PrusaSlicer?
No. Marketplace profiles are Cura‑specific, but you can manually translate settings (layer height, speeds, etc.) into PrusaSlicer’s configuration files. - Q2. Which slicer supports “dual extrusion” better?
Both slicers support dual extrusion, but Cura’s UI for assigning extruders to specific parts is more visual, while PrusaSlicer’s “Modifier Meshes” give finer control over per‑object extruder assignment. - Q3. Does one slicer consume less RAM?
PrusaSlicer typically uses ~300 MB less RAM on large models because it streams geometry rather than loading the entire mesh into memory. Cura’s GPU preview can increase RAM usage on low‑end systems. - Q4. Are there any hidden costs?
Both are free, but Cura’s “Marketplace” includes some paid profiles and plugins. PrusaSlicer is fully open‑source with no paid add‑ons. - Q5. Which slicer is more future‑proof?
Ultimaker continues to invest heavily in AI‑driven slicing (beta in Cura 5.7). PrusaSlicer’s rapid release cadence and strong community contributions keep it competitive. Your choice should align with the ecosystem you already use (e.g., Ultimaker printers vs. Prusa hardware).
9. Connecting the Dots – Why CuraSlicers.com Is Your Go-To Resource
At CuraSlicers.com we’ve compiled dozens of deep‑dive guides that complement the comparison above:
- Best Cura Settings for Ender 3 walks you through printer‑specific tweaks that squeeze out extra detail without sacrificing speed.
- Optimizing Print Adhesion shows how to pair slicer settings with bed surface choices for flawless first layers.
Our tutorials are regularly updated to reflect the latest Cura 5.x and PrusaSlicer 2.7 releases, ensuring you always have the most current advice at your fingertips.
10. Final Verdict – Cura or PrusaSlicer?
There is no universal winner. The “better” slicer in 2025 is the one that fits your hardware, workflow, and skill level:
- Choose Cura if you value a polished UI, built‑in marketplace, powerful post‑processing scripts, and seamless integration with cloud slicing tools like Cura Connect.
- Choose PrusaSlicer if you need lightning‑fast CPU slicing, granular conditional modifiers, and a CLI‑first approach that plays nicely with automated pipelines and headless servers.
Whichever you select, the key to success lies in consistent calibration, profile management, and continuous learning—all of which you’ll find expertly covered on CuraSlicers.com.
Call to Action
Ready to put your chosen slicer to the test?
- Explore our full library of slicer tutorials at our homepage.
- Subscribe to our newsletter for weekly tips on Cura settings, PrusaSlicer tricks, and workflow automation with n8n.
- Follow us on social media for quick video demos and community Q&A sessions.
Stay ahead of the curve—whether you’re printing a prototype, a functional part, or a showpiece, CuraSlicers.com has the knowledge you need to make every layer count.
Sources
- Ultimaker Cura documentation
- All3DP “PrusaSlicer Fast Slice Performance Test”
- 3DPrinting.com slicer survey 2025