Understanding Wall Overlap in Cura Slicer
Estimated reading time: 5 minutes
Key takeaways:
- Wall overlap is crucial for strength and surface finish in 3D prints.
- Adjusting wall overlap can prevent issues like bulging and delamination.
- Experimentation with settings can lead to improved print quality.
- Understanding material properties can help optimize wall overlap.
- Utilize layer previews to assess print outcomes effectively.
Table of contents:
- What is Wall Overlap in Cura Slicer?
- The Importance of Wall Overlap for Strength and Surface Finish
- How to Adjust Wall Overlap in Ultimaker Cura
- Real Cross-Section Examples
- Practical Tips and Takeaways
- Conclusion
- Further Reading
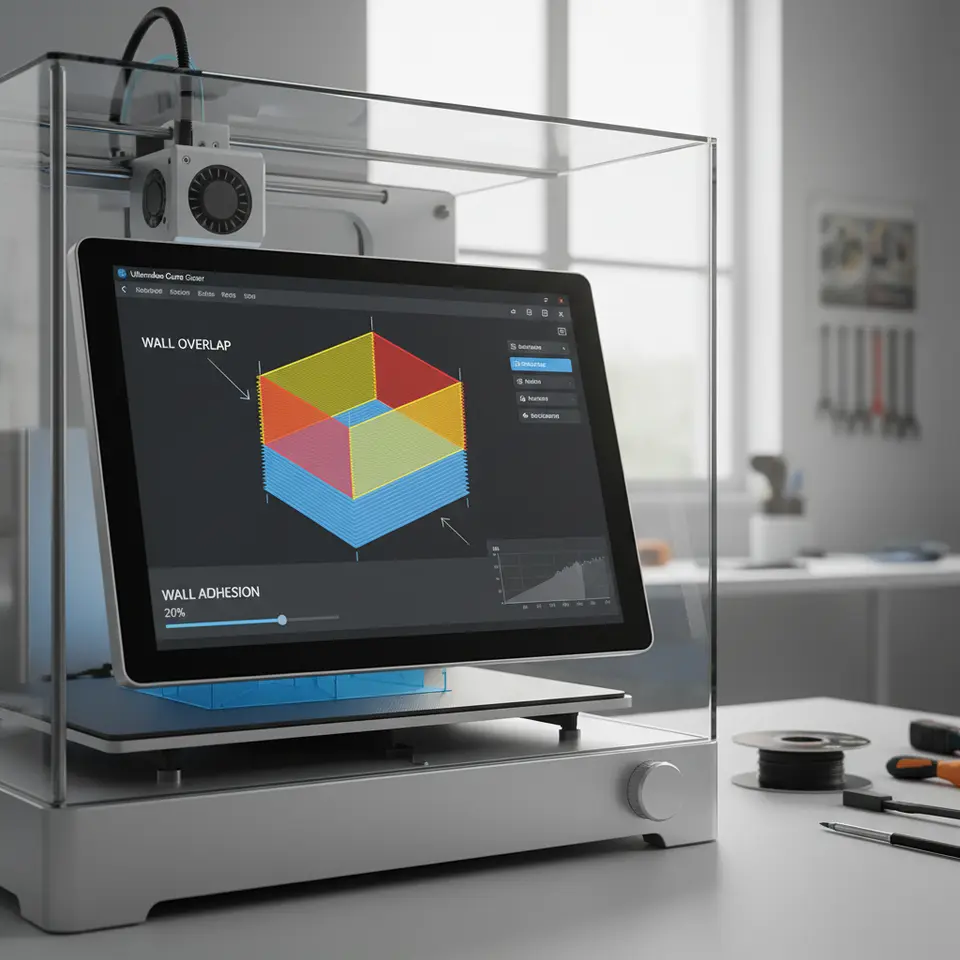
What is Wall Overlap in Cura Slicer?
Wall overlap refers to the degree to which the printed walls of a 3D object come into contact with each other during the printing process. This setting helps to ensure strong adhesion between the walls of a model, preventing gaps that may negatively impact both the mechanical properties and the appearance of the final product. Essentially, wall overlap allows each wall to overlap slightly with subsequent layers, resulting in a smoother and more cohesive structure.
By increasing wall overlap, you increase the material contact area, which can bolster strength; conversely, if there’s too much overlap, it could lead to undesired effects such as bulging or excessive filament usage. Properly tuning this setting is one of the keys to optimizing print quality.
The Importance of Wall Overlap for Strength and Surface Finish
When considering how wall overlap impacts your prints, it’s crucial to recognize its dual role: it enhances strength and affects surface appearance.
1. Strength Optimization
High wall overlap values promote better adhesion between adjacent wall structures. This increased adhesion is key when dealing with mechanical stresses and impacts during use. In applications such as functional prototypes, toys, or even industrial components, achieving maximum strength is non-negotiable.
For example, thin walls may need a higher wall overlap percentage (for instance, 15-30%) to ensure they hold together under stress. If you print walls with minimal overlap, you might see premature breaking or delamination, which can drastically affect the performance of a part, especially when it is subjected to real-world use.
2. Surface Finish Quality
On the other side of the coin, wall overlap also plays a significant role in determining the surface finish of your printed parts. Too much wall overlap can lead to a Bulged appearance on the exterior, as it forces excessive material into the corners of layers. This bulging can accumulate even more as layers stack on top of one another, leading to a distorted surface finish.
By finding a suitable balance in wall overlap settings, you can achieve smoother edges and improved aesthetic appeal in your printed models. A practical takeaway here is to experiment with wall overlap settings while actively monitoring the quality of surface finish, especially for cosmetic prints.
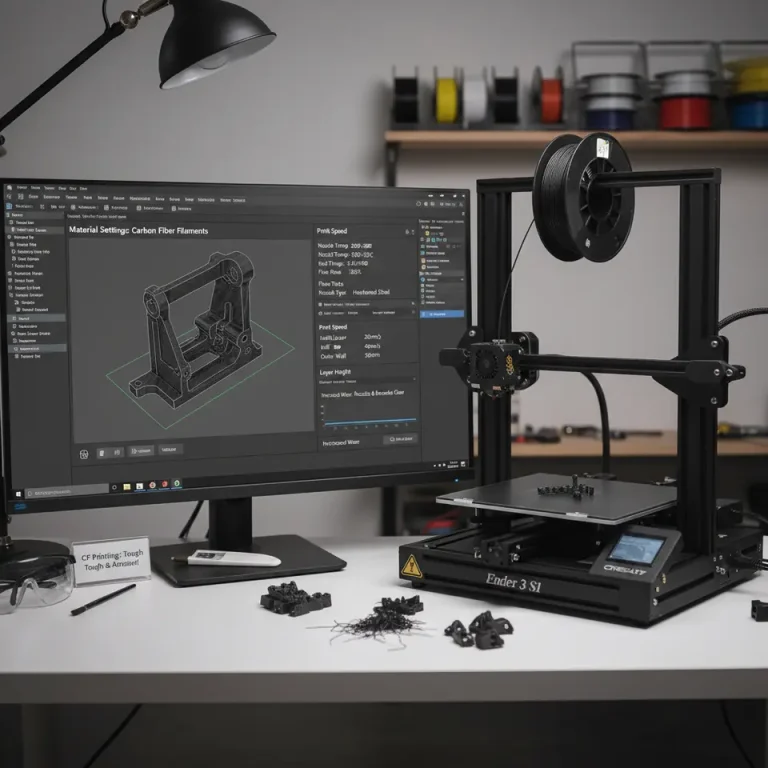
How to Adjust Wall Overlap in Ultimaker Cura
Understanding how to adjust wall overlap settings effectively is vital for achieving the best results within Ultimaker Cura. Here’s a straightforward guide to navigate through the slicer’s settings:
- Open Your Model: Start Cura and load your 3D model.
- Select the Print Settings: Navigate to the settings menu on the right panel, and select “Custom” settings to gain access to more advanced options.
- Wall Settings: Click on the ‘Shell’ category.
- Wall Overlap: Locate the “Wall Overlap” option. This is typically set to a default, but you can increase or decrease the percentage based on your requirements (e.g. 10% to 30%).
- Preview: Use the layer preview to visualize how changes in wall overlap will affect your print. Look for areas that may become too thick or distorted if the wall overlap is too high.
- Print and Assess: After adjusting the settings, print your model and evaluate both the strength and aesthetics of the finished part.
For more detailed settings, especially when printing challenging geometries or features like hollow sections, follow our guide on Cura Slicer Hollow Prints, which provides insights into fine-tuning your print parameters for optimal results.
Real Cross-Section Examples
To further illustrate the effect of different wall overlap settings on final print quality, consider the following case studies showcasing varying scenarios:
- Case Study 1: A model with 0% wall overlap exhibited gaps between walls, leading to significant weaknesses. In a tensile test, this model failed under low stress, suggesting poor adhesion and strength.
- Case Study 2: Increasing the wall overlap to 20% resulted in visibly smoother transitions between walls, contributing to an enhanced finish. In mechanical testing, the part maintained structural integrity under higher loads, showcasing the benefit of a refined overlap setting.
- Case Study 3: Exceeding a wall overlap of 30% led to surface bulging on intricate designs. While the overlapping walls maintained high strength, the surface defects detracted from the intended design quality.
These cross-section examples provide valuable visual insights into how wall overlap can significantly influence both the strength and surface finish of your 3D printed objects.
Practical Tips and Takeaways
- Select the Right Wall Overlap: A compromise between strength and aesthetics is essential; consider starting at the default 10% and gradually adjusting based on model requirements.
- Visualize Layer Previews: Use the layer preview feature in Cura after making adjustments to assess potential conflicts or desired outcomes.
- Experiment with Materials: Different filament compositions may respond differently to wall overlap adjustments; don’t hesitate to tweak this setting based on material properties.
- Follow Comprehensive Guides: Utilize other resources, such as our Cura Slicer Fit Tolerance Guide, to deepen your understanding of how various settings interrelate during the printing process.
Conclusion
A deep understanding of wall overlap in Cura Slicer can lead to significant advancements in the quality of your 3D prints. Whether you’re a hobbyist seeking to improve your personal projects or a professional aiming for high-performance prototypes, optimizing this setting is crucial for achieving successful outcomes. By balancing strength and surface finish through careful adjustments, you can enhance both the functionality and aesthetic appeal of your prints.
For more insightful tutorials and guides, be sure to visit our homepage at CuraSlicers.com and stay updated on the latest trends and techniques in the 3D printing community. Feel free to follow us on social media to connect with like-minded enthusiasts and professionals. Happy printing!
Further Reading
If you’re interested in diving deeper into the capabilities of Ultimaker Cura, consider exploring the official documentation on Ultimaker’s website for comprehensive insights.