Cura Bridge Settings and Real-World Physics
Estimated Reading Time: 5 minutes
Key Takeaways:
- Bridging in 3D printing presents unique challenges that depend on both settings and physical properties.
- Understanding and optimizing Cura slicer settings can significantly improve bridging results.
- Real-world physics such as gravity and thermal contraction play a critical role in bridging success.
- Adjusting cooling settings and testing different parameters can lead to better print quality.
- Model design can affect the ease of bridging; sometimes redesign may be necessary.
Table of Contents:
Understanding the Challenges of Bridging in 3D Printing
When it comes to 3D printing, one of the most challenging aspects is ensuring successful bridging, especially when creating models that require spans without support. Cura slicer bridge settings play a crucial role in this process, but many users find that even with seemingly correct setups, their bridges can fail. This article delves into the intricacies of bridging, the limitations of Cura slicer settings, and real-world physics that contribute to these challenges. By understanding both the software and the physical principles at play, you’ll be better equipped to optimize your settings for successful bridging.
The Science Behind Bridging
Before we dive into the settings within Cura, it’s essential to comprehend why bridges are technically challenging. Bridging occurs during the printing of horizontal sections unsupported by underlying material. When your printer extrudes filament across gaps, the filament must cool quickly enough to retain its shape. Here are the critical factors influencing successful bridging:
- Extrusion Speed: Rapid extrusion is necessary for bridging. This speed ensures that enough material is deposited before it can sag under its weight.
- Temperature: The temperature at which you print affects how quickly the filament cools and adheres to itself. A temperature that is too high may cause the filament to sag.
- Cooling: Adequate cooling is vital. A bridging span must cool quickly to maintain its shape.
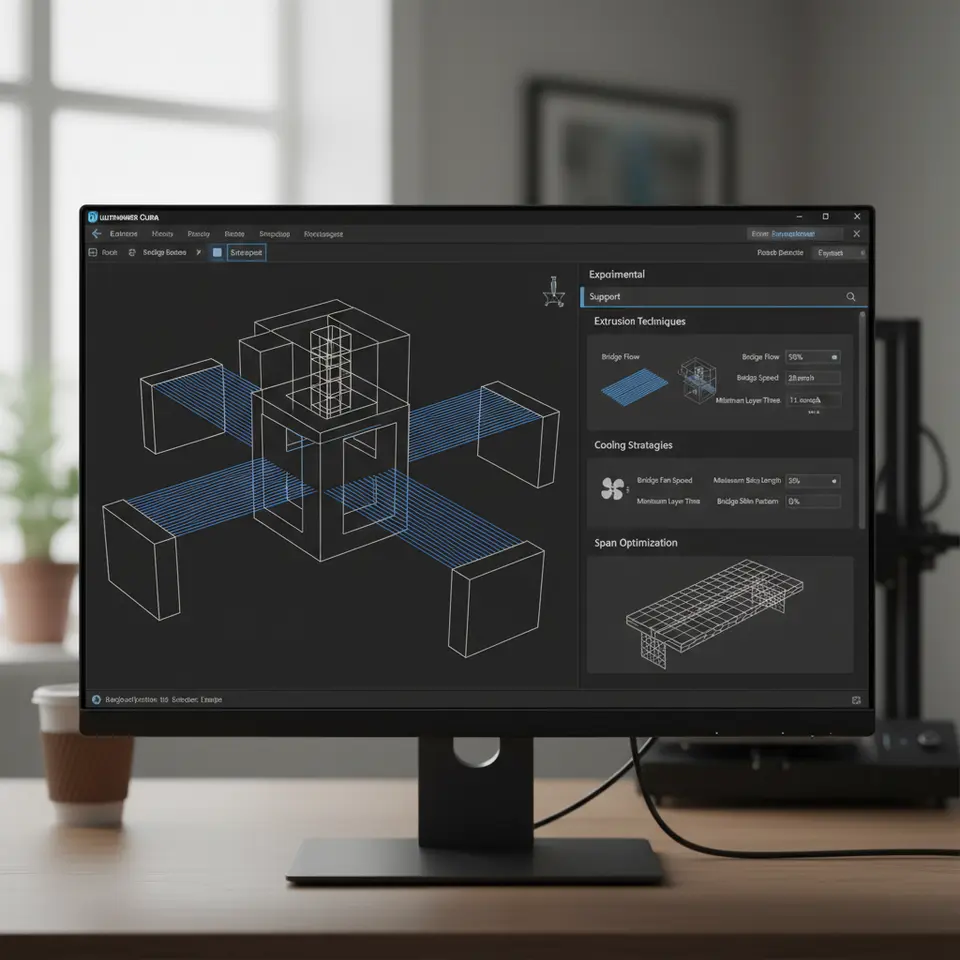
Key Cura Slicer Bridge Settings
Cura offers various settings tailored for bridging which you can adjust to your needs. Understanding these settings will help you make informed adjustments:
- Bridge Flow Rate: This setting controls how much filament is extruded when printing a bridge. Experimenting with a flow rate between 90%-100% can often yield good results.
- Bridge Speed: This parameter determines how fast the printer moves while bridging. A moderate speed, usually around 50% of your normal print speed, can help prevent sagging.
- Bridge Z Offset: Adjusting this can help control the height of the bridge as it lays down. It is a fine-tuning tool to combat sagging for specific models.
- Bridge Pattern: Different patterns (lines, zig-zag) can be selected in Cura’s settings to increase adherence. These can affect the bridge’s success depending on the model’s geometry.
For a deeper dive into optimizing your Cura settings specifically for bridging, check out our article on Cura Slicer Bridging and Cantilevering Strategies.
Common Causes of Bridge Failures
- Inadequate Cooling: If the cooling fans are not adequately employed, the filament may not cool quickly enough, leading to sagging or stringing. Ensure that your cooling configuration is set for maximum efficiency (especially fan speed).
- Incorrect Extrusion Multiplier: Too much or too little extrusion can lead to unsuccessful bridging. The correct multiplier ensures that your machine is putting down just enough material without overwhelming the span.
- Material Properties: Different materials have varying physical properties. For instance, PLA generally bridges better than ABS due to PLA’s stiffer nature and quicker cooling rates. If you’re experiencing consistent failure with a material, it may simply not be suited for bridging in certain scenarios.
- Model Design: Sometimes the issues lie in the model geometry itself. Complex designs may require additional settings or even redesigning the model to better facilitate bridging.
Real-World Physics vs. Slicer Settings
Despite configuring the Cura slicer settings perfectly, real-world physics will always play a prevailing role. Here’s how:
- Fluid Dynamics: Once the filament is extruded, it behaves like a fluid. Gravity, combined with the cooling process, can lead to distortion unless the filament solidifies fast enough.
- Thermal Contraction: As plastic cools, it shrinks. If you’re printing a longer bridge, that contraction can pull the filament downwards, particularly in narrow gaps.
- Weight of Material: Even a small sag can lead to failure. The bridge will span shorter distances more effectively than longer distances due to the increasing weight of the filament over unsupported lengths.
To better understand how to align your practical print process with the physics behind 3D printing, be sure to check related articles such as our guide on the Cura Slicer Fit Tolerance for insights into avoiding unexpected print failures.
Practical Tips for Successful Bridging
- Test Different Bridge Heights: In your slicer, conduct test prints at different heights and distances to find the sweet spot for your printer and material.
- Optimize Cooling: Make sure that your cooling settings are adequate. If your printer has adjustable fan speeds, consider increasing them during bridging operations.
- Experiment with Support Materials: For larger bridges, consider using temporary supports in the CAD model context, as these can bolster the unprinted sections until fully set.
- Run Calibration Prints: Before attempting more complex models, run simpler test projects that include different bridge lengths and spans.
- Adjust Print Orientation: Orient your model in a way that may reduce the need for bridging altogether by placing features to print on solid sections.
Conclusion: Bridging the Gap Between Software and Reality
Understanding the nuances between Cura slicer bridge settings vs. real-world physics enables you to achieve greater success in 3D printing. While Cura offers a robust suite of tools, the reality of material properties and physics cannot be overlooked.
Explore more advanced techniques and resources at CuraSlicers.com to further enhance your 3D printing skills.
If you found this article helpful, check out our post on Optimizing Cura for Small Cosmetic Prints and be sure to follow us on social media for the latest tips and updates. Subscribe today to stay informed about all things Cura and 3D printing!
By continuously learning, calibrating, and testing, you can create incredible bridged structures that stand up to both slicer settings and the principles of physics. Happy printing!
FAQ
Q: What is bridging in 3D printing?
A: Bridging refers to the process of printing horizontal spans of filament without any support beneath them. It is a critical aspect of 3D printing, especially for complex designs.
A: Bridging refers to the process of printing horizontal spans of filament without any support beneath them. It is a critical aspect of 3D printing, especially for complex designs.
Q: How can I improve bridging in my prints?
A: Key strategies include optimizing Cura settings like bridge flow rate and speed, enhancing cooling, and experimenting with different print orientations.
A: Key strategies include optimizing Cura settings like bridge flow rate and speed, enhancing cooling, and experimenting with different print orientations.
Q: Which materials are best for bridging?
A: PLA is generally more effective for bridging due to its stiffer nature and fast cooling properties, while ABS may struggle with longer bridges.
A: PLA is generally more effective for bridging due to its stiffer nature and fast cooling properties, while ABS may struggle with longer bridges.
Q: Is it important to consider model design for bridging?
A: Absolutely. The geometry of a model can greatly affect bridging performance; at times, modification to the model may be necessary for successful prints.
A: Absolutely. The geometry of a model can greatly affect bridging performance; at times, modification to the model may be necessary for successful prints.