Optimize Cura Settings for TPU Printing
Optimize Cura for Flexible TPU Filament: Retraction and Speed Guide
Estimated Reading Time: 5 minutes
- Understanding the challenges of printing with TPU filaments.
- Key settings for optimizing retraction and print speed in Cura.
- Special considerations for different extrusion systems.
- Tips for test printing and troubleshooting common TPU problems.
- Links to additional resources for 3D printing improvements.
Table of Contents
- Understanding TPU and Its Challenges
- Key Cura Settings for TPU Printing
- Retraction Settings
- Print Speed
- Extrusion Multiplier
- Special Considerations: Bowden vs. Direct-Drive
- Test Print Plan: Tensile and Bridge Test
- Troubleshooting Common TPU Issues
- Conclusion
- FAQ
Understanding TPU and Its Challenges
TPU is renowned for its flexibility, durability, and excellent elastic properties, making it a favored material for various applications, from automotive parts to custom phone cases. However, printing with TPU does come with its unique challenges, such as:
- Stringing or oozing during travel moves
- Difficulty in accurate layer adhesion
- Inconsistent extrusion
By leveraging the right settings in Cura, these challenges can be effectively mitigated.
Key Cura Settings for TPU Printing
1. Retraction Settings
Why Retraction Matters: Retraction is the process where the filament is pulled back into the nozzle during non-printing moves to prevent stringing and oozing. For TPU, fine-tuning this can be especially crucial.
Recommended Retraction Settings:
- Retraction Distance: About 1-2 mm for direct-drive systems and 4-6 mm for Bowden systems. Lower values are essential for flexible materials to prevent jamming.
- Retraction Speed: Set between 20-30 mm/s. A slower retraction speed can help ensure that the TPU filament does not stretch or snap unexpectedly.
2. Print Speed
Optimal Print Speed Tips: Printing too fast with TPU can lead to missed steps and extrusion problems. Here are some optimal speed settings:
- Print Speed: Start with 20-30 mm/s. This offers better control, especially for detailed prints.
- Travel Speed: A travel speed of around 100-150 mm/s is generally effective to minimize oozing but adjust based on your setup.
3. Extrusion Multiplier
Setting the Right Extrusion Multiplier: The extrusion multiplier adjusts how much filament is extruded through the nozzle. An appropriate setting ensures that the filament is properly fed without issues.
- Recommended Value: Start with an extrusion multiplier of 0.9-1.1, depending on your specific TPU filament’s diameter and manufacturer recommendations.
4. Special Considerations: Bowden vs. Direct-Drive
Using a Bowden extruder can pose challenges when printing with flexible materials like TPU, as the longer distance between the feeder and the nozzle increases the potential for filament buckling.
- Bowden Extruder: Keep the retraction distance longer to accommodate the length of the PTFE tube, but remain cautious not to retract too much to avoid clogging.
- Direct-Drive Extruder: Generally more compatible with TPU; however, it requires careful tuning to avoid excessive retraction.
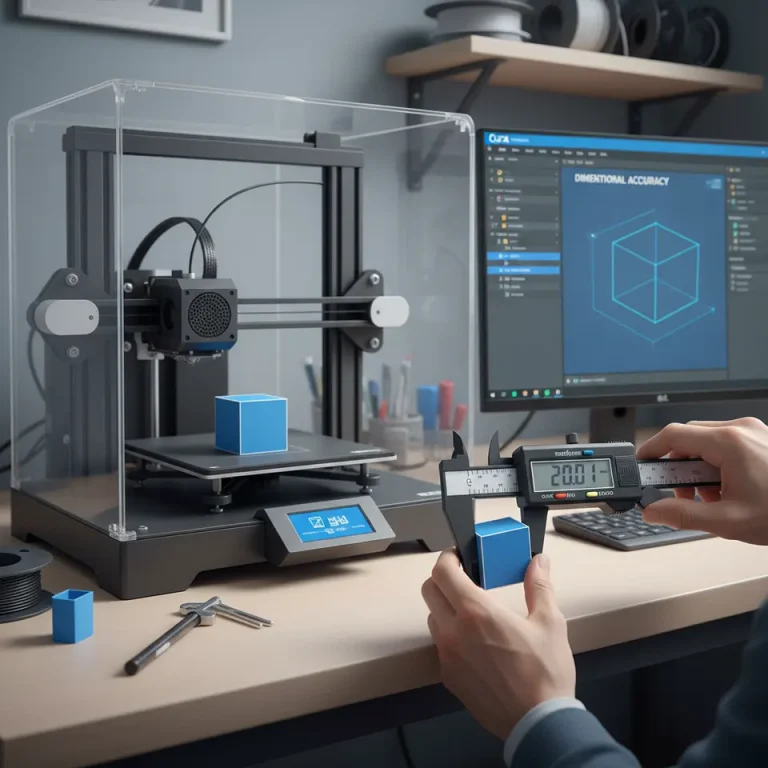
Test Print Plan: Tensile and Bridge Test
To ensure your settings are fine-tuned for TPU, it’s beneficial to conduct test prints, focusing on tensile strength and bridge capabilities.
Tensile Test:
- Print a simple tensile specimen with a height of 100 mm and a width of 10 mm. Use the recommended retraction and speed settings to gauge print quality and flexibility.
Bridge Test:
- Create a bridge spanning 50 mm. This test will help assess how well your print settings handle overhangs and bridging.
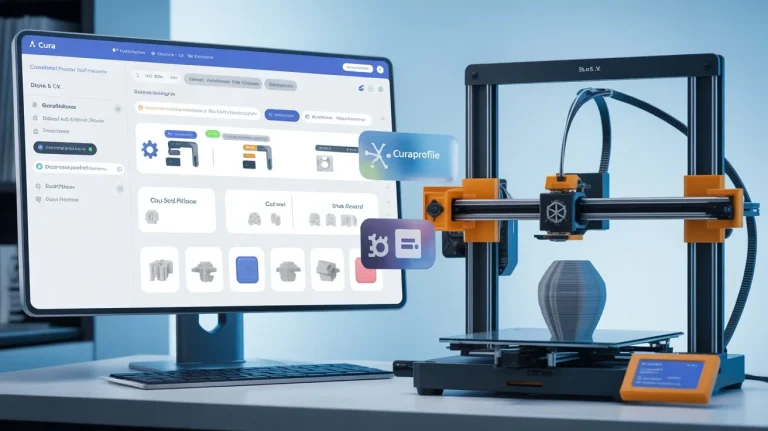
Profile Adjustments
Set up a Cura profile specifically for TPU; save your configurations so you can easily access them in the future. Regular adjustments based on filament performance can lead to better prints.
Troubleshooting Common TPU Issues
1. Stringing
If you encounter stringing in your prints:
- Increase the retraction distance slightly.
- Adjust the retraction speed to a slower setting.
- Lower the printing temperature (start with increments of 5°C) to reduce oozing.
2. Surface Finish
To improve surface finish:
- Ensure consistent extrusion with proper flow rates and speeds.
- Check for any clogs in the nozzle that can cause irregular filament flow.
3. Layer Adhesion
If layers do not bond well:
- Ensure the print temperature is sufficient for your specific TPU brand (typically around 220°C to 250°C).
- Experiment with the extrusion multiplier and printing speed, seeking the balance that provides good flow without over-extruding.
Conclusion
Optimizing Cura settings for TPU filament involves a careful balance of various parameters to achieve successful prints. By applying the recommended retraction and speed settings, understanding the nuances of extruder configurations, and conducting thorough test prints, you can significantly enhance print quality and reliability.
For more in-depth guides on optimizing your 3D printing experience and specific Cura settings, be sure to check out our articles on Best Cura Settings for Ender 3 and Cura Troubleshooting Tips.
If you found this guide helpful, visit our main page at CuraSlicers.com for more tips and tricks. Stay connected with us on social media and subscribe for updates on future guides to amplify your 3D printing journey!
By mastering the setup for flexible TPU, you’ll not only improve your own prints, but you will also contribute to your community of makers and enthusiasts through shared knowledge and innovation. Happy printing!
FAQ
What is TPU?
TPU stands for Thermoplastic Polyurethane, a flexible and durable material commonly used in 3D printing.
How can I reduce stringing with TPU?
You can reduce stringing by adjusting your retraction settings, printing temperature, and travel speeds.
What print speed is best for TPU?
Starting with a print speed of 20-30 mm/s is recommended for better control and print quality.
Can I use a Bowden extruder for TPU?
Yes, but keep in mind it may require longer retraction distances and careful tuning to avoid issues.