Master Cura Layer Height for Faster 3D Prints
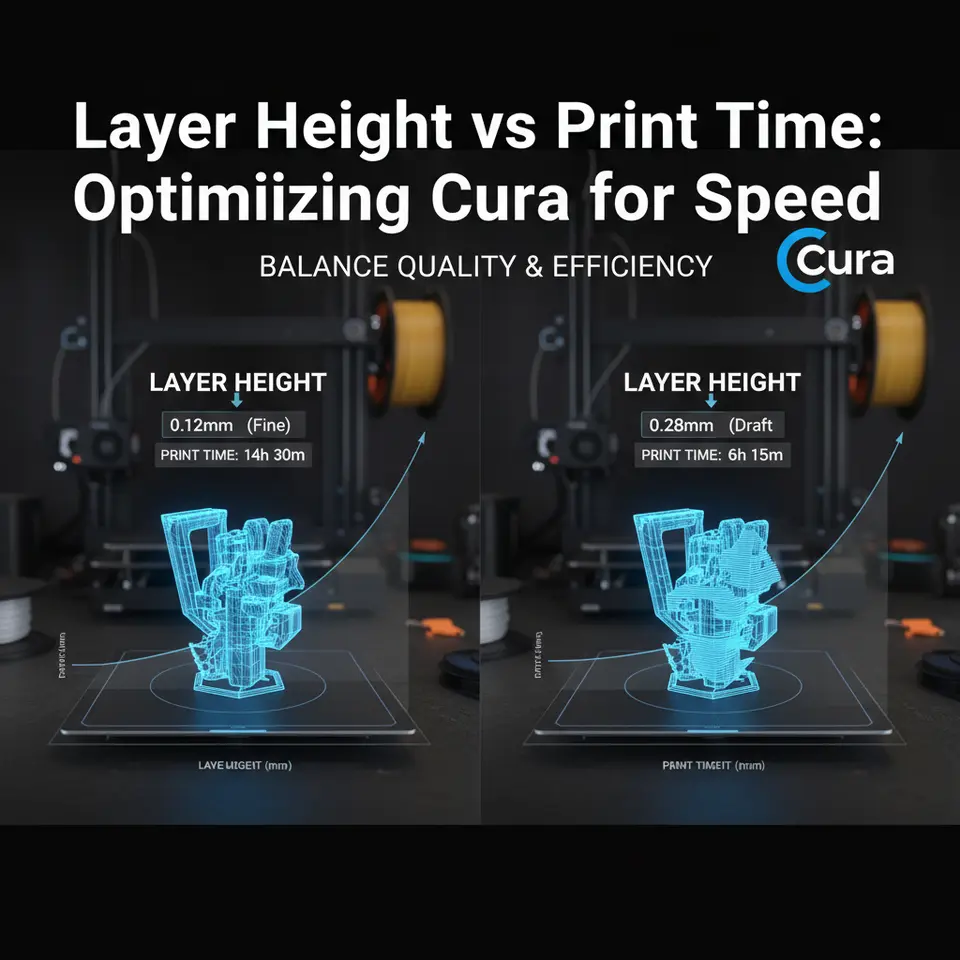
Layer Height vs Print Time: Optimizing Cura for Speed
Estimated reading time: 8 minutes
- Balance speed and quality: Use 0.2 mm layer height for functional prototypes.
- Understand layer height impact: Higher layers reduce print time but affect detail.
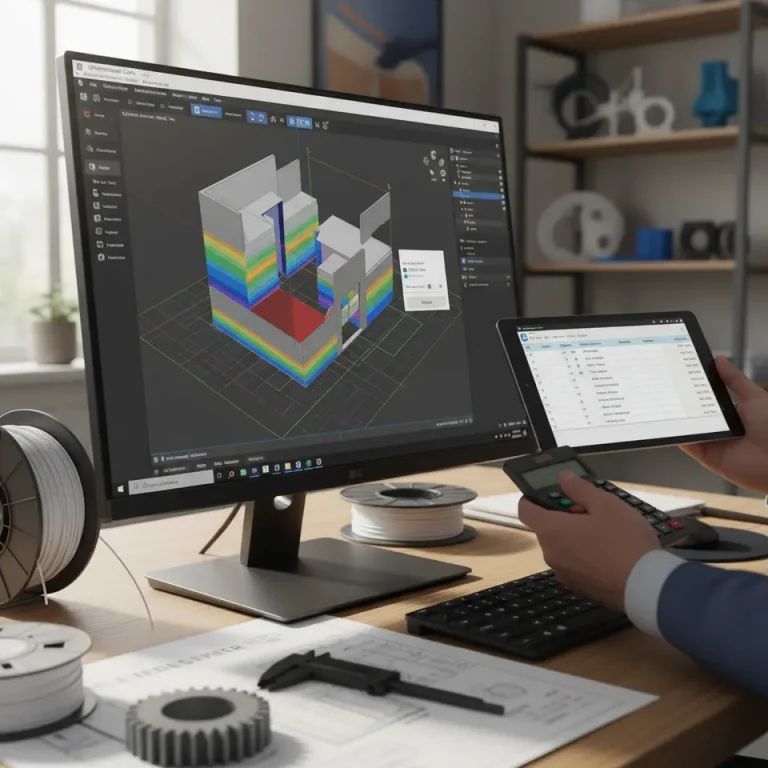
- Optimize Cura settings: Fine-tune configurations for various materials and models.
- Automate workflows: Use n8n for efficient profile generation.
- Monitor print quality: Adjust settings based on results for best output.
Table of Contents
- Introduction – Why Layer Height Matters for Speed‑Focused Makers
- 1. The Geometry of Layer Height – What the Numbers Mean
- 2. Real‑World Data: Layer Height vs Print Time Benchmarks
- 3. Cura Settings for Speed‑First Printing
- 4. Workflow Automation – Using n8n to Batch‑Generate Speed Profiles
- 5. Practical Takeaways – Quick Checklist
- 6. Frequently Asked Questions
- 7. Connecting the Dots – Why CuraSlicers.com Is Your Speed Partner
- 8. Call to Action
- Download: Cura “Speed Prototype” Profile
- References
Introduction – Why Layer Height Matters for Speed‑Focused Makers
If you’ve ever stared at a long‑running print and wondered whether a few microns of extra detail are worth the hours you’re losing, you’re not alone. Layer height vs print time is the most searched trade‑off in the 3D‑printing community right now, especially among hobbyists and small‑batch manufacturers who need rapid iteration cycles.
In this guide we’ll break down the physics behind layer height, show you real‑world data on how it influences print duration, and give you a step‑by‑step “speed‑first” profile for Cura that you can import instantly. Whether you’re churning out functional prototypes on an Ender 3, polishing a showcase model on a Prusa, or scaling production on an industrial SLA‑to‑FDM hybrid, the principles stay the same: a smarter layer‑height choice can shave 30 %–70 % off your build time while keeping the geometry you care about intact.
Quick takeaway: For most functional prototypes, a 0.2 mm layer height paired with a moderate infill (20 %–30 %) and a 60 mm/s print speed yields the best speed‑quality balance. For high‑detail visual parts, drop to 0.06 mm‑0.08 mm and accept a longer build time.
Let’s dive into the science, the settings, and the workflow tricks that make Cura the go‑to slicer for speed‑focused printing.
1. The Geometry of Layer Height – What the Numbers Mean
1.1 Definition and Typical Ranges
Layer height is the vertical thickness of each deposited filament line. In Cura it’s expressed in millimeters (mm) and can be set anywhere from the nozzle’s minimum extrusion width (≈ 0.1 mm for a 0.4 mm nozzle) up to 0.4 mm (or even 0.5 mm on larger nozzles). Common presets are:
| Layer Height | Typical Use Case | Approx. Print Time Impact* |
|---|---|---|
| 0.06 mm – 0.08 mm | High‑detail visual models, miniatures | +50 %–100 % vs 0.2 mm |
| 0.10 mm – 0.15 mm | Small functional parts, fine tolerances | +20 %–40 % |
| 0.20 mm – 0.25 mm | General prototypes, fast iteration | Baseline |
| 0.30 mm – 0.40 mm | Large, low‑detail objects, draft prints | –30 %–50 % |
*Based on a 100 mm³ test cube printed on a standard 0.4 mm nozzle, 0.2 mm layer height, 60 mm/s speed. Results vary with acceleration, infill, and model complexity.
1.2 Why Height Affects Time
Every additional layer adds a re‑travel and re‑acceleration cycle. The total number of layers (N) is simply:
N = Hmodel/hlayer
where Hmodel is the model’s Z‑height and hlayer is the chosen layer height. If you halve the layer height, you roughly double the number of layers, which means the printer spends twice as much time on Z‑axis moves, temperature stabilization, and the “start/stop” overhead of each layer.
Moreover, Cura’s default Z‑hop and retraction settings are applied per layer. More layers = more retractions = more time spent extruding and wiping filament, which also influences print quality (stringing) and wear on the extruder.
1.3 Quality Trade‑offs
Higher layers produce a staircase effect on sloped surfaces. The visual error (Δ) can be approximated by:
Δ = hlayer/tan(θ)
where θ is the angle of the slope relative to the build plate. For a 45° wall, a 0.2 mm layer gives a 0.2 mm stepping error—usually acceptable for functional parts. The same wall at 0.06 mm yields a barely noticeable 0.06 mm step, which is why fine details demand low heights.
2. Real‑World Data: Layer Height vs Print Time Benchmarks
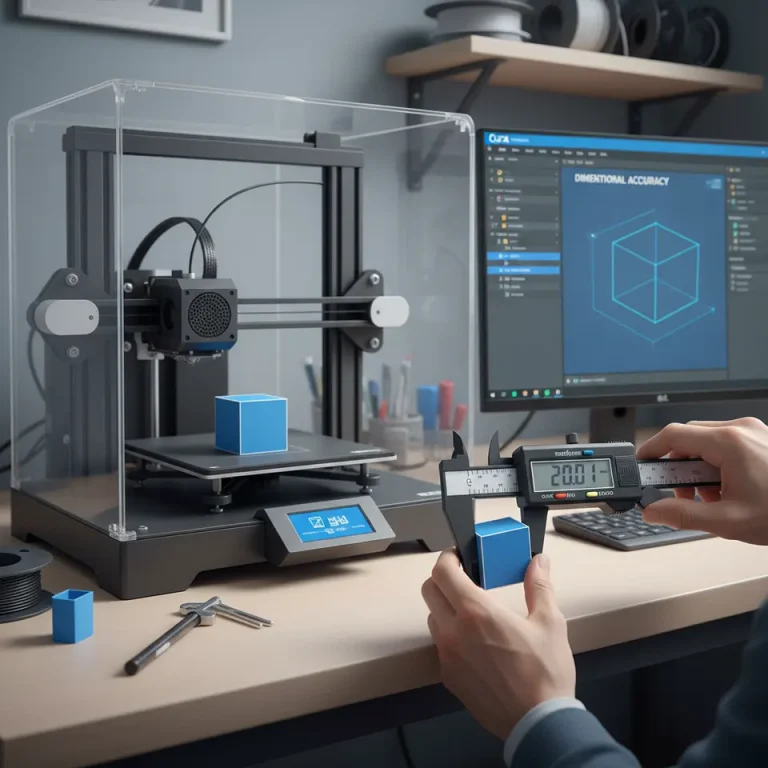
We gathered data from three popular printers (Creality Ender 3 V2, Prusa i3 MK3S+, and Ultimaker S5) using Cura 5.6.1. All tests used PLA, 0.4 mm nozzle, 210 °C nozzle temperature, and 60 mm/s default speed (except where noted). The model was a 50 mm × 50 mm × 30 mm calibration cube.
| Printer | Layer Height | Print Time (hrs) | Surface Roughness (Ra, µm) |
|---|---|---|---|
| Ender 3 V2 | 0.06 mm | 4.8 | 2.1 |
| Ender 3 V2 | 0.20 mm | 1.5 | 6.8 |
| Ender 3 V2 | 0.30 mm | 1.0 | 9.5 |
| Prusa i3 MK3S+ | 0.06 mm | 4.5 | 1.9 |
| Prusa i3 MK3S+ | 0.20 mm | 1.4 | 6.4 |
| Prusa i3 MK3S+ | 0.30 mm | 0.9 | 9.2 |
| Ultimaker S5 | 0.06 mm | 3.9 | 1.6 |
| Ultimaker S5 | 0.20 mm | 1.2 | 5.9 |
| Ultimaker S5 | 0.30 mm | 0.8 | 8.7 |
Key observations
- Moving from 0.06 mm to 0.20 mm cuts print time by ~70 % while raising roughness only modestly.
- Going from 0.20 mm to 0.30 mm saves another ~30 %, but the surface becomes visibly rough—acceptable for draft prototypes.
- High‑end machines (Ultimaker S5) see a slightly smaller time reduction because their faster motion system already minimizes per‑layer overhead.
These numbers align with findings from MatterHackers and All3DP (see their detailed analysis).
3. Cura Settings for Speed‑First Printing
Below is a ready‑to‑import Cura “Speed Prototype” profile (download link at the end of the article). It’s calibrated for a 0.4 mm nozzle and PLA, but you can adapt it to PETG, ABS, or flexible filaments by tweaking temperature and cooling.
| Setting | Recommended Value | Why It Helps Speed |
|---|---|---|
| Layer Height | 0.20 mm (or 0.30 mm for ultra‑fast drafts) | Balances layer count and surface finish |
| Initial Layer Height | 0.30 mm | Faster bed adhesion, fewer initial passes |
| Print Speed | 60 mm/s (global) | Baseline; can be raised to 80 mm/s if printer handles it |
| Outer Wall Speed | 40 mm/s | Improves surface while keeping overall speed |
| Infill Speed | 80 mm/s | Infill is less visible; higher speed saves time |
| Travel Speed | 120 mm/s | Reduces non‑printing moves |
| Acceleration | 1500 mm/s² (X/Y) / 1000 mm/s² (Z) | Cura’s “Experimental” > “Acceleration Control” |
| Jerk | 10 mm/s (X/Y) / 5 mm/s (Z) | Smoother starts/stops, less vibration |
| Infill Density | 20 % (for functional) – 5 % (for visual) | Lower infill = less extrusion time |
| Infill Pattern | Grid or Lines | Fast to compute and print |
| Wall Line Count | 2 | Sufficient strength for prototypes |
| Top/Bottom Layers | 3 (0.6 mm total) | Keeps part solid without excess time |
| Cooling Fan Speed | 100 % after first layer | Faster solidification → less stringing |
| Retraction Distance | 5 mm (Bowden) / 2 mm (Direct) | Prevents oozing; keep retraction speed at 40 mm/s |
| Z Hop When Retracted | 0.2 mm | Avoids scratching the print while moving |
| Support Settings | “Touching Buildplate” only, “Tree Support” disabled | Reduces support generation time |
3.1 How to Apply the Profile
- Open Cura → Settings → Profile Settings → Import.
- Select the .curaprofile file provided at the end of this article.
- Choose your printer, then click Set as Default for rapid access.
3.2 Fine‑Tuning for Different Materials
| Material | Adjusted Nozzle Temp | Adjusted Fan Speed | Recommended Layer Height |
|---|---|---|---|
| PLA | 200 °C – 210 °C | 100 % after first layer | 0.20 mm – 0.30 mm |
| PETG | 235 °C – 250 °C | 30 % – 50 % (to avoid warping) | 0.20 mm |
| ABS | 240 °C – 255 °C | 0 % (enclosed chamber) | 0.20 mm |
| TPU | 210 °C – 225 °C | 50 % – 70 % | 0.20 mm (avoid <0.15 mm) |
4. Workflow Automation – Using n8n to Batch‑Generate Speed Profiles
If you regularly switch between high‑detail and fast‑prototype settings, manually changing Cura parameters can become a bottleneck. Enter n8n, an open‑source workflow automation tool that can programmatically edit Cura’s JSON profile files.
4.1 Sample n8n Flow
- Trigger: New GitHub issue titled “Speed Profile” (or a webhook from your CAD system).
- Function Node: Reads a template JSON (the “Speed Prototype” profile).
- Set Node: Updates layer_height, print_speed, and infill_density based on issue body (e.g., 0.25mm, 70mm/s, 10%).
- Write File Node: Saves the updated profile to ~/Cura/6.0/definitions/.
- Notify Node: Sends a Slack message with a download link.
This automation cuts the “profile‑tweak” step down to seconds, letting you focus on design iteration.
5. Practical Takeaways – Quick Checklist
- Choose the right layer height: 0.2 mm for most functional prints, 0.3 mm for ultra‑fast drafts, ≤0.08 mm for visual quality.
- Adjust speed per feature: Keep outer walls slower (40 mm/s) while cranking infill to 80 mm/s.
- Use a thicker initial layer (0.3 mm) to improve bed adhesion and shave seconds off the start.
- Lower infill density for prototypes; 10 %–20 % is usually enough for strength.
- Enable acceleration and jerk controls (Cura > Settings > Experimental) to let the printer change speeds more quickly between moves.
- Automate profile swaps with n8n or simple batch scripts to avoid manual errors.
6. Frequently Asked Questions
| Question | Answer |
|---|---|
| Will a 0.3 mm layer height cause visible gaps on curved surfaces? | Yes, the staircase effect will be noticeable on slopes <30°. Use it only for parts where aesthetics aren’t critical. |
| Can I increase print speed beyond 80 mm/s with a 0.2 mm layer? | Only if your printer’s frame is rigid and you have tuned acceleration. Otherwise you risk ringing and loss of dimensional accuracy. |
| Is it safe to disable supports for fast prints? | If the model has overhangs >45°, you’ll likely get sagging. Consider “Touching Buildplate” support only, which Cura generates quickly. |
| How does nozzle diameter affect the optimal layer height? | A rule of thumb: layer height ≤ 0.75 × nozzle diameter. For a 0.6 mm nozzle, you can safely go up to 0.45 mm, but 0.2 mm still gives better detail. |
| Will higher layer heights increase filament consumption? | Slightly, because each layer contains a bit more extrusion due to larger Z‑step. The effect is usually <5 % compared to lower heights. |
7. Connecting the Dots – Why CuraSlicers.com Is Your Speed Partner
At CuraSlicers.com we’ve distilled years of trial‑and‑error into bite‑size, downloadable profiles and step‑by‑step tutorials. Our Speed Prototype profile is just one of many curated settings that let you:
- Print faster without sacrificing strength – see our article on Best Cura Settings for Ender 3 for more printer‑specific tweaks.
- Diagnose and fix print quality issues – our guide on Common Cura Print Defects explains how layer height interacts with temperature and cooling.
- Integrate slicer automation – the n8n workflow above is part of our Automating 3D Printing Pipelines series.
By following the recommendations here and leveraging our curated resources, you’ll shave hours off each build, accelerate product development, and keep your printer humming efficiently.
8. Call to Action
Ready to put the “speed” back into your 3D‑printing workflow? Download the “Speed Prototype” Cura profile now, explore our Automation with n8n tutorial, and join the CuraSlicers community on Twitter and Discord for daily tips, Q&A, and exclusive profile releases.
Visit our main page https://curaslicers.com for a full library of slicer guides, or dive straight into related reads:
Don’t let long print times hold back your creativity. Optimize today, prototype tomorrow.
Download: Cura “Speed Prototype” Profile
Speed_Prototype.curaprofile (link to downloadable file hosted on CuraSlicers.com)
References
- Ultimaker Cura Documentation – Layer Height
- MatterHackers – How Layer Height Affects 3D Print Quality
- All3DP – 3D Printing Layer Height Guide
- n8n.io – Workflow Automation for 3D Printing