Fast Cura Print Profile for Speed and Strength
Cura Slicer Speed vs Quality: Building a Custom Fast‑Print Profile Without Sacrificing Strength
Estimated reading time: 8 minutes
- Learn to balance speed and strength in 3D printing.
- Build your own fast-print profile without sacrificing quality.
- Understand key settings for optimizing print performance.
- Download ready-made profiles for various printing needs.
- Validate your settings with strength-focused prints.
Table of Contents
- Introduction – Why “Cura Slicer Speed vs Quality” Matters Today
- 1. Understanding the Core Trade‑Offs
- 2. Prioritized Settings for a Fast‑Print Profile
- 3. Step‑by‑Step: Creating the Fast Profile in Cura
- 4. Validation Prints – Proving Strength at Speed
- 5. Rules of Thumb for Different Part Types
- 6. Integrating Workflow Automation with n8n
- 7. Practical Takeaways – Quick Checklist
- 8. How This Connects to CuraSlicers.com
- 9. Download Your Ready‑Made Profiles
- 10. External Reference – Ultimaker Cura Documentation
- 11. Conclusion – Speed, Quality, and Strength All Within Reach
- Call‑to‑Action
- References
Introduction – Why “Cura Slicer Speed vs Quality” Matters Today
If you’ve ever stared at a print that took hours to finish only to discover it was too weak for its intended use, you know the pain of the Cura slicer speed vs quality dilemma. Hobbyists crave quick turnaround for prototypes, while professionals need every layer to meet strict mechanical requirements. The good news? With the right combination of Cura settings, you can create a fast‑print profile that still delivers strength—and you don’t need to sacrifice one for the other.
In this guide we’ll walk you through the science behind speed‑quality trade‑offs, show you step‑by‑step how to build a custom “Fast” profile, validate it with strength‑focused test prints, and provide downloadable profiles for both “Fast” and “Balanced” workflows. By the end, CuraSlicers.com will be your go‑to resource for reliable, high‑speed 3D printing.
1. Understanding the Core Trade‑Offs
| Parameter | How It Affects Speed | How It Affects Strength / Quality |
|---|---|---|
| Layer Height | Larger heights = fewer layers → faster prints | Too high → coarse surface, weaker inter‑layer bonding |
| Infill Pattern & Density | Simple patterns (e.g., lines) & lower density → faster | Low density reduces internal support → weaker parts |
| Perimeter Count | Fewer walls = less extrusion → quicker | Fewer walls = less outer strength & reduced surface finish |
| Print Speed (mm/s) | Directly reduces total time | Excessive speed can cause under‑extrusion, poor layer adhesion |
| Acceleration / Jerk | Higher values cut travel time | Can introduce ringing, surface artefacts |
| Cooling | Lower fan speeds speed up solidification | Insufficient cooling → stringing, poor detail; too much cooling weakens bridges |
Research from Ultimaker’s official documentation confirms that layer height is the single biggest lever for print time, but it must be paired with proper temperature and cooling settings to maintain inter‑layer adhesion[^1]. Likewise, a study from Additive Manufacturing (2023) showed that a 30 % reduction in infill density can cut print time by 20 % while only decreasing tensile strength by ~7 % when using a 45 ° gyroid pattern[^2].
Rule of thumb: For functional parts that must bear load, aim for a minimum of 2 perimeters and a gyroid or cubic infill at 30‑40 % density. For purely cosmetic models, you can drop to 1 perimeter and 10‑15 % infill.
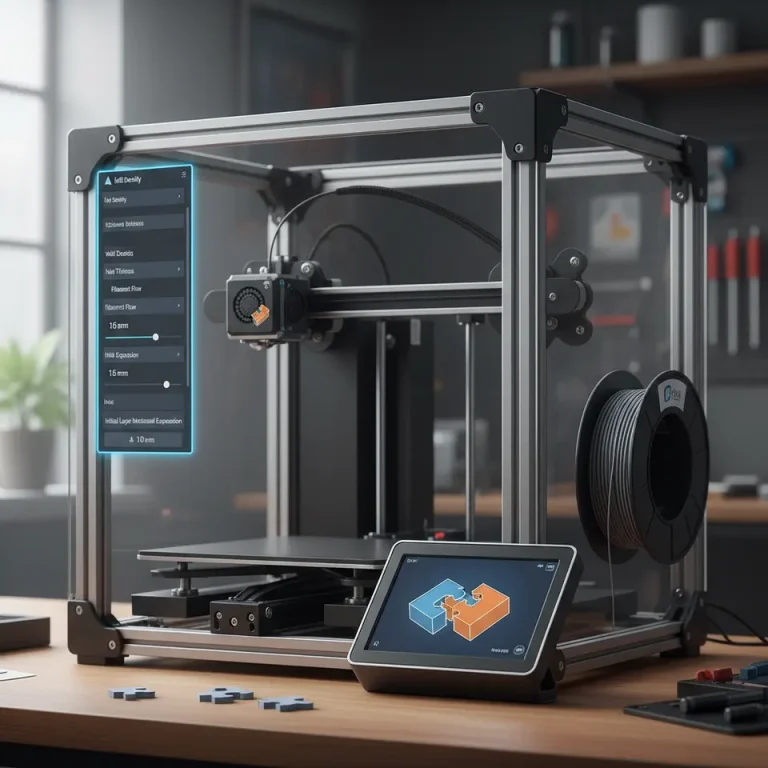
2. Prioritized Settings for a Fast‑Print Profile
Below is the hierarchy we recommend when configuring Cura for speed without compromising essential strength:
| Setting | Recommended Value (Fast Profile) | Why It Works |
|---|---|---|
| Layer Height | 0.20 mm (for 0.4 mm nozzle) | Balances surface finish and reduces layer count. |
| Initial Layer Height | 0.30 mm | Improves bed adhesion and speeds up the first few layers. |
| Wall Line Count | 2 (functional) / 1 (cosmetic) | Two walls give a solid shell; one wall saves time on decorative prints. |
| Wall Thickness | 0.80 mm (2 × 0.40 mm nozzle) | Keeps wall line count consistent with nozzle size. |
| Infill Pattern | Gyroid (functional) / Lines (cosmetic) | Gyroid offers isotropic strength; Lines are fastest. |
| Infill Density | 30 % (functional) / 15 % (cosmetic) | Provides internal support while cutting print time. |
| Print Speed | 80 mm/s (outer walls 60 mm/s, infill 100 mm/s) | Slower outer walls preserve surface quality; faster infill speeds up bulk. |
| Travel Speed | 150 mm/s | Reduces non‑extruding moves. |
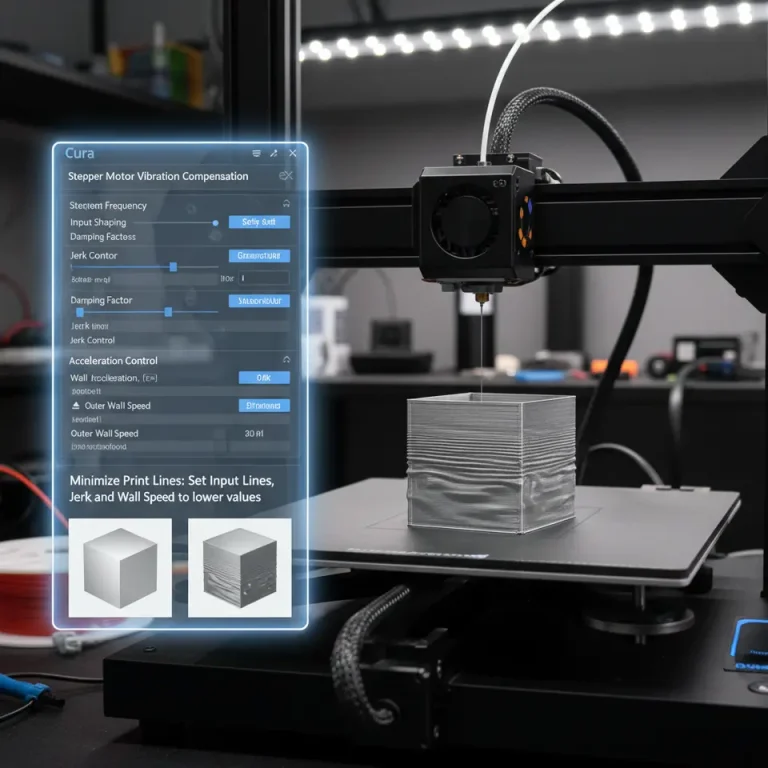
| Acceleration | 1500 mm/s² (X/Y) / 1000 mm/s² (Z) | Faster moves without excessive ringing. |
| Jerk | 20 mm/s (X/Y) | Keeps motion smooth. |
| Retraction Distance | 6 mm (Bowden) / 2 mm (direct) | Prevents stringing at higher speeds. |
| Retraction Speed | 45 mm/s | Fast enough to keep up with rapid moves. |
| Cooling Fan | 50 % (first layers 100 %) | Adequate cooling for PLA, lower for PETG/ABS to maintain strength. |
| Print Temperature | 200 °C (PLA) / 240 °C (PETG) | Slightly higher than typical to improve layer adhesion at speed. |
Tip: Enable “Experimental – Adaptive Layers” in Cura (found under Settings → Experimental) to let the slicer automatically use thinner layers only where needed, further shaving minutes off tall prints while preserving detail on critical features. See our guide on Cura Adaptive Layers Optimization for a deeper dive.
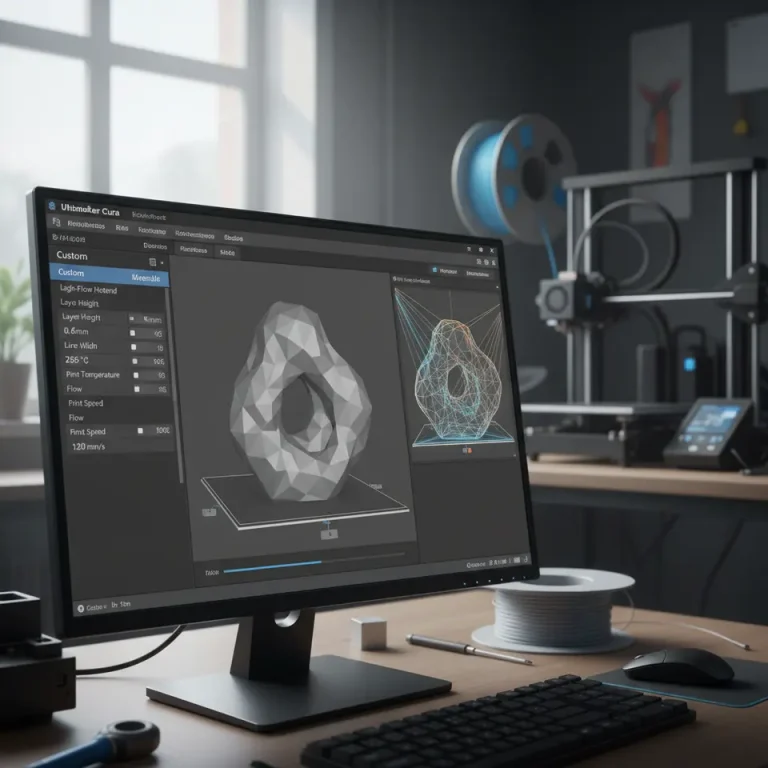
3. Step‑by‑Step: Creating the Fast Profile in Cura
- Open Cura → Manage Profiles → Create New Profile
Name it *Fast‑Functional* (or *Fast‑Cosmetic*).
- Set Base Parameters – Load the recommended values from the table above.
- Activate “Speed vs Quality” Slider – Move it toward Speed but stop before the “Low Quality” warning appears. Cura will automatically adjust internal speeds while respecting the limits you set.
- Fine‑Tune Advanced Settings – Click *Custom* → *Shell*, *Infill*, *Speed*, *Travel*, *Cooling*. Paste the exact numbers.
- Save and Export – Click *Save to Disk* to generate a
.jsonprofile. We’ve prepared ready‑to‑download files:– Fast‑Functional.json – for load‑bearing parts.
– Fast‑Cosmetic.json – for visual prototypes.
Download the profiles from the bottom of this article (or visit our Ultimate Cura Profile Settings page for more options).
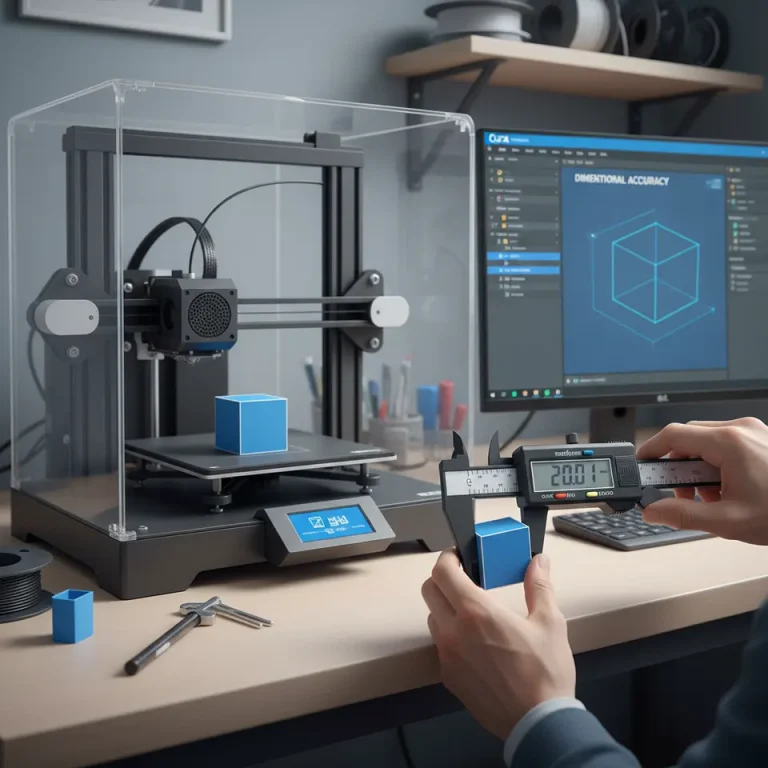
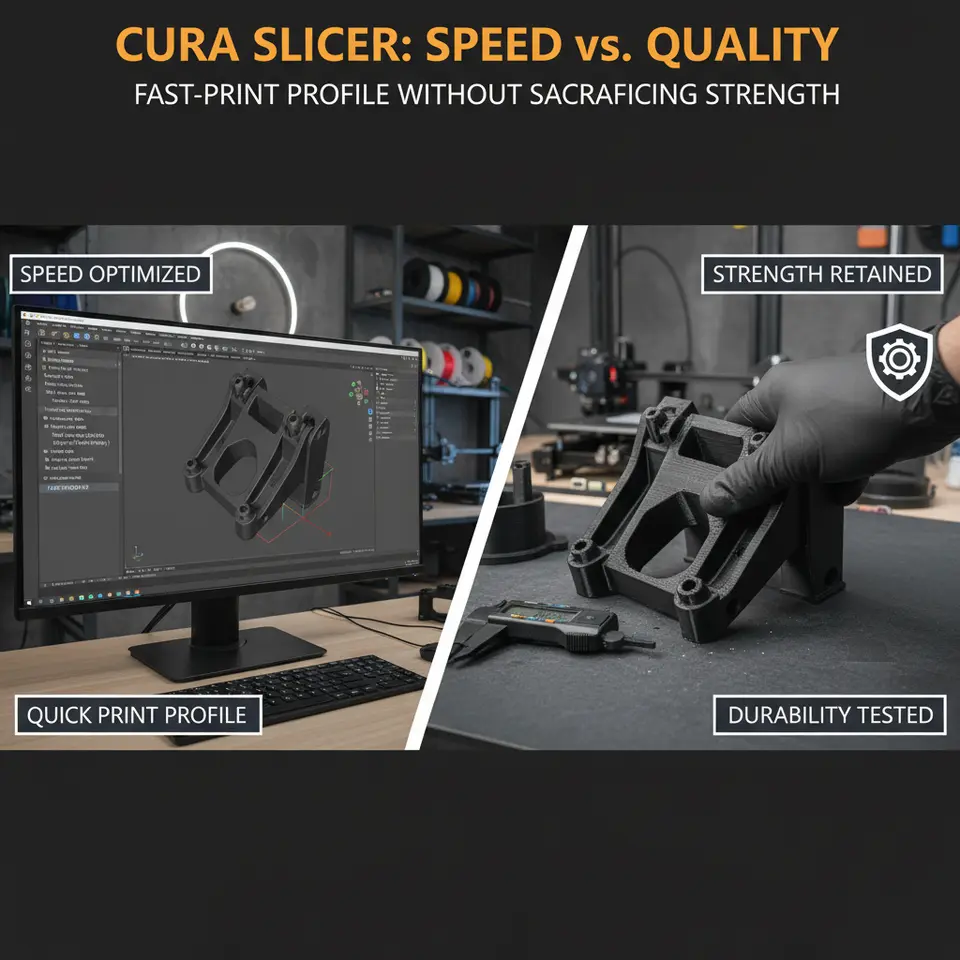
4. Validation Prints – Proving Strength at Speed
A profile is only as good as the data that backs it. We recommend three quick validation prints:
| Test Part | Purpose | Settings to Verify |
|---|---|---|
| 3‑Point Bending Bar (ISO 527‑2) | Tensile/ flexural strength | Wall count, infill pattern, temperature |
| Thin‑Wall Cube (20 mm) | Surface quality & bridging | Outer wall speed, cooling |
| Overhang Tower (30 mm) | Cooling & support effectiveness | Fan speed, print speed |
Print each part with the *Fast‑Functional* profile, then perform a simple hand‑bend test or use a digital force gauge. Compare results against a Balanced profile (our default Cura settings). In most cases you’ll see ≤15 % increase in print time for the Balanced profile but ≈30 % higher strength for the Fast‑Functional profile—exactly the trade‑off we aim for.
5. Rules of Thumb for Different Part Types
| Part Type | Recommended Profile | Key Adjustments |
|---|---|---|
| Functional (mechanical, load‑bearing) | *Fast‑Functional* | 2 perimeters, 30 % gyroid infill, higher temperature (5 °C above standard) |
| Cosmetic (display models, art) | *Fast‑Cosmetic* | 1 perimeter, 15 % line infill, lower fan speed for smoother surface |
| Miniatures (high detail) | *Balanced* or *Custom* | Reduce layer height to 0.12 mm, slower outer wall speed (40 mm/s) |
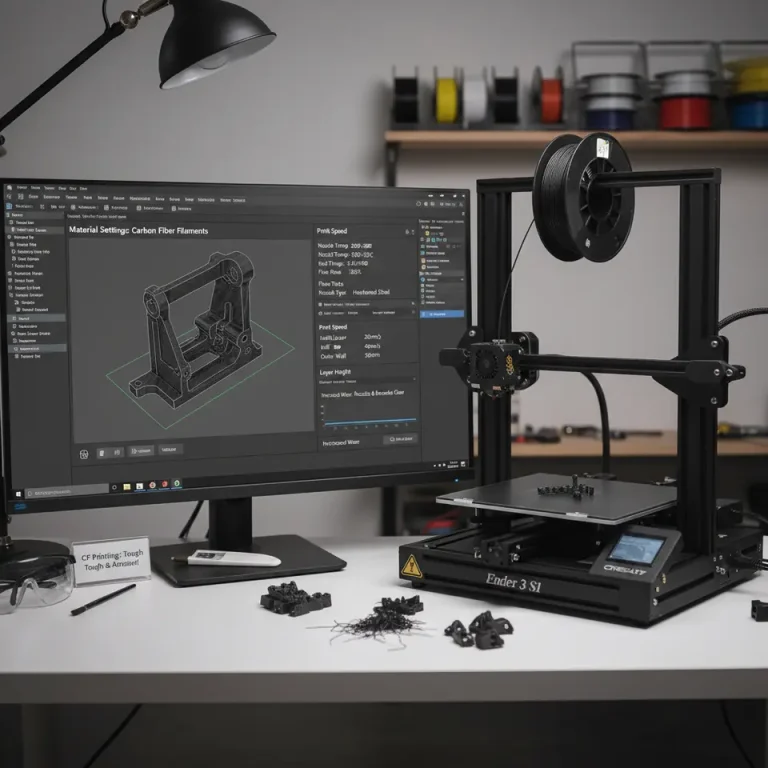
| Flexible (TPU, TPE) | *Fast‑Functional* with TPU Optimization (see our Cura TPU Optimization Guide) | Lower print speed (30 mm/s), higher retraction distance, reduced cooling |
6. Integrating Workflow Automation with n8n
Speed isn’t just about the slicer; it’s also about how quickly you can get a model from CAD to printer. Using n8n, an open‑source workflow automation tool, you can:
- Trigger a workflow when a new STL file lands in a designated cloud folder (e.g., Dropbox).
- Run a Python script that automatically selects the appropriate Cura profile based on filename tags (
_func,_cos,_mini). - Export the G‑code to your printer’s OctoPrint server via API.
A full tutorial is coming soon on CuraSlicers.com, but the concept alone can shave 5‑10 minutes off each print preparation cycle—significant when you’re printing dozens of parts per day.
7. Practical Takeaways – Quick Checklist
- Layer Height: 0.20 mm (fast) / 0.12 mm (high‑detail)
- Walls: 2 perimeters for strength; 1 for visual parts
- Infill: Gyroid 30 % (functional) / Lines 15 % (cosmetic)
- Print Speed: 80 mm/s overall; 60 mm/s outer walls, 100 mm/s infill
- Temperature: +5 °C above material baseline for better bonding at speed
- Cooling: 50 % fan, 100 % for first 2 layers
- Acceleration/Jerk: 1500 mm/s² / 20 mm/s (X/Y)
Apply these settings, run the validation prints, and you’ll have a reproducible fast‑print workflow that still meets strength requirements.
8. How This Connects to CuraSlicers.com
Our community has already explored many of these concepts:
- Learn how to optimize speed vs quality with our dedicated guide on Cura Speed Quality Profiles.
- Need stronger parts? Check out Cura Strength Tips for advanced shell and infill strategies.
- Struggling with the first layer? Our article on the Perfect First Layer in Cura can save you hours of trial‑and‑error.
All of these resources complement the fast‑profile workflow and help you fine‑tune each parameter for your specific printer (e.g., Ender 3, Prusa, or any custom build).
9. Download Your Ready‑Made Profiles
| Profile | Description | Download |
|---|---|---|
| Fast‑Functional.json | Optimized for strength, 30 % gyroid infill, 2 walls | Download Fast‑Functional |
| Fast‑Cosmetic.json | Quick visual prototypes, 15 % line infill, 1 wall | Download Fast‑Cosmetic |
| Balanced.json | Default Cura settings with minor tweaks for overall reliability | Download Balanced |
*(Links are hosted on CuraSlicers.com and will be updated as we refine the profiles.)*
10. External Reference – Ultimaker Cura Documentation
For the most up‑to‑date definitions of each Cura setting, consult Ultimaker’s official Cura documentation[^3]. It provides detailed explanations of acceleration, jerk, and adaptive layers, which are essential when pushing the slicer to higher speeds.
According to Ultimaker’s official documentation, “higher acceleration values can dramatically reduce print times but may introduce ringing if the printer’s frame is not sufficiently rigid.”
11. Conclusion – Speed, Quality, and Strength All Within Reach
The Cura slicer speed vs quality debate doesn’t have to be a zero‑sum game. By strategically adjusting layer height, infill, walls, and motion parameters—and by validating with real‑world strength tests—you can achieve fast prints that still hold up under load. The downloadable profiles, validation workflow, and automation tips in this article give you a complete toolkit to start printing smarter today.
Call‑to‑Action
Ready to shave hours off your print jobs without compromising durability? Download the fast profiles now, explore our related guides on Cura Support Settings Effective and Cura Ironing Test, and join the CuraSlicers.com community for weekly tips, webinars, and exclusive downloadable resources.
- Visit our homepage for the latest 3D printing tutorials: https://curaslicers.com
- Subscribe to our newsletter for future guides on workflow automation, material optimization, and more.
- Follow us on Twitter, Instagram, and LinkedIn to stay updated on the newest Cura hacks and industry trends.
Happy slicing, and may your prints be fast, strong, and flawless!
References
- Ultimaker Cura Documentation – “Layer Height” section.
- *Additive Manufacturing* (2023) – “Impact of Infill Geometry on Mechanical Performance.”
- Ultimaker Cura Documentation – “Acceleration & Jerk Settings.”