Optimize Cura Slicer for Hybrid Printing
Cura Slicer for Resin-like Workflows: Preparing STL for Hybrid Prints and Resin Molds
Estimated Reading Time: 5 minutes
- Learn how to optimize your STL files for hybrid printing.
- Explore practical slicing tips to enhance surface finish and mold release.
- Understand advanced Cura settings for better molding outcomes.
- Discover the benefits of different materials for resin molds.
Table of Contents
- Understanding the Basics of Hybrid Printing and Resin Molding
- Benefits of Using Cura for Hybrid Prints
- Preparing STL Files for Hybrid Prints
- Fine-Tuning Your Print with Advanced Settings
- Material Selection for Molding
- Finishing Tips for Your Molds
- Conclusion
- Frequently Asked Questions
Understanding the Basics of Hybrid Printing and Resin Molding
Hybrid printing refers to the combination of different printing processes to create complex structures that capitalize on the strengths of each technology. This is particularly relevant when we consider resin molding, which allows for highly detailed and smooth finishes. When using Cura for resin-like workflows, the goal is to prepare STL files in such a way that they can be used for creating molds or as masters for further refining materials.
Key Concepts in Resin Molding and Hybrid Printing:
- Master Prints: Accurate representations made from 3D models for creating molds.
- Lost-PLA Casting: Involves creating a mold from a printed PLA object that can be safely melted away.
- Multi-Material Molds: Molds that facilitate the use of different materials for complex textures.
Benefits of Using Cura for Hybrid Prints
While FDM printing does not directly translate to resin workflows, Ultimaker Cura provides several features that can be effectively leveraged for STL preparation:
- Precision Settings: Control layer height and print speed for detail required when preparing masters.
- Custom Profiles: Tailor your profiles in Cura for specific materials and desired outcomes.
- Slicing Techniques for Surface Finish: Features in Cura improve overall print surface quality.
For more foundational knowledge on 3D printing, check out our Cura Slicer Guide for Beginners.
Preparing STL Files for Hybrid Prints
The first step toward successful hybrid printing is preparing your STL files correctly. Here’s how to optimize STL files using Cura:
1. Importing and Scaling STL Files
Import STL files correctly into Cura to ensure the design fits your printer’s build volume. Scale the model if necessary, and double-check measurements.
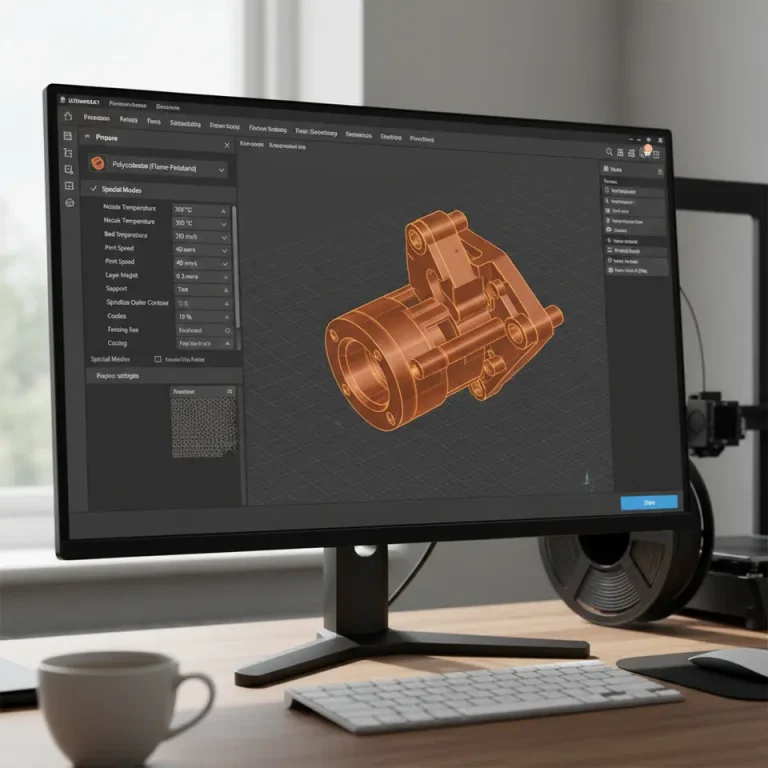
2. Setting Layer Heights
Opting for a smaller layer height (0.1 mm or less) improves details on your prints, which is essential for masters. Adjust in the Cura Print Settings:
- Layer Height: Set at 0.1 mm or less for higher detail.
- Initial Layer Height: Can be set slightly higher for improved adhesion.
3. Adjusting Print Speed
To achieve an excellent surface finish, reduce print speeds:
- Print Speed: Set around 40 mm/s to enhance print resolution.
4. Enabling Z Hop
Z Hop is crucial for detailed molds:
- Navigate to Speed Settings > Enable Z-Hop When Retracted.
- Set a modest Z hop height for avoiding surface artifacts.
For enabling Z Hop, visit our Enable Z-Hop Cura Guide.
Fine-Tuning Your Print with Advanced Settings
1. Optimize Support Settings
When dealing with molds, support structures may be necessary. Cura offers advanced settings to choose support types:
- Support Placement: Use ‘Touching Build Plate’ for minimized material use.
- Support Density: Adjust for balance between strength and ease of removal (usually around 15-20%).
For in-depth support options, check out our article on Effective Support Settings in Cura.
2. Utilizing Adaptive Layers
Utilizing Adaptive Layers allows Cura to adjust heights dynamically to enhance detail in critical areas.
3. Final Touches: Surface Finish
Attention to the finish on your models can enhance durability:
- Consider Ironing settings in Cura to smooth out top layers.
- Explore our Cura Ironing Test for insights into improving surface quality.
Material Selection for Molding
Select filament carefully for master prints:
- PLA: Easy to print and detail, ideal for beginners.
- PETG: Good strength and temperature resistance for certain molds.
- ABS: Provides higher heat resistance but more challenging to print.
Evaluate resin compatibility with chosen filament to ensure successful casting.
Further explore material selections with our guide on Cura Settings for PLA, PETG, and ABS.
Finishing Tips for Your Molds
Post-printing, prepare your mold for casting:
- Surface Preparation: Sand and polish the print to enhance quality.
- Mold Release Agents: Apply to prevent resin sticking.
- Test for Compatibility: Always test a small amount of resin with your mold first.
Conclusion
By utilizing Cura slicer for resin-like workflows, you unlock possibilities for hybrid prints and mold preparation, enhancing craftsmanship and design.
Explore our blog for more in-depth articles and guides about print speed optimization and layer height adjustments.
Ready to elevate your 3D printing skills? Subscribe to our newsletter or follow us on social media for updates!
For resources, visit CuraSlicers.com and advance your 3D printing journey!
Frequently Asked Questions
What is hybrid printing?
Hybrid printing combines different printing processes, leveraging their strengths to produce complex structures.
Can I use Cura for resin printing?
Yes, Cura can be adapted for resin-like workflows by optimizing STL files specifically for mold creation.
What materials are best for mold prints?
PLA, PETG, and ABS are commonly used, each with its advantages depending on the mold requirements.