Configure Jerk and Acceleration for Quieter 3D Prints
How to Make Silencing Mods and Configure Jerk/Acceleration Settings for Quieter Prints in Cura
Estimated Reading Time: 6 minutes
- Learn about jerk and acceleration settings for better print quality.
- Discover effective modifications to reduce noise from 3D printers.
- Understand trade-offs between print speed and noise reduction.
- Access test print files to measure the impact of your modifications.
Table of Contents
- Understanding Jerk and Acceleration Settings
- Making Silencing Mods
- Configuring Jerk and Acceleration Settings in Cura
- Measuring and Testing Effectiveness
- Conclusion
- FAQ
Understanding Jerk and Acceleration Settings
What Are Jerk and Acceleration?
Before diving into the specifics of modding your 3D printer for reduced noise, it’s vital to understand what jerk and acceleration mean in the context of 3D printing.
Acceleration refers to how quickly the printer’s motors can change speed. A higher acceleration setting will allow the print head to speed up faster, reducing print times, but may lead to increased vibrations and noise.
Jerk, on the other hand, defines the immediate change in speed that the printer can make without gradual acceleration. Lowering jerk settings can lead to smoother movements and quieter prints, though it may have an impact on the speed and overall print time.
Why Quieter Prints Matter
Creating quieter prints is not just about comfort; it can also impact print quality. Reducing the noise often involves making adjustments that minimize vibrations, leading to sharper detail and less layer shifting. This means you can produce high-quality prints without the disruption of a roaring printer.
Making Silencing Mods
Basic Modifications
Here are some effective modifications you can implement to decrease the noise levels of your 3D printer. Each modification will be accompanied by recommended steps:
- Adding Rubber Feet
- What You’ll Need: Rubber or silicone feet.
- Steps: Simply attach rubber feet to the base of your printer. This will isolate vibrations and reduce noise transferred to the surface it’s resting on.
- Using Sound Dampening Mats
- What You’ll Need: Acoustic foam or specialized sound-dampening mats.
- Steps: Place the printer on a sound-dampening mat to absorb vibrations. This can significantly reduce noise output.
- Enclosing the Printer
- What You’ll Need: An enclosure (can be DIY with acrylic panels or a commercially available solution).
- Steps: Enclose your printer to reduce noise. Additionally, an enclosure can help maintain temperature levels for consistent prints.
Advanced Mods
For those looking for deeper modifications, consider these options:
- Replacing the Stepper Motor Drivers
- What You’ll Need: Silent stepper motor drivers (e.g., TMC2208).
- Steps: Swap out your existing drivers for silent models. This can drastically reduce the electronic noise your printer generates.
- Lubrication and Maintenance
- What You’ll Need: Suitable lubricant.
- Steps: Regularly lubricate mechanical components such as rails and bearings. Smoother movements result in lower noise production.
- Upgrading to Linear Rails
- What You’ll Need: Linear rails upgrade kit.
- Steps: Install linear rails for increased stability and smoother operation. This modification can greatly reduce vibrations in your prints.
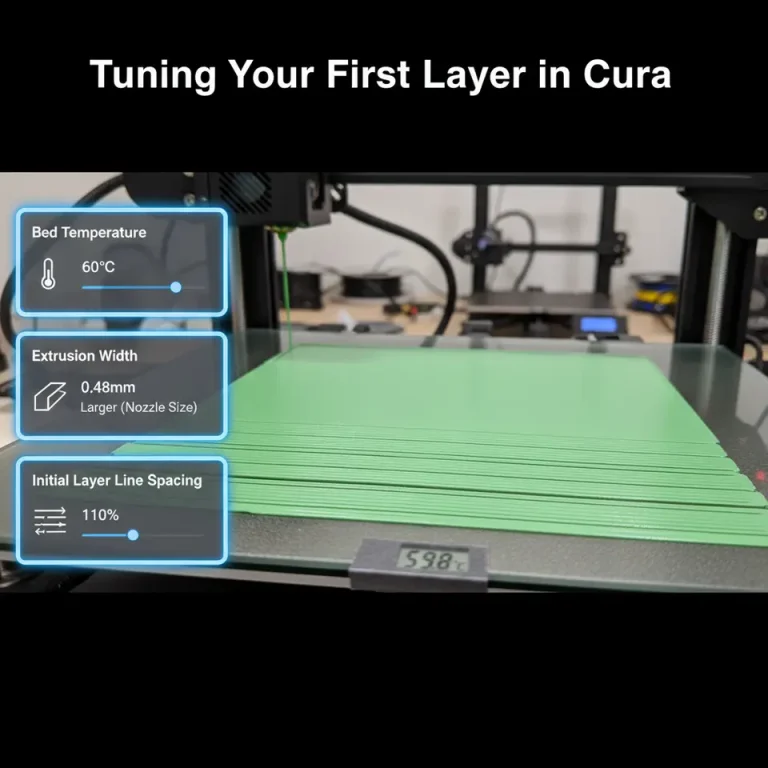
Configuring Jerk and Acceleration Settings in Cura
Once you’ve implemented your silencing mods, it’s time to fine-tune your printer settings in Cura for optimal performance.
Step-by-Step Configuration
- Open Ultimaker Cura.
- Select Your Printer:
- Ensure you have the correct printer profile loaded.
- Access the Custom Settings:
- Go to the “Preferences,”
- Then click on “Configure Advanced Settings.”
- Finding the Jerk Setting:
- In Cura, this can sometimes be referred to as “Maximum Jerk.”
- A general starting point for reduction is to set it to 5-10 mm/s. This gradual change helps minimize sudden motions.
- Adjust Acceleration:
- Find the parameter for “Acceleration” and consider reducing it. A good starting configuration may be around 500 mm/s².
- Adjust gradually, observing the effects on print quality and noise.
- Test and Measure:
- Use a test print to measure the impact of these adjustments. Modify as necessary to find the perfect balance between speed and noise reduction.
Important Trade-offs
While configuring jerk and acceleration settings and making silencing mods may lead to quieter operations, it’s essential to note that print times may increase. For instance, lowering these settings too much can lead to prolonged print durations. Always find a suitable compromise that works for your specific needs.
Measuring and Testing Effectiveness
To ensure your modifications and adjustments yield the desired outcomes, consider conducting tests and measurements. For practical evaluation, use vibration-detection apps on smartphones or specialized vibration meters to capture data before and after making changes.
Sample Test Print Files
For convenience, we’ve provided curated step files to enable you to test your machines effectively. These files can be downloaded from our site and will allow you to gauge the impacts of your adjustments.
Download Test Print Files here.
Conclusion
Creating quieter prints is achievable with the right combination of physical modifications and software configurations in Cura. By understanding jerk and acceleration settings, you’ll have the tools to minimize noise without sacrificing print quality.
For further insights into optimizing your prints, explore our articles on Cura Speed and Quality Profiles and Cura Temperature Profiles.
If you enjoyed this guide, don’t forget to check out more resources on CuraSlicers.com and subscribe for future posts. Join the conversation and follow us on social media to keep up with the latest in 3D printing!
Finally, for an in-depth understanding of jerk and acceleration settings, you can refer to Ultimaker’s official documentation for tailored advice based on your printer’s firmware.
FAQ
What is the benefit of using silencing mods?
Silencing mods help reduce noise, making for a more peaceful printing environment and potentially enhancing print quality by minimizing vibrations.
How do I know if my modifications are working?
You can use vibration-detection apps or specialized vibration meters to collect data on the noise levels before and after modifications.
Will silencing mods affect print speed?
Yes, some modifications may lead to slower print speeds, as they often involve adjustments to jerk and acceleration settings to achieve quieter operations.