Using Cura Slicer for Wind Turbine Blades
Estimated Reading Time: 6 minutes
Key Takeaways:
- Cura slicer is essential for optimizing wind turbine blade models.
- Hollowing and reinforcement strategies balance strength and weight for effective designs.
- Choosing the right infill type can significantly enhance blade performance.
- Correct Cura settings improve print quality and structural integrity.
Table of Contents:
Understanding Wind Turbine Blade Design
Wind turbine blades are engineered to harness energy from the wind while being subjected to various mechanical stresses. The design of these blades must strike a balance between being lightweight for efficiency and robust enough to withstand forces during operation. 3D printing offers a fantastic avenue to produce these complex shapes, allowing for rapid prototyping and design iteration.
Key Considerations in 3D Printing Wind Turbine Blades
Before diving into Cura settings and techniques, it’s important to consider the following fundamental factors:
- Aerodynamics: The shape of the blade must be aerodynamically efficient. This dictates the overall profile and surface finish, crucial parameters that can be enhanced with slicer settings.
- Weight Reduction: Using hollow sections or lightweight infills can significantly reduce the weight of the final product, improving performance.
- Strength & Durability: While lightweight designs are desirable, they must also be strong enough to endure wind forces. This often involves strategic reinforcement in stress-prone areas.
Hollowing Strategies for Turbine Blades
Hollowing a model in Cura can drastically influence both print time and material usage without compromising structural integrity. The following strategies can help turn your blade model into a hollow structure efficiently:
1. Shell Strategies
The shell of the model represents the outer layer which holds the shape and provides aerodynamics. By adjusting the wall thickness in the Cura slicer, you can create a balance between keeping the blade hollow while ensuring it remains robust.
- Single Wall vs. Multi-Wall: A single wall can reduce weight but might not withstand stress. Consider using a multi-wall or thicker shell in areas that will experience the most load.
- Variable Thickness: Cura allows for varying shell thicknesses; applying this strategy can provide additional strength in critical areas while reducing material usage elsewhere.
2. Internal Spars
Incorporating internal gearing and spar structures is another way to enhance blade strength without adding significant weight. Here are some strategies to consider:
- Triangular and Rectangular Spars: These shapes are ideal for achieving high strength-to-weight ratios. For example, placing triangular spars at intervals along the blade can distribute stress effectively.
- Custom Spar Profiles: Cura supports custom integrations, allowing users to design specific spar geometries to complement their unique blade models. A common approach is to space sparse arrays throughout the blade’s internal cavity to optimize load distribution.
Recommended Infill Types
The choice of infill plays a crucial role in the performance of 3D printed wind turbine blades. Some recommended types for balancing strength and weight include:
- Gyroid Infill: With excellent strength properties and lightweight nature, this infill pattern is perfect for aerodynamic components like turbine blades.
- Grid Infill: This is easy to print and gives a good weight-to-strength ratio, although it may not be as optimized for certain aerodynamic needs as gyroid.
- Adaptive Infill: Cura offers adaptive infill settings that allow the infill density to change based on the design of your blade, concentrating material where it’s needed most and lightening it elsewhere.
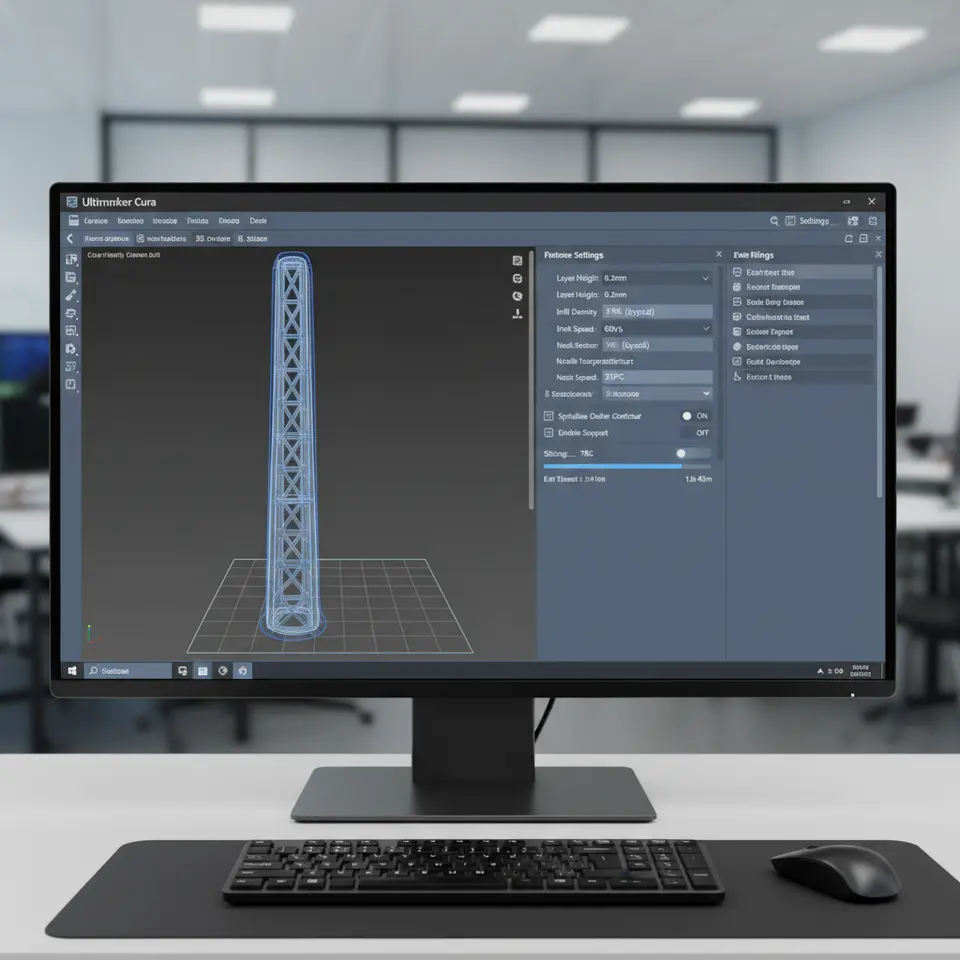
Practical Tips and Cura Settings
Implementing proper Cura settings can significantly improve the print quality and performance of your wind turbine blade models. Here are some actionable tips:
- Layer Height: A finer layer height (e.g., 0.1 mm) can improve surface quality, essential for aerodynamic parts.
- Printing Speed: Slower print speeds can enhance adhesion between layers, critical for maintaining structural strength.
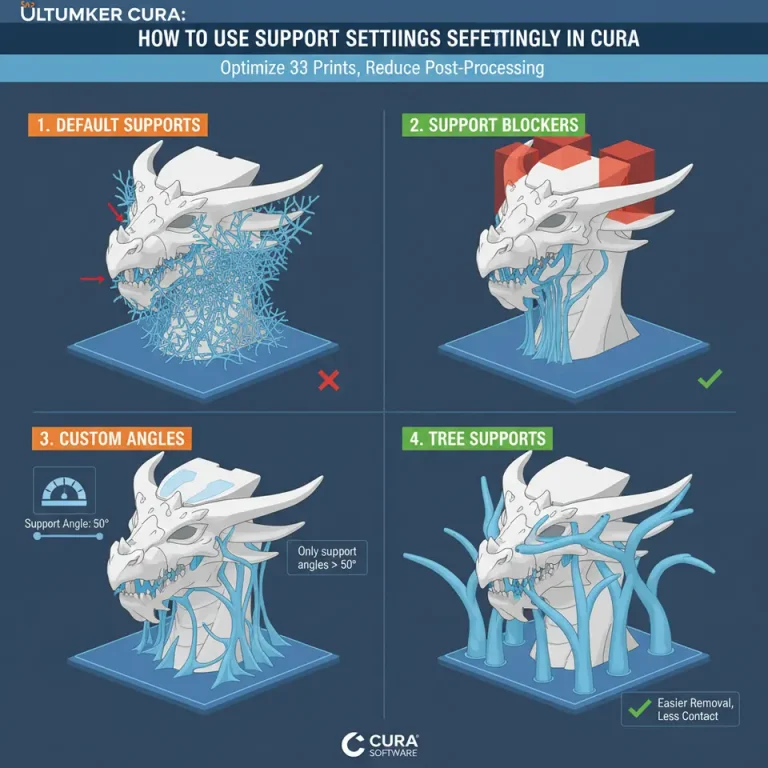
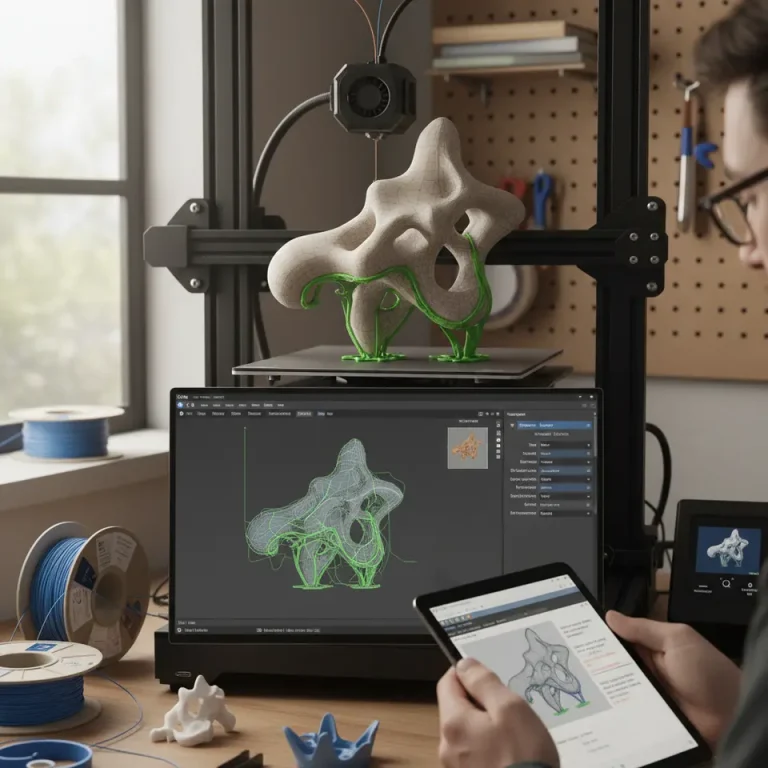
- Support Structures: Use tree-like structures for supports; these are less intrusive and can be easily removed post-print without damaging the blade.
- Temperature Settings: Adjusting the print temperature based on the filament used (especially for composites or plastics) can improve layer bonding.
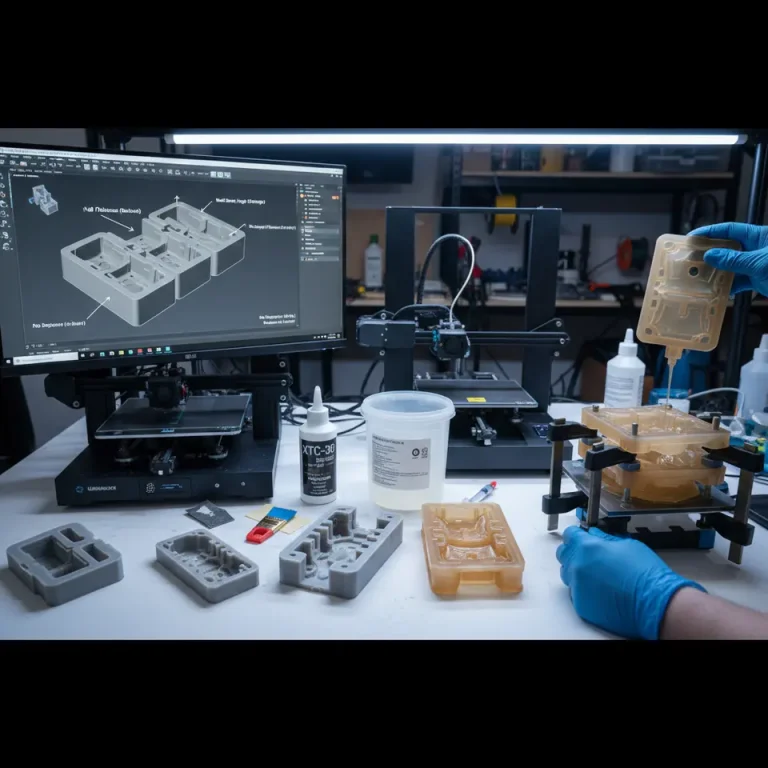
Sample Models and Resources
For those looking to experiment with wind turbine blade designs, various resources are available. Websites offering downloadable STL files or collaborative platforms can be an excellent source for sample models. Additionally, consider incorporating these suggestions for custom blade models to test aerodynamic efficiency alongside structural integrity.
Suggested Model Types:
- Aerodynamic test models that feature a variety of hollowed designs for wind tunnel simulation.
- Conceptual models with incorporated internal spar structures for examination of stress distribution.
Conclusion
Harnessing the capabilities of the Cura slicer for printing wind turbine blade models is crucial for anyone looking to innovate in renewable energy design. By employing strategies such as effective hollowing techniques, thoughtful reinforcement through internal spars, and the appropriate infill types, you can create efficient, functional, and lightweight turbine blades.
For more insights into optimizing your 3D printing projects, you can check out our guides on Adaptive Cubic Infill Cura and Cura Slicer Support Settings for Overhangs.
Are you looking to enhance your 3D printing knowledge? Follow CuraSlicers on social media for the latest updates or visit our homepage for more articles, tips, and insights into optimizing your workflows and enhancing print quality!
For additional reading on optimal Cura settings, consider referring to the detailed guidelines available on Ultimaker’s Cura official documentation.
FAQ
1. What is the best infill for wind turbine blades?
The gyroid infill is often recommended due to its excellent strength-to-weight properties, making it ideal for aerodynamic components.
2. How do I set up Cura for hollow turbine blades?
Adjust the shell wall thickness and consider using variable thickness to provide additional strength where required.
3. Can I use custom spar designs in Cura?
Yes, Cura supports custom designs, allowing you to create specific spar geometries that fit your models.
4. What adjustments can improve print quality?
Lowering the print speed, adjusting layer height, and ensuring proper temperature settings can all enhance print quality.